
Dritz blue-and-purple marking pen
Our verdict:
Temporary line guides
Best for testing a removable marking method before laying out quilting lines.
View at DritzKeep in mind: test both the mark and its removal on the actual fabric first.
Quilting
The short answer
Choose the stitched layout by your batting directions and sewing method. Test the real layers before marking the whole quilt.
Dritz blue-and-purple marking penView at DritzRead our analysis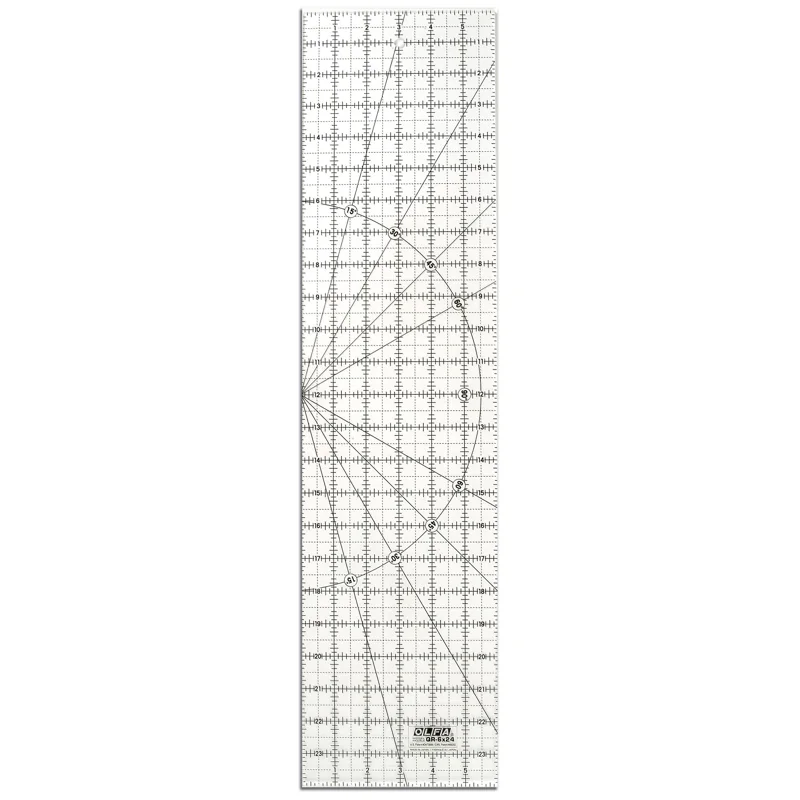 OLFA QR-6x24 six-by-24-inch frosted acrylic rulerView at OLFARead our analysis
 Clover Black Gold quilting betweensView at CloverRead our analysis
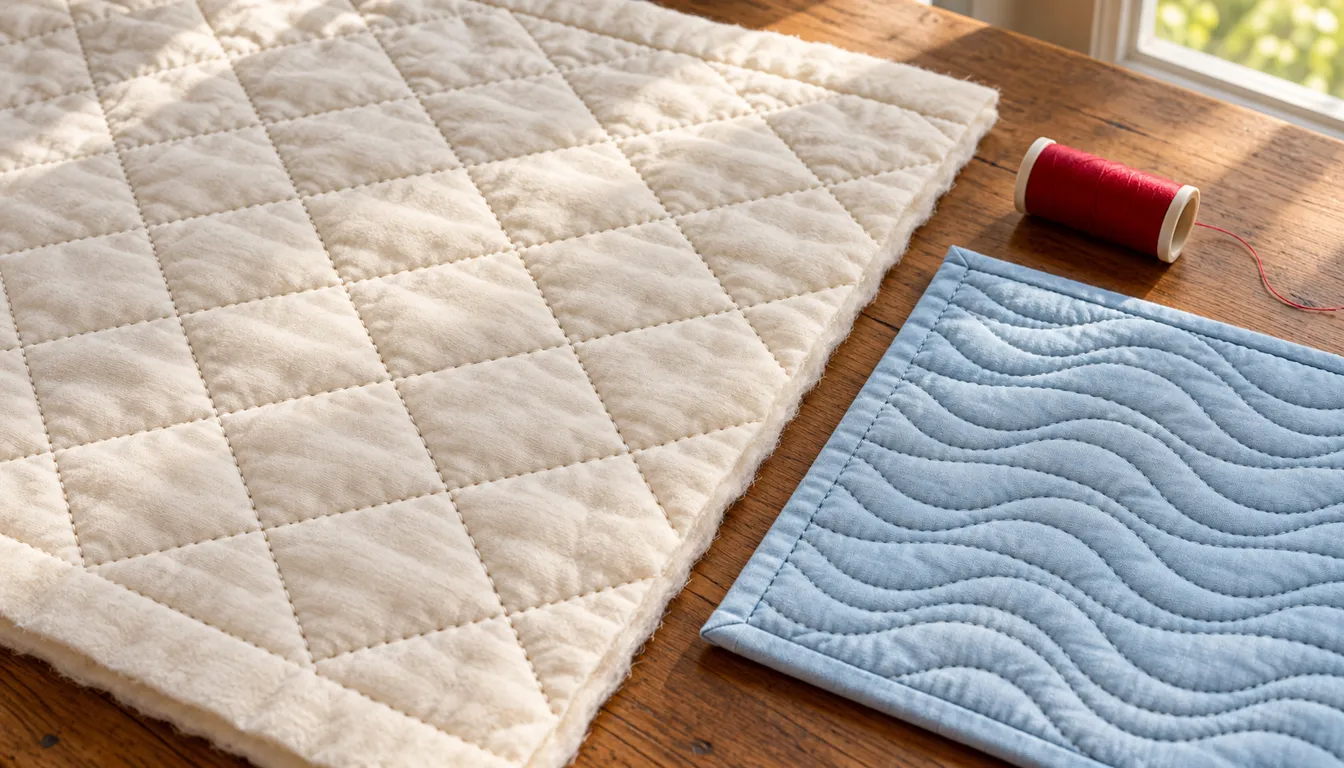
Choose a quilting design that keeps the stitches within your batting maker's spacing limit and suits the way you sew. Parallel lines, a grid and repeated motifs each give the layers a different texture. Test the design on scraps of your fabric and batting before marking the quilt.
Use a marking pen for temporary guides and a ruler to measure their spacing. For hand quilting, add needles that suit your thread and layers. Read the marking tool's directions and test its removal before marking any part of the quilt.
Use the quilting guide to plan the whole material stack. The pieced top provides the color design; quilting joins that top to the middle and back. Choose the stitch route with all three layers in mind.
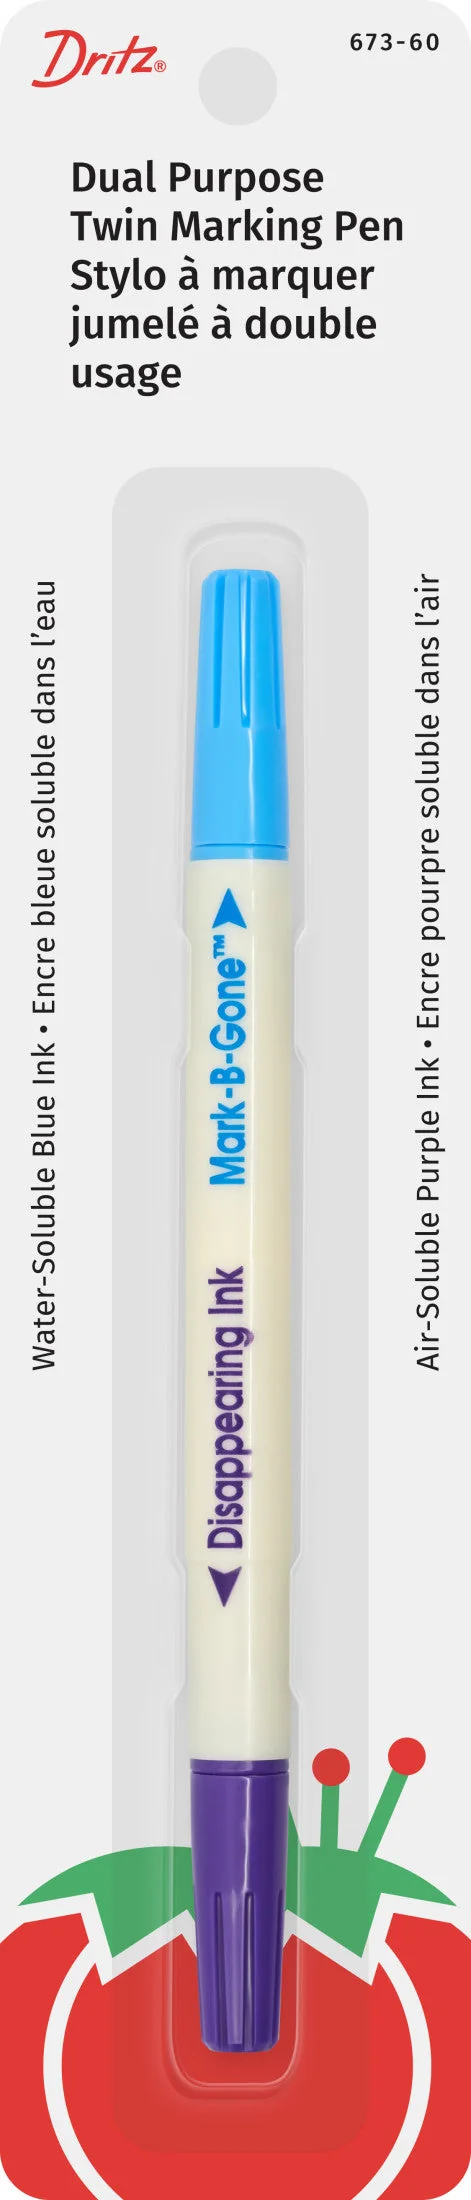
Dritz blue-and-purple marking pen
Our verdict:
Temporary line guides
Best for testing a removable marking method before laying out quilting lines.
View at DritzKeep in mind: test both the mark and its removal on the actual fabric first.
The two ends use different ink types. The blue end uses water removal; the purple end is disappearing ink. Choose the end only after reading the package directions and testing the full removal step. A line that fades before you finish marking is not useful for a long project.
OLFA QR-6x24 six-by-24-inch frosted acrylic ruler
Our verdict:
Straight quilting layout
Best for cutting long strips with a rotary cutter.
View at OLFAKeep in mind: hold the ruler securely and keep your hand clear of the cutting edge.
The OLFA QR-6x24 is a six-by-24-inch frosted acrylic ruler. Its long edge suits straight strips and larger rectangles. Check the markings against your fabric and keep the whole cut over a suitable cutting mat.
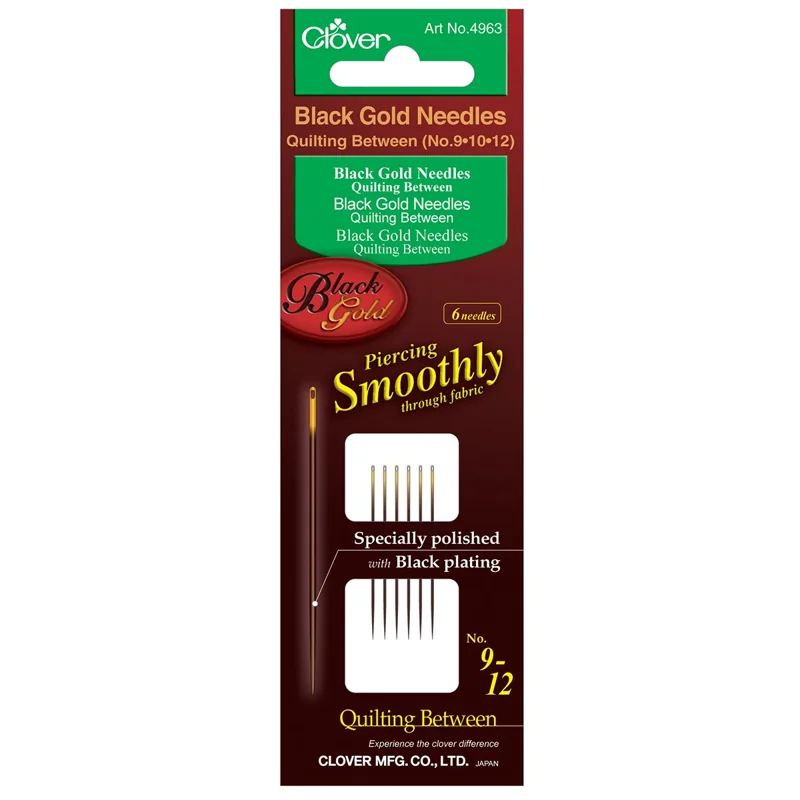
Clover Black Gold quilting betweens
Our verdict:
Hand-stitch sampling
Best for trying quilting betweens in sizes 9, 10 and 12 on scrap layers.
View at CloverKeep in mind: these needles fit hand work, not a sewing-machine needle clamp.
The set has two needles each in sizes 9, 10 and 12. Try them with your quilting thread on a scrap sandwich made from the same fabric and batting as the quilt. Check how easily each needle threads and passes through the layers before choosing one.
Parallel lines run in one direction; a grid adds a second set crossing the first. You can also repeat a motif inside each block or across a larger area. Pick a stitch path with starting points you can find easily as you move across the quilt.
| Stitch layout | Planning task | Useful first trial |
|---|---|---|
| Parallel lines | Keep the same gap between lines | Small plain sandwich |
| Crossing grid | Plan two line directions | Mark a paper map first |
| Block motif | Keep the motif inside the block edges | One block-sized sample |
Scroll for more →
Check the batting label for the maximum distance between quilting lines. If your design leaves wider gaps, add stitching to bring them within that limit. Keep the label with your pattern so you can check the spacing while planning.
Browse Connecting Threads quilt patterns for quilt-top projects. Read each pattern's description to see whether it gives patchwork instructions, quilting designs or both.
Make a paper square representing an 18-by-18-inch finished area. Mark vertical guides at 3, 6, 9, 12 and 15 inches from the left side. Five interior lines divide the width into six 3-inch bands. Before using this layout on fabric, check that your batting permits 3-inch spacing.
Add horizontal lines at the same five distances from the top. The map now has 6 x 6 = 36 cells. Each cell measures 3 inches square. The interior marked length is ten lines x 18 inches = 180 inches before any travel between lines or edge treatment.
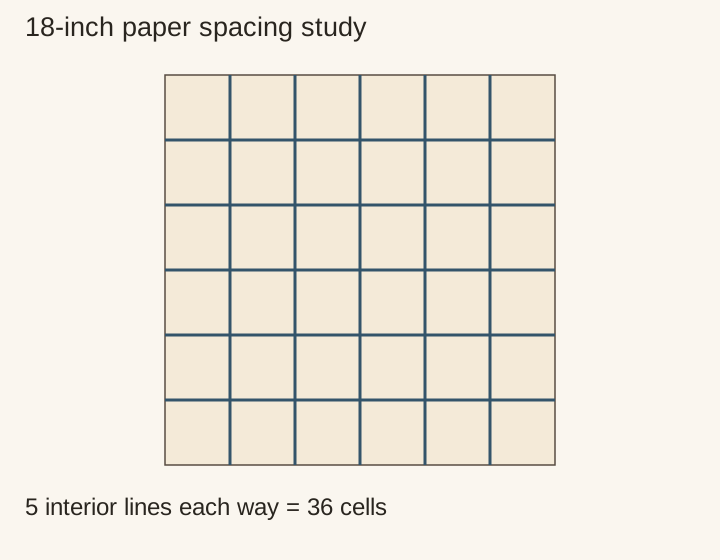
Now compare a denser paper map at 2-inch intervals. There are eight interior lines in each direction, creating nine bands and 81 cells. The marked interior length becomes 16 x 18 = 288 inches. That is 108 inches more than the first map. It shows why closer lines mean more stitching even on a small area.
A moving quilt and a moving needle need a method you can control together. For a feeding-foot method, follow your machine and foot instructions. For free-motion work, use the correct foot and settings from the manual. Practice starts, stops and turns on scraps first.
Practice controlling stitch length and direction with the free-motion quilting guide. If you want a rigid guide beside the foot, read quilting templates before choosing equipment. The quilt ruler guide explains the difference between tools for cutting and tools for stitching.
Hold the sample so its weight is not pulling off the table. Look at the back after a short trial. Check for folds and uneven stitches before adding another row. Follow the machine manual for any adjustment instead of treating one dial number as a rule for every fabric stack.
Lay a paper or thread sample over the top and compare the proposed direction. A busy print can make small motifs hard to see. A plain area gives stitches more space to show. Decide whether the quilting should echo the patchwork or cross it with a separate rhythm.
If your main question is how fabric shapes repeat, read patterns in quilts. That page covers the top design. If you need a machine, compare beginner quilting machines with your finishing method in mind.
Check the batting directions before choosing your quilting design. Test one repeatable stitch path on scraps of the same layers you will use. Count the lines on paper before marking the full top, then use the sample to decide whether you like the spacing and texture.
The phrase can mean either. A top pattern gives fabric cuts and joins. A quilting design gives stitch paths through the layers. Read the project description before choosing.
Use the directions for your exact batting and the selected finishing method. Choose a line spacing within the batting maker's limit, then test it on your fabric layers.
Yes. A measured plan can use straight temporary guides. Test the marking and machine method on scrap layers before working on the full quilt.