
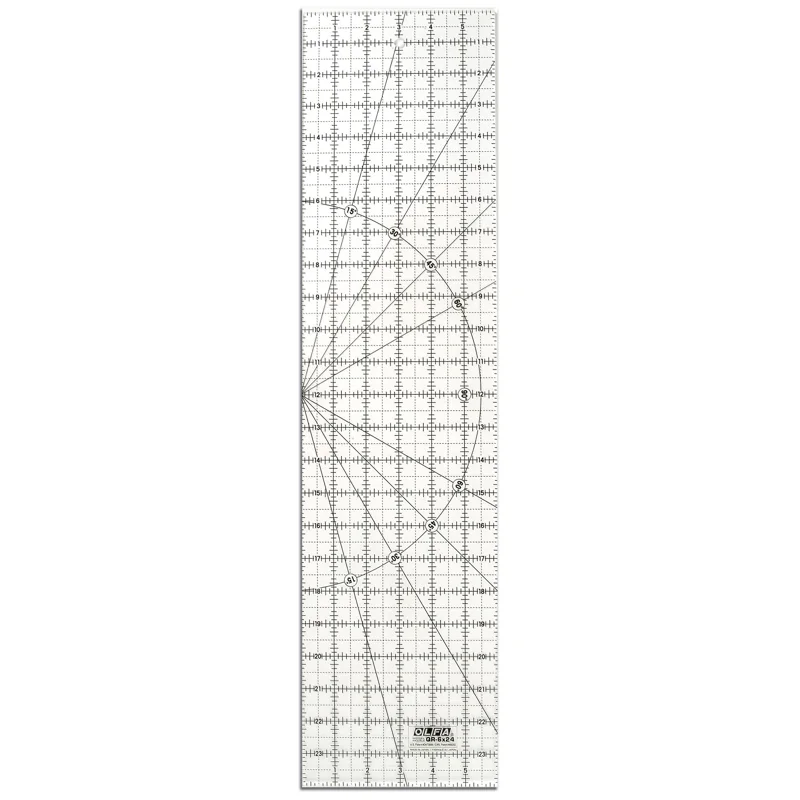
OLFA QR-6x24 six-by-24-inch frosted acrylic ruler
Our verdict:
Long strip cuts
Best for cutting long strips with a rotary cutter.
View at OLFAKeep in mind: hold the ruler securely and keep your hand clear of the cutting edge.
Quilting
The short answer
Buy for the cuts you repeat, check the first piece and keep cut sizes separate from finished sizes. Match machine templates to the specified ruler foot.
OLFA QR-6x24 six-by-24-inch frosted acrylic rulerView at OLFARead our analysis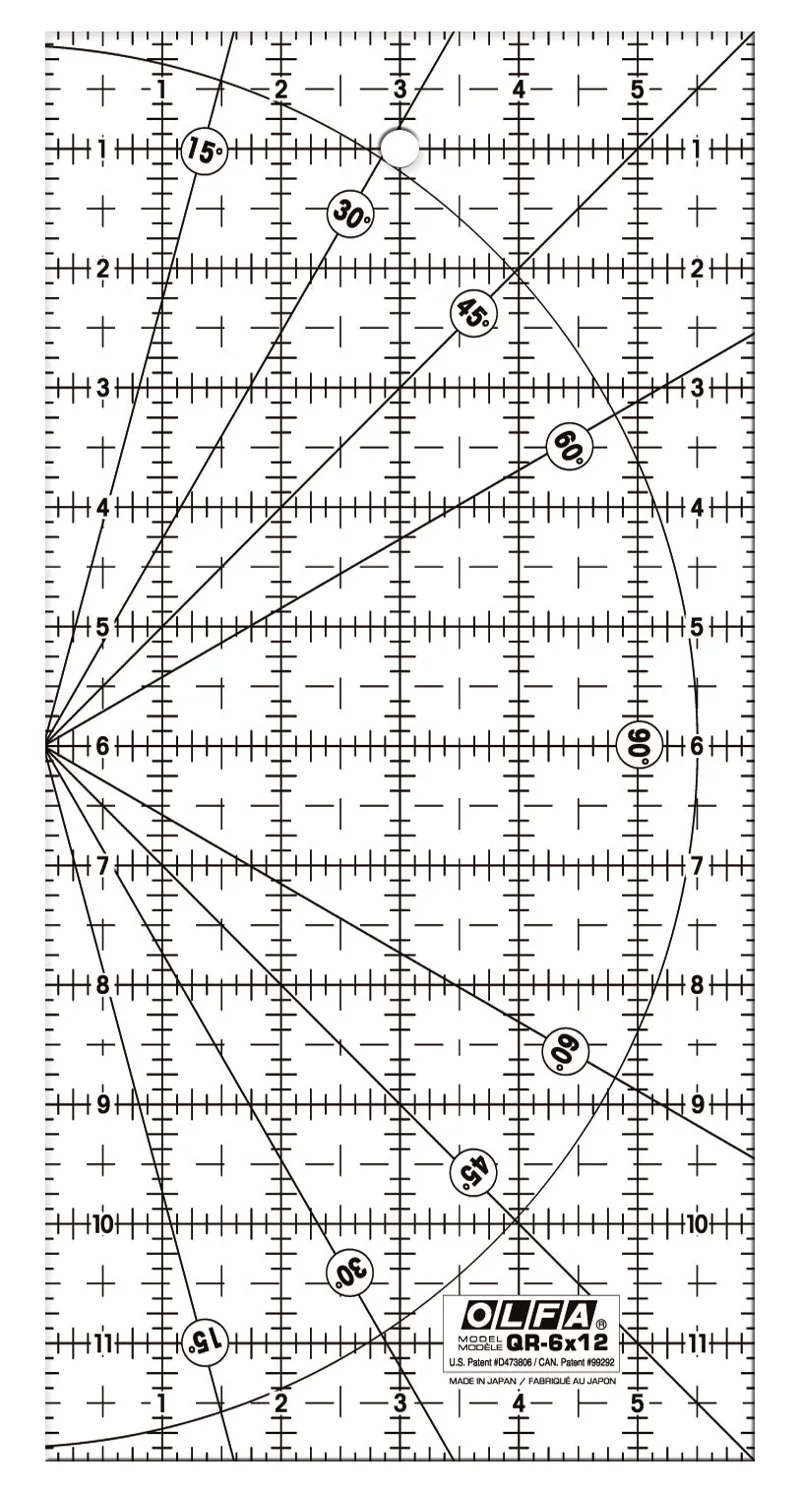 OLFA QR-6x12 six-by-12-inch frosted acrylic rulerView at OLFARead our analysis
 Creative Grids Stripology XLView at Creative GridsRead our analysis
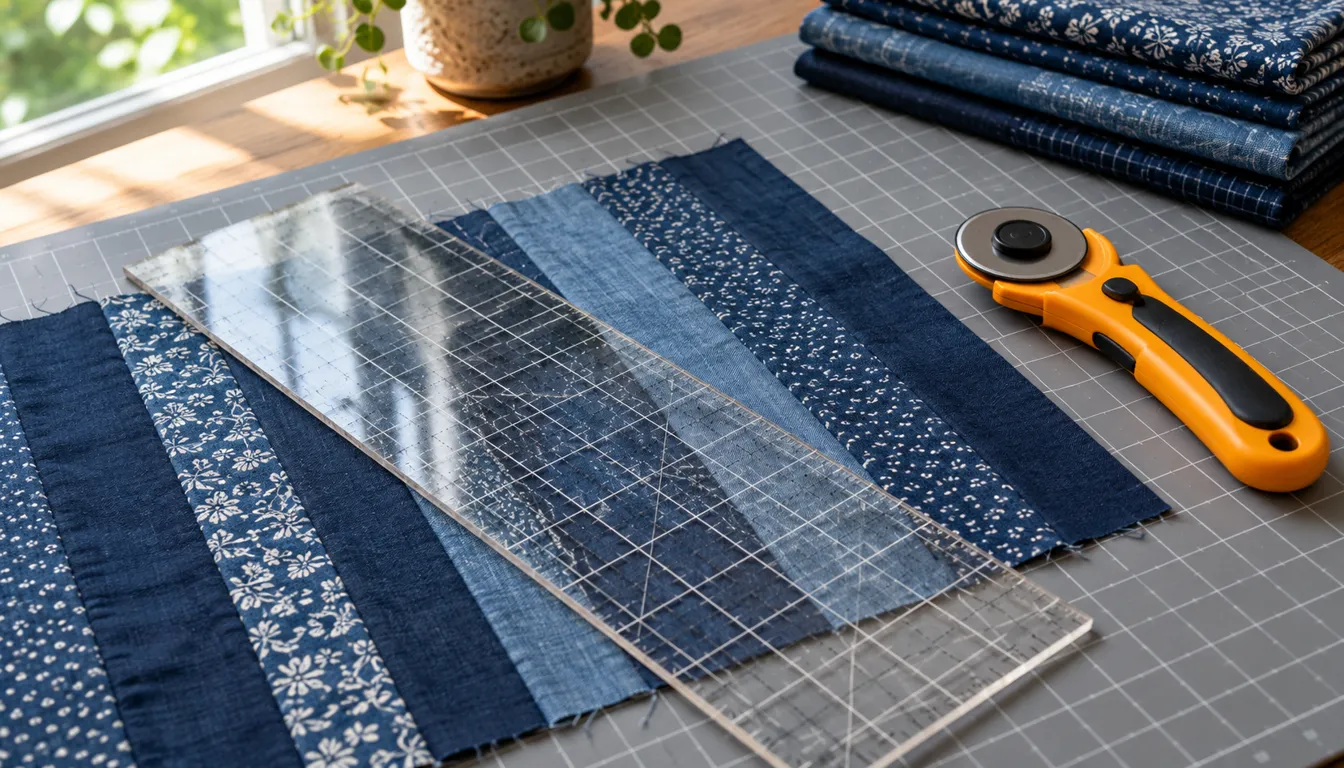
A quilt ruler should match the job you are doing. Use a long cutting ruler for strips. A square ruler helps trim blocks. Use a machine template with the right ruler foot for guided stitching. Choose the task first so that similar-looking acrylic tools do not get mixed up.
The quilting guide connects cutting and stitching to the whole project. Keep the pattern nearby when choosing a ruler, as it tells you which sizes to cut.
Cutting rulers have measuring lines and an edge for the cutter. Machine ruler-work templates guide a suitable foot as the machine stitches. Quilting Is My Therapy's ruler range has tools for several tasks. Check each tool's instructions to see whether it is for cutting or stitching.
Check what the tool is designed to do before buying it. For machine work, confirm the ruler foot, template thickness and machine fit from the relevant instructions. For cutting, confirm the measuring system and the sizes marked on the ruler.
Keep machine templates in a different storage place from ordinary cutting rulers. This helps you find the right tool when you sit down to sew. It also keeps a new learner from assuming every clear acrylic edge has the same purpose.
Compare a long rectangle for strips with a smaller rectangle for compact work. A slotted ruler offers another way to make repeated cuts, with its own measuring steps to learn. Check the full working area of the ruler against your mat before choosing.
Begin with the pattern’s repeated cut, check the markings against your fabric and choose the ruler that fits both the task and the mat.
OLFA QR-6x24 six-by-24-inch frosted acrylic ruler
Our verdict:
Long strip cuts
Best for cutting long strips with a rotary cutter.
View at OLFAKeep in mind: hold the ruler securely and keep your hand clear of the cutting edge.
The OLFA QR-6x24 is a six-by-24-inch frosted acrylic ruler. Its long edge suits straight strips and larger rectangles. Check the markings against your fabric and keep the whole cut over a suitable cutting mat.
Put the ruler over both a dark print and a pale solid when checking visibility. A line that is easy to see on one fabric may disappear on another. Find the exact mark for each cut. Avoid guessing where the line should be.
OLFA QR-6x12 six-by-12-inch frosted acrylic ruler
Our verdict:
Compact straight cuts
Best for shorter cuts and smaller patchwork pieces.
View at OLFAKeep in mind: its 12-inch length is too short for one-pass full-width strip cuts.
The OLFA QR-6x12 is a six-by-12-inch frosted acrylic ruler. Its shorter edge suits smaller patchwork pieces. Check the widest strip and longest cut in your pattern before choosing it as your only ruler.
Use a smaller ruler because its size fits the work, not because every small tool is easier for a beginner. You still need space to hold it securely and keep your fingers away from the blade path. Avoid creating an unsupported cutting setup just to fit the desk.
Our verdict:
Repeated strip layouts
Best for quilters who want a slotted ruler for repeated cutting tasks.
View at Creative GridsKeep in mind: learn its measuring and slot system before cutting project fabric.
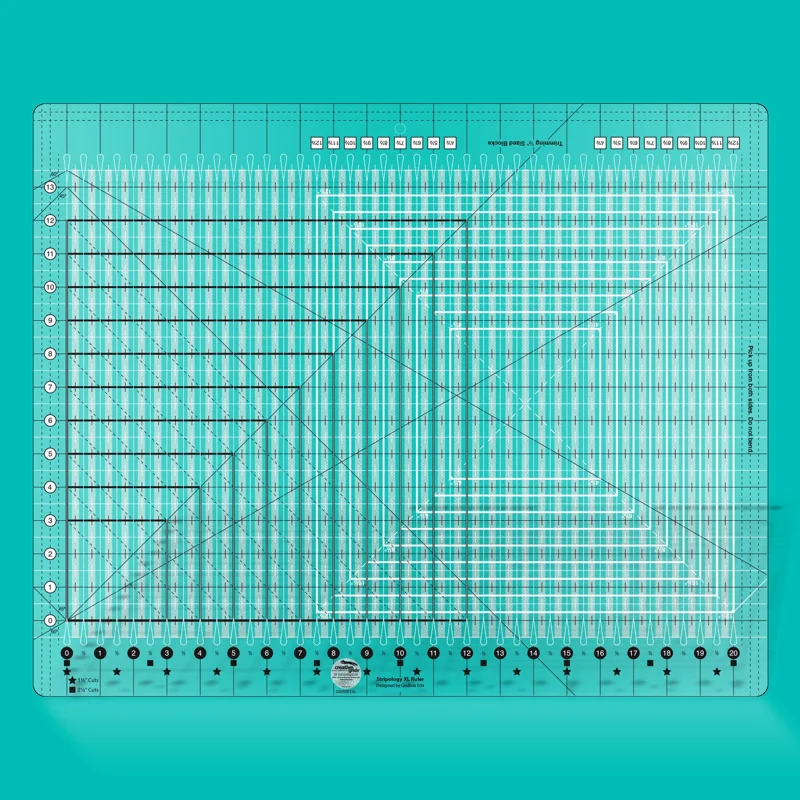
The Creative Grids Stripology XL is a slotted acrylic cutting ruler measuring 17 3/4 by 22 inches. This format may help when you cut lots of strips. Try it first on scraps. Read how its slots work. Follow the steps for the cut you need.
Check that the mat supports the ruler's working area. Practice the sequence with scraps, then verify the first cut pieces before continuing. A repeated-cutting tool can repeat a mistaken setup just as readily as a correct one.
For a square that finishes at 4 inches with chosen quarter-inch seams, the cut square is 4 + 1/4 + 1/4, or 4 1/2 inches. The ruler line you need for cutting is therefore 4 1/2, not 4. Keep those two sizes clear on your project sheet.
Now join two of those cut squares. Their combined unfinished width is 4 1/2 + 4 1/2 minus 1/2, or 8 1/2 inches. That joined pair finishes at 8 inches after outer seams take the final quarter inch at both ends.
Check the stage before you trim. An unfinished unit still needs fabric for its outer seams. Trimming it to the finished size too soon removes those allowances. Read the stage label and trim only to the size the pattern directs.
Choose one edge as your guide. Check the cut line, then uncover the blade. Keep the fabric smooth and flat. Use the line or angle the pattern calls for. A similar block may need a different cut.
After the first cut, measure the piece on its own. Repeat that check when you switch the width or turn the fabric. It is quicker to discover a wrong setting on one piece than after cutting all the fabric for a row.
If the ruler slips, stop and close the cutter. Reset the fabric and inspect the cut piece before continuing. OLFA's cutting advice covers cutting away from yourself and keeping the holding hand clear of the cutting edge.
A square ruler can help when you need to see both edges of a block at once. Choose one that covers the needed unfinished measurement and shows any alignment line the method needs. Check the pattern before buying a size based only on the block's name.
The half-square triangle guide gives assembly and trimming measurements for triangle units. Check the unfinished size before cutting away fabric. Trimming can square up an oversized unit, but it cannot restore one that is too small.
For guided stitching, confirm the exact foot and template combination before starting. Our quilting machines guide separates domestic and specialist formats. Check the fit each time you use a different machine.
If you are still choosing a first sewing setup, compare beginner quilting machines before buying ruler-work accessories. Learn to stitch a plain sandwich first, then add a guided design when you know the extra setup.
Choose a quilt ruler around the cut or stitch it needs to guide.
Use a long rectangle for strips, a smaller ruler when its sizes fit the pieces, and a slotted tool when you cut lots of strips. Keep machine templates separate. Check the first cut and the measurement stage every time you switch the setup.
No. Cutting rulers and machine-quilting templates have different jobs. For ruler work, check the template thickness and ruler foot required by your machine. Use only a combination that the instructions permit beside the needle.
Read the cutting plan before buying. A long rectangular ruler serves strips and rectangles; a square ruler helps with repeated block trimming. Check that you can read the markings against your fabric and that the full cut fits on your mat.
A ruler measures the distance to the line you select. Use the pattern's cut sizes, which should account for seam allowances. When calculating from a finished size, add the allowances before choosing the ruler line for your cut.