
Quilting
Free Motion Quilting: Setup and First Practice Lines
The short answer
Practice one curve at a time, check both faces and stop before shifting your grip. Keep the quilt's weight resting on the table.
Last updated October 2026
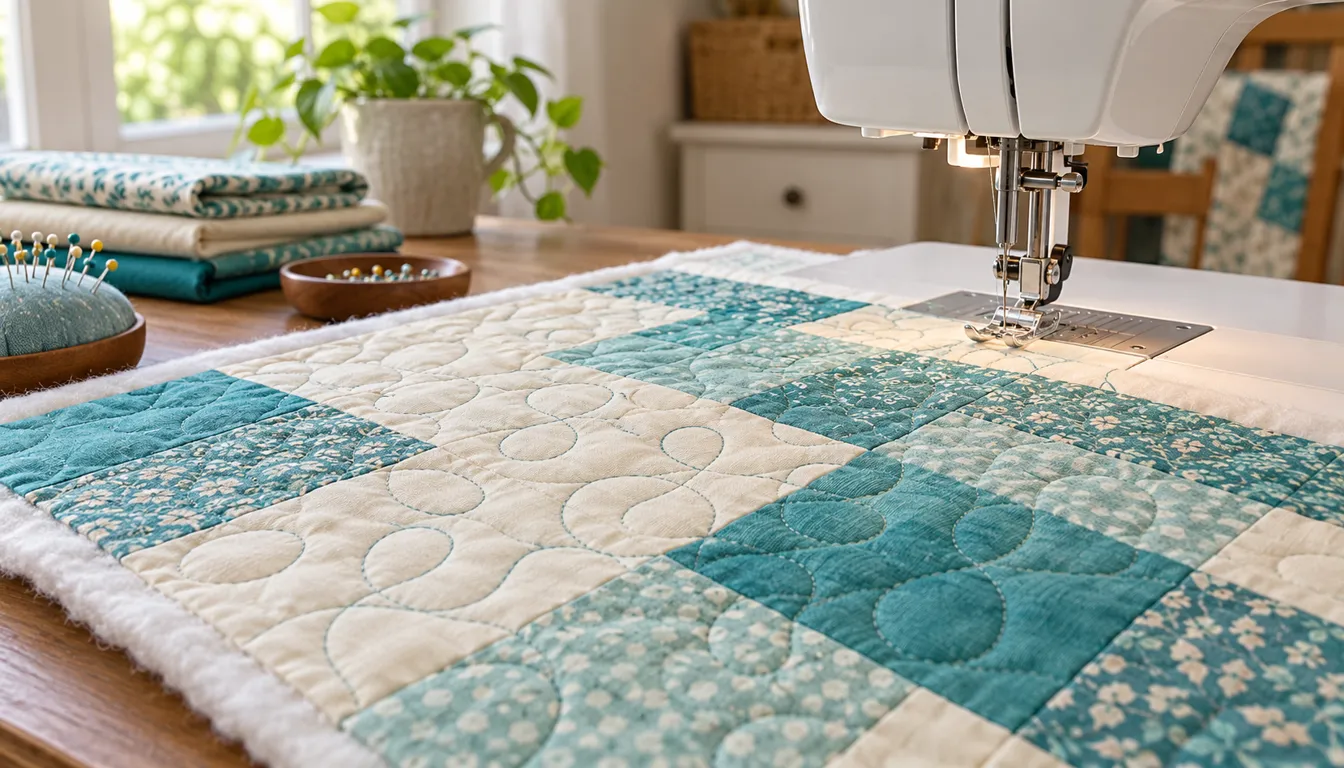
What's covered8
- Free motion quilting starts with a different way to move the fabric
- Prepare a small sandwich that lies flat
- Check the foot, needle clearance and machine setup
- Practice the path on paper before sewing it
- Coordinate speed and movement
- Reset the quilt before your hands run out of room
- Choose spacing that works for the batting
- Verdict on free motion quilting
Free motion quilting lets you move the quilt sandwich in any direction while the machine stitches. You control the fabric path and its movement under the needle. Begin with a small sample, a compatible quilting foot and the setup in your machine manual before trying a whole quilt.
The first goal is a smooth, repeatable line. A simple loop or gentle curve teaches more than a dense design you cannot follow. The quilting guide covers preparing the layers; this page focuses on controlling their movement.
Free motion quilting starts with a different way to move the fabric
In ordinary machine sewing, the feed system advances the fabric. In free-motion work, your hands guide the sandwich in different directions. The speed of that movement and the machine's needle speed together affect stitch length.
BERNINA's introduction to free-motion quilting describes the method and the need for a suitable foot and feed-dog setup. Follow the manual for your model because the control names and compatible feet differ.
Faster hand movement at the same needle speed makes longer stitches. Slower hand movement makes shorter stitches. When the hands stop but the needle continues, stitches collect in one spot. Practice coordinating those two actions on a sample.
Straight-line quilting with a walking foot is a different method. It uses the machine's feeding action to help move the layers. See machine quilting for beginners if you want that route for a first finished quilt.
Prepare a small sandwich that lies flat
For this practice plan, use a 12-inch top square and 14-inch squares of batting and backing. Centering them leaves 1 inch of extra material beyond each top edge. Baste the layers with the method suitable for your materials.
Choose plain top fabric or a quiet print so you can see the stitch path. Use the same type of batting and backing planned for the quilt. A very different sample may hide the handling problem you need to solve.
Inspect the reverse before placing it under the foot. A folded backing cannot become flat just because the front is smooth. Keep loose basting tails away from the needle area.
Make more than one practice sandwich. Use one to test the setup and another to practice moving the fabric. Keep the setup sample beside the machine so you can compare its stitches with any loops or uneven stitches that appear as you work.
Check the foot, needle clearance and machine setup
Check your machine manual for a compatible free-motion foot. Fit it as directed, then check that the needle clears the foot and that the sandwich can move beneath it.
Set the feed dogs or cover them only as the manual directs. Some machines require other settings for free-motion work. Do not copy another machine's control positions just because its foot looks similar.
Thread the machine and insert the correct bobbin using the normal instructions. Test on the layered sample and inspect both sides. If the stitch looks wrong, recheck the setup before changing tension settings.
When choosing equipment, compare beginner quilting machines for compatible feet, speed control and room to handle the quilt. A wide extension table can help with weight, but it does not increase the distance between needle and machine body.
Practice the path on paper before sewing it
Use paper to practice a continuous line. Start with wide curves that do not cross, then try an easy loop repeated across the page. Look ahead along the path instead of staring only at the point where the pen touches.
Choose one design for each sample area. Mixing tiny spirals, sharp points and large loops at once makes it harder to tell which movement needs work. Leave enough space that your hands can guide a curve without a sudden stop.
On paper, make a 12-inch square to represent the practice top and divide it into four 6-inch squares. Fill the first area with gentle waves, the second with open loops and the third with a large spiral. Repeat the easiest design in the fourth area, then try those paths on the fabric sample.
If marking the fabric, test the marking product and removal method on a scrap first. Use the maker's instructions. A line that vanishes on one fabric may behave differently on another.
Coordinate speed and movement
Begin in the middle of a small working area with the sample supported. Use the manual's recommended start for free-motion stitching. Bring loose thread tails clear of the path before moving into the design.
Move the fabric smoothly at a pace you can repeat. Start with a moderate machine speed that feels controlled on your setup. Avoid treating maximum speed as the goal; you are learning how the hands and needle work together.
After a short line, stop and inspect the stitch length. Long stitches on a curve may mean the hands moved faster there. A tight cluster at a point may show where the hands paused while the needle kept moving.
Repeat the same curve while keeping the machine speed steady. Move your hands a little slower and compare the stitch lengths. Once you can see how hand movement affects them, try a different machine speed on another line.
Reset the quilt before your hands run out of room
Keep the bulk supported on the table. A hanging section pulls against the area under your hands and can make the path jump. Rearrange the quilt when movement begins to feel heavy.
Work within a comfortable hand position. Stop the machine before shifting your grip. Smooth the next area and check that no fold has formed underneath before restarting.
Gloves made for quilting may help you grip fabric, but fit and feel vary. Test them on the sample if you use them. More grip does not fix a quilt trapped against the machine or dragging from the table.
Practice moving in several directions. A design may feel easy from left to right and awkward when moving toward you. Turning the whole quilt repeatedly can be hard on a large project, so build those directions on a small piece first.
Choose spacing that works for the batting
Decorative density and batting stitch spacing are related decisions. Read the specific batting's maximum quilting distance, then design a path that meets it across the whole quilt. Large empty areas still count even if nearby sections are densely stitched.
Compare free quilt block patterns when you want a small pieced sample to quilt. A single block is enough to practice moving around seam intersections and changing fabric colors.
Before quilting a large top, try the whole design on a sample large enough to show repeats. Check how the fabric feels and whether the backing stays flat. Closely spaced stitching can make the sample firmer, so feel it as well as looking at the lines.
Verdict on free motion quilting
Free motion quilting is a coordination skill you can build on small sandwiches. Use the correct setup, practice one path and inspect both faces often. Smooth movement and a quilt resting on the table give you a stronger base than starting with a complicated design.
FAQ
Why are my free motion stitches different lengths?
Hand movement and needle speed work together. Faster fabric movement at the same needle speed makes longer stitches. Practice one curve repeatedly and adjust one action at a time, checking both faces after each short line.
Do I need a special foot for free motion quilting?
Use a compatible free-motion foot and the setup specified in your machine manual. The foot needs suitable clearance for the layers and needle travel. Similar-looking attachments can fit different machines, so check compatibility before fitting one.
Should I begin with a whole quilt?
Begin with a practice sandwich resting on the table. Learn to start, move, stop and reposition without backing folds or thread clusters. Try the planned repeat on a larger sample before committing the pieced top to an all-over design.