
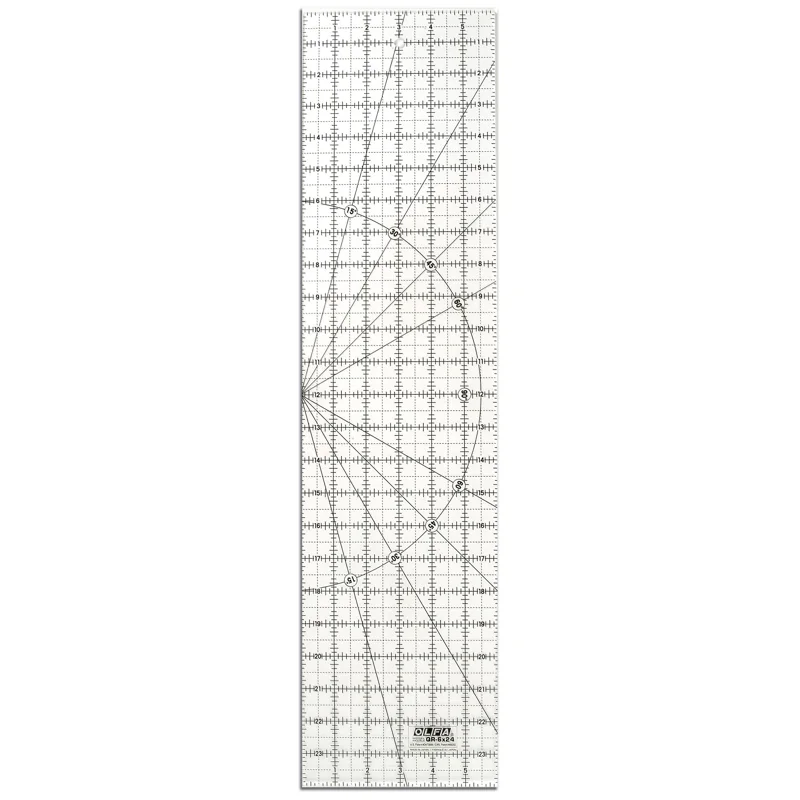
OLFA QR-6x24 six-by-24-inch frosted acrylic ruler
Our verdict:
Strip and grid measurements
Best for cutting long strips with a rotary cutter.
View at OLFAKeep in mind: hold the ruler securely and keep your hand clear of the cutting edge.
Quilting
The short answer
Find the repeated unit and its light-dark pattern. Test block rotations before choosing a cutting plan.
OLFA QR-6x24 six-by-24-inch frosted acrylic rulerView at OLFARead our analysis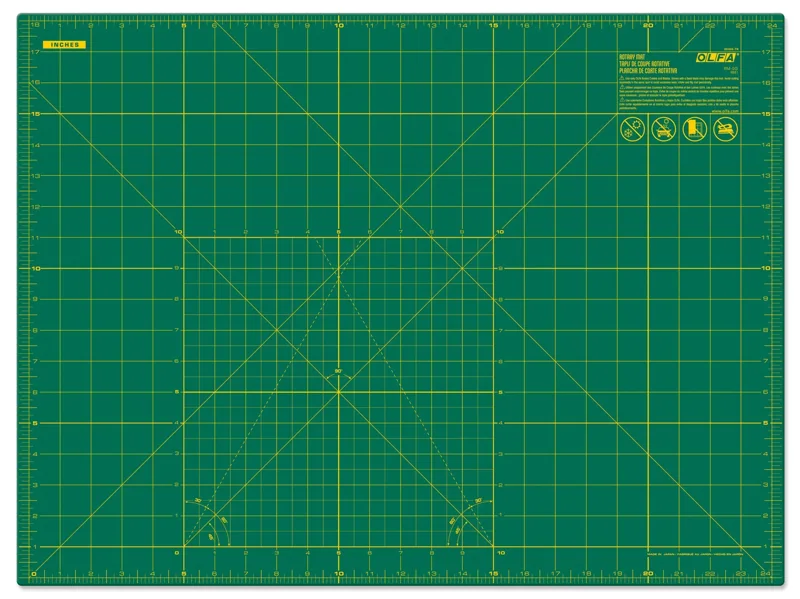 OLFA RM-SG 18-by-24-inch cutting matView at OLFARead our analysis
 OLFA RTY-2C/STQR quilting and sewing kitView at OLFARead our analysis
Patterns in quilts come from repeated shapes, changes in light and dark fabric, and the stitched lines that hold the layers together. Start by finding the repeated unit. Then choose a cutting plan that keeps that unit clear. A four-patch can create several looks with the same pieces.
Choose a ruler and mat that fit the strips and squares in your pattern. A cutting set can provide both tools plus a cutter if you need all three. Check what you already own before buying a set with duplicate tools.
Our quilting guide puts the pattern in context with fabric and finishing. A strong visual design still needs a cut list, seam allowance and join order before you can sew it.
OLFA QR-6x24 six-by-24-inch frosted acrylic ruler
Our verdict:
Strip and grid measurements
Best for cutting long strips with a rotary cutter.
View at OLFAKeep in mind: hold the ruler securely and keep your hand clear of the cutting edge.
The OLFA QR-6x24 is a six-by-24-inch frosted acrylic ruler. Its long edge suits straight strips and larger rectangles. Check the markings against your fabric and keep the whole cut over a suitable cutting mat.
OLFA RM-SG 18-by-24-inch cutting mat
Our verdict:
Patch cutting surface
Best for rotary cutting on a medium-size work surface.
View at OLFAKeep in mind: store flat and keep it away from heat; a rotary mat is not an ironing surface.
The OLFA RM-SG is an 18-by-24-inch double-sided self-healing rotary mat. Mark those four corners on your desk with removable tape to check the fit. Leave room beside the mat for fabric and the closed cutter.
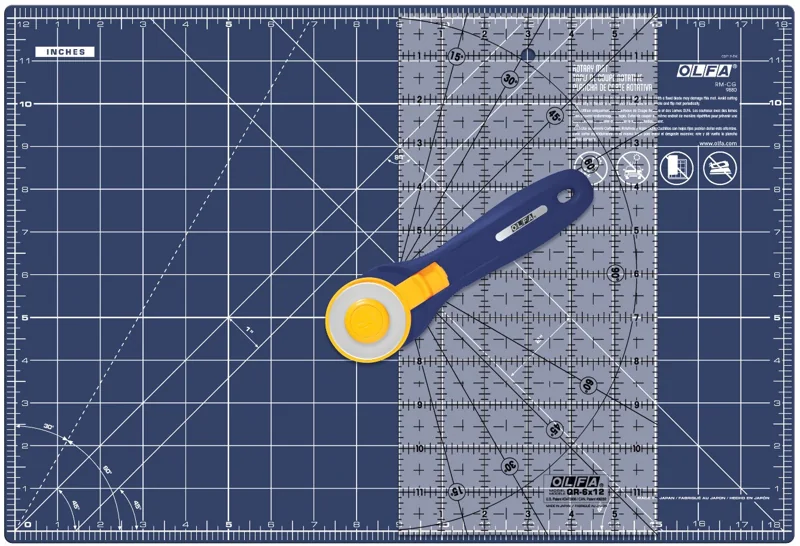
OLFA RTY-2C/STQR quilting and sewing kit
Our verdict:
First cutting setup
Best for starting rotary cutting with a coordinated cutter, mat and ruler.
View at OLFAKeep in mind: check the included mat and ruler dimensions against your work space before buying.
The OLFA quilting and sewing kit groups a rotary cutter, cutting mat and acrylic ruler. It is useful when the whole cutting station is missing. Check each item's current dimensions against your desk and pattern before ordering.
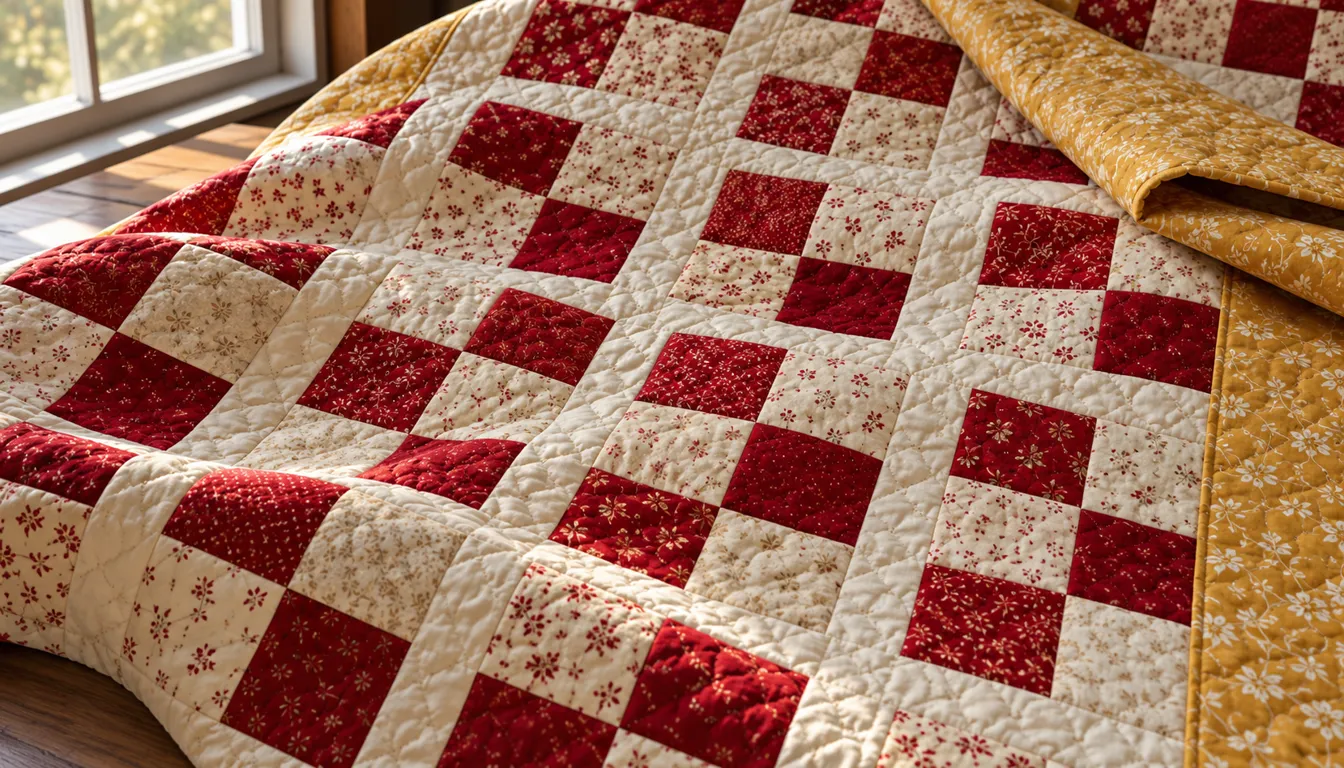
The top's patchwork is one pattern. The quilted stitches are another. A checkerboard top might have straight stitched lines, curves or a separate repeated motif across it. Decide which layer you are looking at before searching for instructions.
A pattern shop may use quilting patterns to mean complete quilt-top plans. A finishing lesson may use the same term for stitched designs. Read the project description and the materials list. Our quilt quilting patterns guide covers choosing the stitched path through the layers.
Browse the Robert Kaufman free-pattern library for quilt-top projects. Once you pick a pattern, follow its cutting chart and assembly steps together. A photograph can help you choose a look, but you need the instructions to know what to cut.
Cut eight light and eight dark squares at 4 1/2 inches. With 1/4-inch seams, each square finishes at 4 inches. Join four squares into each four-patch block, with dark squares at opposite corners. Each block should measure 8 1/2 inches before joining.
Lay the four blocks into two rows of two. The finished panel size is 2 x 8 = 16 inches in each direction. You have used 16 squares in all. The unfinished panel should measure 16 1/2 inches square.
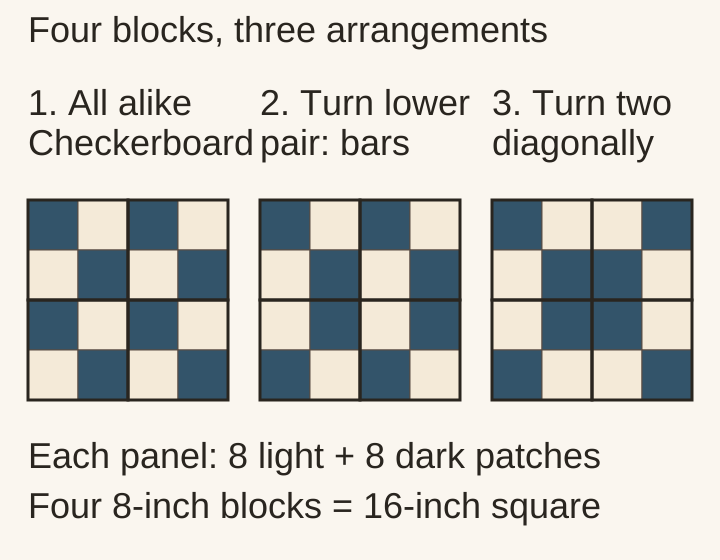
First, place every block with a dark square at upper left. The panel becomes a checkerboard. Next, rotate both blocks in the lower row by a quarter turn. Along the horizontal seam between the block rows, dark squares meet in vertical pairs.
Finally, start with the checkerboard again and turn only the upper-right and lower-left blocks a quarter turn. Four dark patches now meet in the center to make a larger square.
Photograph each arrangement before sewing. You can compare the three choices without using more fabric. Once the blocks are joined, changing the design requires unpicking. A few minutes of layout work gives you a real choice while the pieces are still loose.
Look for the smallest repeating unit: a single square, a block or a group of four blocks. Mark its boundaries on a paper diagram. Count how many units fit across and down before buying fabric.
For example, a design with five 8-inch blocks across and seven down finishes at 40 by 56 inches before borders. It needs 5 x 7 = 35 blocks. If each block uses two dark and two light patches, that is 70 of each patch color. The arithmetic follows the unit count, not the cover photo's apparent size.
Check light and dark balance with real swatches. A large flower print may look light in one part and dark in another. Cut a paper window equal to the visible patch size and move it over the cloth. The portion inside that window is what the finished patch will show.
Plain rows suit a repeated grid. A quilt-as-you-go method changes when the layers are quilted and joined, so follow a complete method written for that order. Do not assume a top-piecing diagram gives every later join detail.
Compare quilt blocks for more ways to arrange patches within a block. Visit quilt patterns to choose a whole-top layout. The beginner quilting machine guide helps you match machine controls to the construction you choose.
To read patterns in quilts, find the repeat, test its light and dark balance and count its units. Use a small contrast panel to judge rotations before sewing a large top. Buy tools for the cuts in that plan and keep stitched quilting designs as a separate finishing choice.
Repeated patches, block rotations and color changes create the top design. Quilted stitches add a second pattern through the layers.
Yes. Turn blocks, adjust the light and dark positions or add space between them. Test a small layout before joining rows.
A written cutting list and a ruler can be enough for straight squares. Use a template when the selected construction method calls for one.