
Quilting
Quilt Making for Beginners: Learn Each Stage
The short answer
Practice each stage on a small project: check your seams, finish the top, quilt the layers and close the raw edge with binding.
Last updated October 2026
What's covered8
- Quilting for beginners: understand the three layers
- Start with tools that do a clear job
- Choose fabric that makes the lesson easier
- Learn cut size and finished size with one exercise
- How to make a quilt for beginners: keep the top simple
- How to quilt for beginners: practice the sandwich
- Finish one project before adding harder blocks
- Verdict on quilt making for beginners
To make a quilt, sew fabric pieces into a top, layer it with batting and backing, then stitch through the layers and bind the edge. Learn these stages on a small project before managing a large quilt. You can practice each skill with scraps before using the project fabric.
Quilt making for beginners is easier when each stage has a clear purpose. The quilting guide helps with materials; our beginner quilt project gives you a complete square-grid cutting plan.
Quilting for beginners: understand the three layers
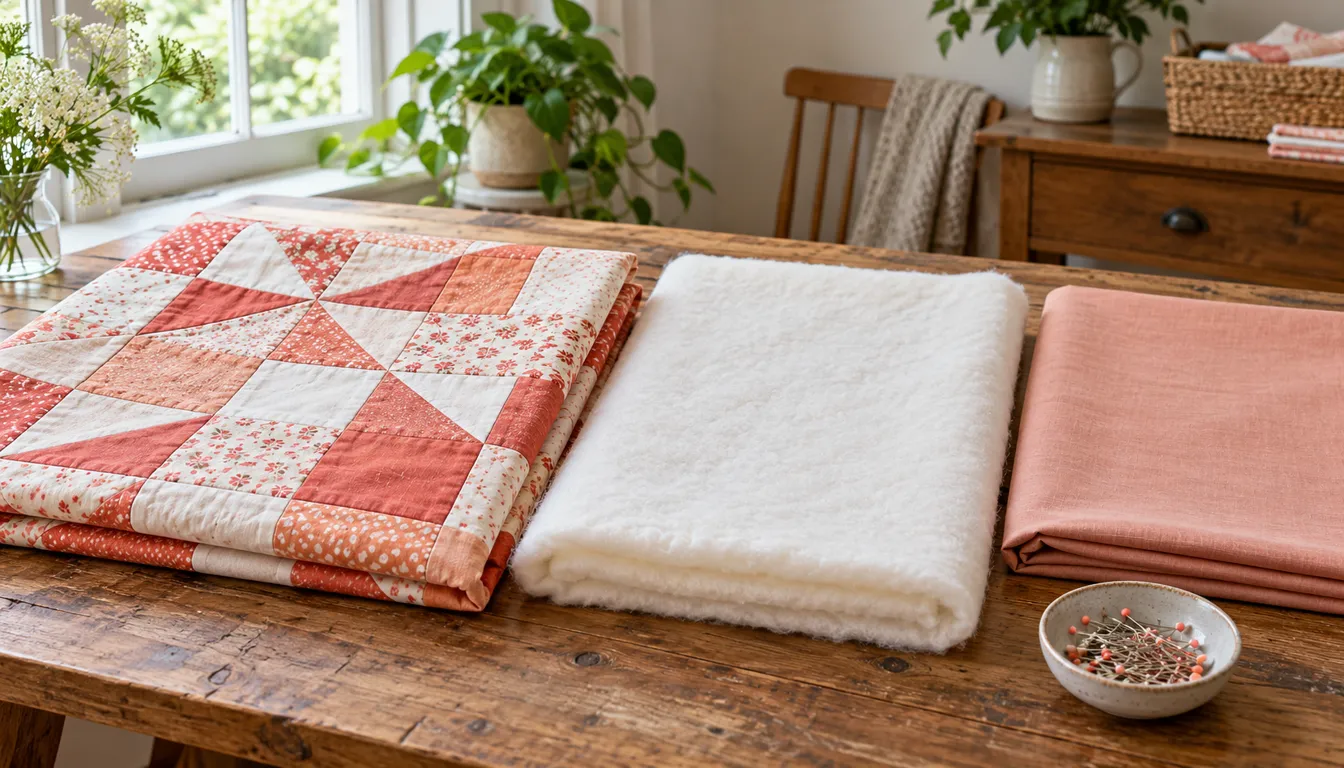
The quilt top is the visible pieced or whole fabric face. Batting is the filling. Backing is the fabric on the reverse. Quilting stitches pass through these layers to hold them together.
Piecing and quilting are different jobs. Piecing joins pieces into a top, usually with the fabric right sides together. Quilting joins the layered sandwich. A finished top still needs that second job and an edge finish.
Binding is a separate strip that encloses the outside raw edges. Borders, by contrast, are part of the top. A pattern may use both, so check the cutting list before treating the words as interchangeable.
SINGER's beginner quilting guide explains how to get started. Keep your machine's manual nearby for threading instructions, control settings and compatible feet.
Start with tools that do a clear job
You need a way to cut accurately, a ruler, fabric, thread, a machine or hand-sewing tools, and a pressing setup. A seam ripper is useful because correcting a short seam is part of learning.
If using a rotary cutter, choose a compatible cutting mat and follow the cutter maker's handling directions. Do not use a kitchen table as a cutting surface without suitable protection. Start with a few layers you can control rather than trying to cut a tall stack.
Pins or clips help hold joins and folds. Basting supplies hold the quilt sandwich temporarily before quilting. These are different uses, so check that the supply suits the stage rather than buying a large mixed kit without a plan.
Before replacing a machine, test its straight stitch on the fabrics you intend to use. Compare beginner quilting machines if you need a new one. Controls you can use and enough table room will help more than features you have no reason to select.
Choose fabric that makes the lesson easier
For a first patchwork project, use fabrics of similar weight and feel. Mixing a stretchy knit, slippery lining and firm cotton introduces different handling needs into every seam. Save that experiment for a project designed for mixed fabrics.
Check the fabric care directions before preparation. If you wash yardage first, prepare all the project fabrics consistently and measure them afterward. A precut pack may have different preparation advice from yardage, so read its maker's directions.
Choose prints that remain clear when cut into the planned pieces. A large motif may be lost in a tiny square. Directional prints need a top and bottom, which adds a layout check even in a simple grid.
Keep some light and dark contrast in the first project. You can judge block placement more easily when adjacent shapes do not disappear into one another. A photo of the layout helps catch areas that blend together.
Learn cut size and finished size with one exercise
For this exercise, use 1/4-inch seams. A piece loses 1/4 inch at each edge sewn into the quilt, so a square that finishes at 4 inches is cut 4 1/2 inches square.
Cut four 4 1/2-inch squares. Join them into two pairs, then join the pairs into one four-patch. Two 4-inch finished squares make an 8-inch finished block. The block should measure 8 1/2 inches before being sewn into a larger top.
The extra 1/2 inch is the pair of outer seam allowances. It belongs around the block's outside, not between the four visible squares. This distinction explains many beginner cutting errors.
Measure the block without pulling it. If it is too small, check both the cutting and seam widths. Check that the seams lie flat after pressing, too. Sew another sample that measures correctly before cutting a large batch of pieces.
How to make a quilt for beginners: keep the top simple
Pick a pattern with straight seams and a clear cutting list. Equal squares, large rectangles and simple strips let you repeat a small set of movements. Check the finished top size and the number of pieces before buying fabric.
Lay out the pieces before joining them. Label rows, take a photo and work in order. When a row is complete, compare it with the plan while it is still easy to move or unpick.
Press as you go, following the fabric's requirements. Missouri Star's own beginner lessons include pressing versus ironing and how to use quilting rulers. A short skill lesson can solve a problem faster than restarting a whole project video.
Check the top flat after joining each group of rows. A small error repeated across many joins can grow into a size problem. The full quilt tutorial shows a rectangle project if you are ready to carry the stages through in one sequence.
How to quilt for beginners: practice the sandwich
Make a small practice sandwich with top fabric, batting and backing. Hold the layers with the basting method you plan to use. Inspect both faces before stitching so you are not sewing over a backing fold.
Straight lines are a useful first quilting plan. Use the compatible foot and machine setup described in the manual. Rest the layers on the table and let the feed system move them instead of pushing the sandwich through.
The quilting must be close enough to meet the batting maker's instructions. Read the specific product guidance rather than borrowing a number from another batting. Different fillings can require different spacing and care.
Free-motion work adds the skill of moving the fabric yourself. Learn the basic layer handling first, then try free motion quilting on another sample. You can finish useful quilts with straight lines while building that skill separately.
Finish one project before adding harder blocks
Once the layers are quilted, trim the perimeter and bind it. The binding guide explains strip types and finishing choices. Practice a corner and an end join before taking the full quilt to the machine.
Look over the finished piece for open seams, missed binding and loose threads. Follow the materials' care directions. Write down the final size beside the pattern dimensions so you can see how much size was lost during quilting and washing.
After one complete project, choose the next skill deliberately. Star quilt patterns add angled units and point matching. Repeating another plain grid is also useful if you want cleaner seams or a more controlled finish.
Verdict on quilt making for beginners
Quilt making for beginners becomes manageable when you separate the stages and check each one. Learn a consistent seam, complete a simple top, practice quilting a sandwich and finish the edge. Those skills carry into far more projects than an early collection of difficult blocks.
FAQ
What does piecing mean in quilt making?
Piecing joins fabric patches into the top. It happens before adding batting and backing. Quilting is the later stitching through those layers, and binding encloses their outside edge. Keeping the terms separate makes a pattern easier to follow.
Can I start quilting with my ordinary sewing machine?
Check its manual and test a straight seam on the planned fabrics. A working domestic machine can handle piecing and manageable layered samples. The project size, compatible feet and table room determine what you can comfortably finish on that setup.
When should a beginner try star blocks?
Try them after your straight seams and block measurements stay consistent. Read the pattern's construction method first, since stars can use different units. Make one sample before cutting a full quilt and keep its instructions with the cutting list.