
Quilting
Binding: Quilt Edge Types and How to Choose
The short answer
Choose binding for the quilt's outline and finishing method, then test the wrap on the same fabrics and batting before cutting strips.
Last updated October 2026
What's covered8
Binding is the fabric finish that wraps a quilt's raw outer edge. It encloses the cut edges of the top, batting and backing, giving the quilt a neat edge that can be handled and washed. For a first straight-sided quilt, a separate double-fold fabric strip is a useful starting point.
The first choice is the kind of edge you need. A square quilt, a curved runner and a tiny wall hanging can call for different binding. This guide explains those choices before you cut fabric. Visit the quilting guide to see how this last stage fits with the rest of a quilt.
Binding and the other edges of a quilt
Binding is added after the layers have been quilted. A border belongs to the quilt top and makes that top larger. Sashing is fabric between blocks. Neither replaces the strip that closes the raw outer edge.
A facing turns to the back and leaves little or no visible frame on the front. A turned backing uses extra backing fabric folded around the edge. Those are separate finishing methods. When a pattern calls for binding, read its directions before replacing it with another finish.
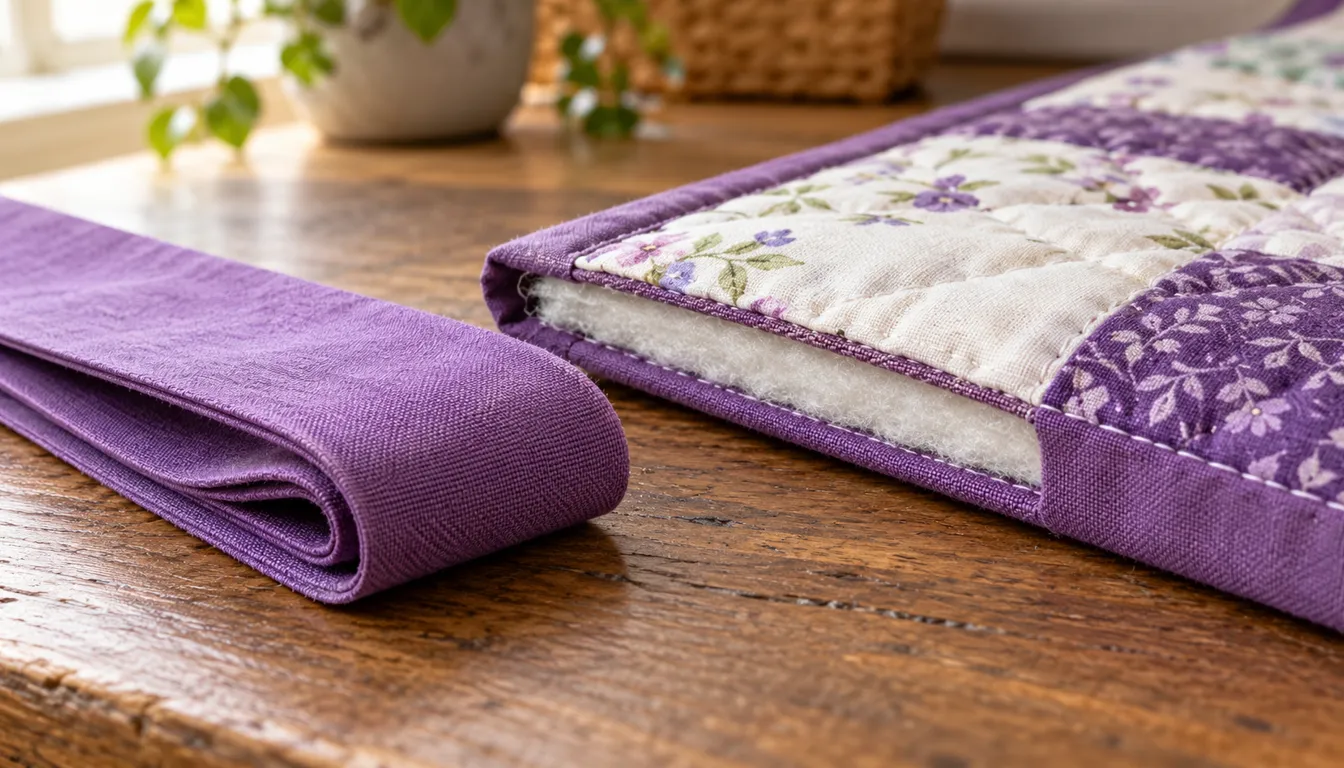
Think of the edge as a small fabric cover around a layered sandwich. The first seam anchors the strip. Its remaining width turns around the thickness of the sandwich and covers that seam on the other side. If the strip is too narrow, it cannot reach. If it is much too wide, the folded edge may feel loose and empty.
Double-fold binding starts with one long strip
Double-fold quilt binding starts with a fabric strip folded in half along its length, wrong sides together. The two raw edges meet the quilt's raw edge for the first seam. The long folded edge later wraps to the other side.
The term can be confusing in a store. Packaged double-fold bias tape may already have both long raw edges turned inward, then be folded again. That is a different preparation from the long strip used in many quilt tutorials. Read the package's folded width and method rather than relying on the name alone.
BERNINA's binding guide shows a binding attachment with its own strip preparation. An attachment must be matched to the strip format it accepts. A strip prepared for ordinary hand finishing does not automatically fit a binder foot.
For an ordinary quilt, make a small layered test edge with your chosen fabric and batting. It shows how much fabric the turn consumes. That physical check is more useful than guessing the finished appearance from a strip lying flat.
Straight-grain or bias binding
Straight-grain binding is cut along the fabric grain. Crosswise strips run across the width of the fabric; lengthwise strips run along its length. Bias strips run diagonally to the grain and can bend around curves more readily.
Choose the method the project needs. A rectangle with square corners can use straight strips. A scalloped edge needs a method that follows curves, usually bias binding with directions for its tightest turns. Do not force a straight strip around a tight curve and expect it to stay smooth.
For a first project, keep the outer outline rectangular. Learn the wrap and corner folds there. Curved edges add both cutting and sewing decisions, so they make more sense once you can judge an even straight edge.
Use the pattern's binding width for the first sample. Test it with the batting and attachment method you will use on the quilt. The strip needs enough width to wrap around those layers and cover the first seam.
Binding width: cut size and visible size
A cut strip width is not the same as the visible band on the finished quilt. Folding, the attachment seam and the turn around the edge all use fabric. A 2 1/2-inch strip does not make a 1 1/4-inch frame on the quilt front.
For a planning example, fold a 2 1/2-inch strip in half. It measures 1 1/4 inches from fold to raw edges. Sew the raw edges with a 1/4-inch seam. About 1 inch remains beyond that seam before it wraps around the edge. The thickness of the quilt takes part of that inch; the rest must cover the seam on the back.
These figures show how the strip folds around the quilt edge. A thick batting takes more turn than a thin sample. A wider first seam leaves less strip available to wrap. Our binding calculations show how to plan length and fabric use separately.
Try binding colors against the quilt
A matching binding makes the edge quiet. A dark contrasting binding gives the top a clear frame. A stripe can add movement, but test its direction on the actual edge before deciding how to cut it.
Lay a folded strip against more than one part of the top. A color that looks good beside the center may disappear beside the outer blocks. Check it from across the room as well as at the sewing table.
Small leftover pieces can make a pieced binding if they share a suitable fabric weight. Plan joins away from corners, where extra seam bulk makes folding harder. If the quilt already has many prints, a single binding color can help the edge read clearly.
Keep the backing in view too. A binding is seen from both sides. Put the proposed strip against the backing and check whether the thread you plan to use will blend with the side where the last seam appears.
Choose hand finishing or machine finishing
With hand finishing, the strip is commonly attached to the front by machine, then folded to the back and secured with small hand stitches. This gives control over the folded edge and keeps the last stitching quiet on the front.
For machine finishing, one option is to attach the strip to the back, fold it to the front and topstitch near its folded edge. You can see the fold as you sew. A line of stitching will also show on the back, so test its placement before sewing the quilt.
The hand-finished binding lesson walks through the first method. The machine binding guide covers the second. Pick the finish before choosing strip width; the fold must reach far enough for the chosen last seam.
Check the edge before adding the strip
Complete the quilting first. Flatten the quilt and check its outline without pulling it into alignment. Remove loose threads, then trim the layers to a clean edge using the top as your guide. Keep important points and outer seam allowances in mind.
Binding can cover a cut edge, but it cannot straighten a stretched quilt top. If the perimeter waves, inspect the quilting and outer seams before attaching a tight strip. Pulling the binding hard can make the edge curl instead of fixing the cause.
Keep a short sample with your project records. Record the strip width, first seam width and final method. The next time you use the same fabric and batting, that sample gives you a useful starting point.
Verdict on binding
Binding is a small part of the quilt with a clear job: enclose the outer raw edges. Start with a straight-sided sample, choose the final stitching method, and test the wrap before cutting all the strips. A clean, well-fitted edge matters more than a fancy finish.
FAQ
Is binding the same as a quilt border?
No. A border is part of the top and adds to its size. Binding wraps around the raw outside edge after the layers are quilted. A project can have both, with separate fabric cuts for each job.
Is packaged double-fold tape the same as quilt binding?
Check the actual folds and finished width. Packaged tape may have both raw edges folded inward before being folded again. Many quilt methods start with a single wide strip folded only in half lengthwise. The names alone do not establish compatibility.
When should I choose bias binding?
Use the project's directions for curved or scalloped edges. Bias-cut strips can bend around curves more readily than straight strips. Start with a rectangular sample if you are learning the wrap and corner folds for the first time.