
Quilting
Eleanor Burns Quilt in a Day: A Beginner Guide
The short answer
Keep a Quilt in a Day pattern with its matching lesson. Check one unit before batch sewing, and allow time for quilting and binding after the top is pieced.
Last updated October 2026
What's covered8
- Eleanor Burns Quilt in a Day: what the method emphasizes
- Quilt in a day: plan the work by stage
- Choose a book or pattern by its actual needs
- Understand strip piecing with a separate practice exercise
- Make the first unit before assembly-line sewing
- Keep the tools tied to a task
- Finish beyond the pieced top
- Verdict on Eleanor Burns Quilt in a Day
Eleanor Burns teaches strip piecing and batch sewing through Quilt in a Day books, patterns and videos. Choose a project from the Quilt in a Day site, then check its tools and fabric requirements. Plan separate sessions for piecing, quilting and binding.
Keep the selected book or pattern beside its matching video, and write down the size each unit should measure before its next seam. Use the quilting guide to plan fabric quantities, batting and binding before starting the lesson.
Eleanor Burns Quilt in a Day: what the method emphasizes
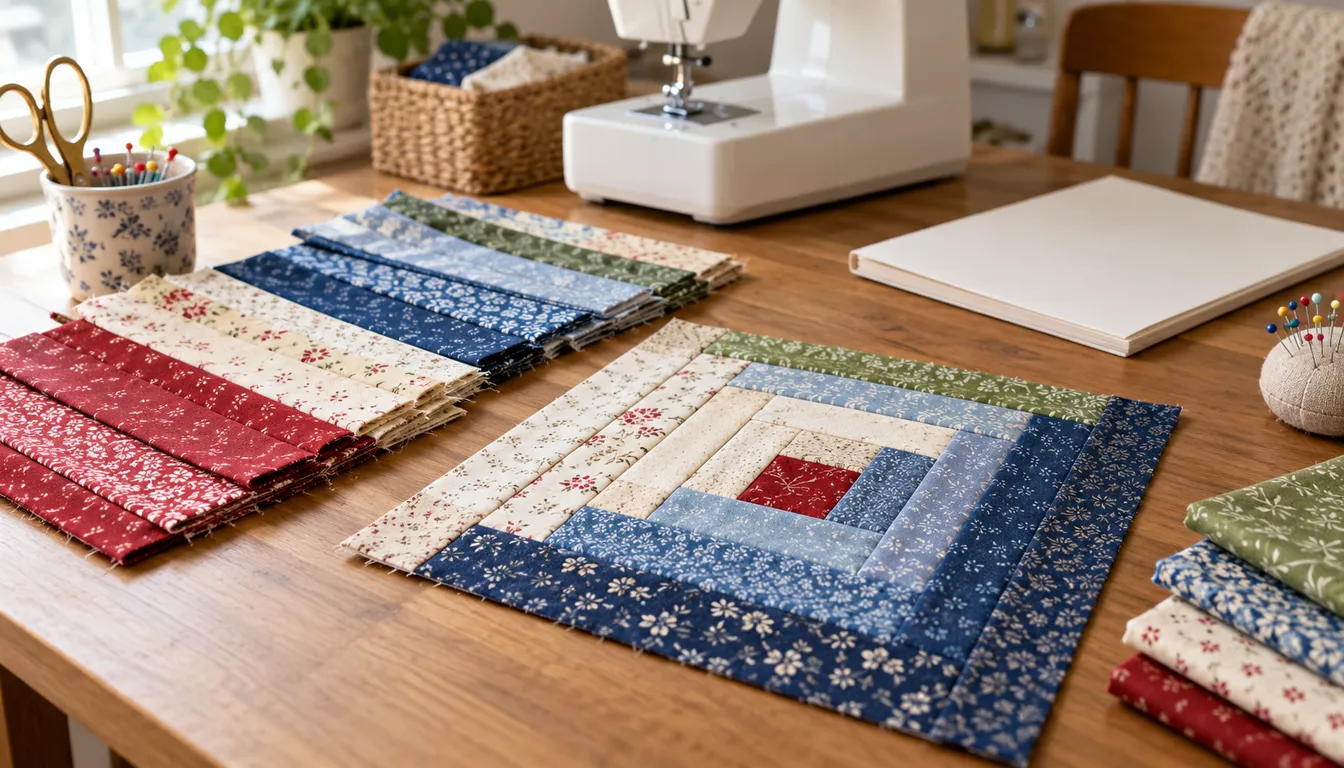
The Quilt in a Day site's story describes Eleanor Burns's use of strip work and assembly-line sewing. It identifies her first self-published book as Make a Quilt in a Day: Log Cabin Pattern, published in 1978.
For a beginner, the useful idea is to repeat a step across a group of pieces before moving to the next step. That can make the sequence easier to follow. You still need to check a sample before turning one mistake into a whole batch.
The Quilt in a Day website offers books, patterns and tools, with links to videos and free patterns. Find the exact project there and check its version and supplies before following a matching lesson.
Choose the steps for the project you intend to make. Similar block names do not guarantee the same cutting method. Keep a book's own cutting figures with its own assembly steps rather than combining them with a different tutorial.
Quilt in a day: plan the work by stage
A title does not tell you how long your first attempt will take. Your pace depends on setup, seam checks, project size and the finishing method. Plan for a complete quilt rather than only a completed top.
Divide the project into selecting and preparing fabric, cutting, sewing sample units, batch piecing, top assembly, layering, quilting and binding. Each stage has a useful stopping point, so you can spread the work across available sessions.
Keep the first project modest. A small strip-pieced design lets you learn the order without handling a large top. If a pattern offers several sizes, compare the piece count and finished sizes before choosing the largest.
Use the quilting routine guide to organize short sessions. A note that names the next step makes a repeated process easier to resume after several days away.
Choose a book or pattern by its actual needs
Read the project description for the shapes, skills and tools it uses. Look for a stated finished size, fabric amounts, cutting list and diagrams. Check whether a special ruler is needed or simply shown as one option.
Look for a lesson that shows its main sewing steps clearly. If it requires a tool you do not own, check the cost and where you would store it. A simpler first project may let you practice with tools already on your sewing table.
For a printed book, check the edition and project name before following a video. For a digital pattern, save the publisher's file and keep its page order intact. Print any template at the scale stated in the steps and verify the check square before cutting fabric.
If you already own fat quarters, compare the cuts with our fat-quarter quilt pattern guide. Check the usable length of each piece: some strip-pieced patterns need longer strips than a fat quarter can provide.
Understand strip piecing with a separate practice exercise
Try a small strip set to see how seams affect its width. Cut three fabric strips 2 1/2 inches wide and 18 inches long. Join their long edges with 1/4-inch seams, keeping the ends aligned.
The starting total width is 7 1/2 inches. Two joins consume 1 inch across the set, leaving a 6 1/2-inch-wide sewn strip set. Its length remains about 18 inches before squaring the ends.
After squaring one short end, cut across the set into 2 1/2-inch-wide segments. Seven such segments need 17 1/2 inches of usable length. You may get fewer if squaring and handling have reduced the actual usable length. So measure before choosing a batch yield.
This exercise shows why the sewn strip-set width and the subcut width are different measurements. Write both in your records. Follow the chosen pattern for how its segments are rotated and joined into blocks.
Make the first unit before assembly-line sewing
Cut only enough fabric for one trial unit. Sew it with the stated allowance and measure it at the point specified in the steps. Compare the direction as well as the size.
If the unit is too small, inspect the strip cuts and seam width. If it bows, check handling and pressing. Do not stretch it to match a ruler and then use it as the standard for the remaining blocks.
Once the sample is correct, batch the repeated step. Keep groups in shallow trays or labeled piles. Count at the end of each step so a missing piece is found before the next operation depends on it.
Chain piecing can keep repeated units in order. But stop to check the first few seams. A long chain of incorrectly oriented pieces takes longer to undo than a short pause at the start.
Keep the tools tied to a task
Start with an accurate ruler, suitable cutting tools, thread, pins or clips and the sewing tools the project names. Follow each maker's handling directions and your machine manual. Avoid buying extra specialty tools before you know where they enter the method.
Match the machine to the work you expect to do after this one project. The beginner quilting machine guide compares useful controls and work space. A consistent seam and a clear work surface matter during every repeated unit.
For a small project with a supplies shortlist, see baby quilt patterns. Choose the pattern first. Then buy the items that perform its cutting, stitching and finishing jobs.
Finish beyond the pieced top
Measure the completed top before sizing the backing and batting. Ask a quilting service for its needs if using one. For home quilting, test the actual sandwich and make sure the quilt's weight is supported.
Read the batting's maximum stitch-spacing directions before marking quilting lines. Keep every gap within that limit so the stitching holds the filling in place. Choose a manageable repeat and inspect the reverse while sewing.
After quilting, trim carefully and calculate binding from the actual edge. Keep the binding calculation guide nearby for strips and joining losses. Inspect the final corners and seams before following the supplies' washing directions.
Verdict on Eleanor Burns Quilt in a Day
Eleanor Burns Quilt in a Day offers a route into organized, repeated quilt sewing. Select a project from the Quilt in a Day site, check the first unit and keep the cutting list with its matching steps. Plan the finish as carefully as the piecing so the work becomes a complete quilt.
FAQ
Is Quilt in a Day a promise of my finishing time?
Plan the time around your own project and experience. Cutting, sample checks, layering, quilting and binding are separate stages. A small top can come together quickly while the complete quilt still needs several careful finishing sessions.
What should I check before buying a Quilt in a Day pattern?
Read the exact project name, version, finished size and needed tools. Keep its cutting list with its own assembly directions. If a special ruler appears, check whether the method requires it before buying fabric around that project.
What makes batch piecing useful for a beginner?
Repeating a checked step keeps the current task clear. Make one accurate unit first. Then work through a counted group. Check early seams and orientations so the batch repeats the correct method rather than multiplying a small mistake.