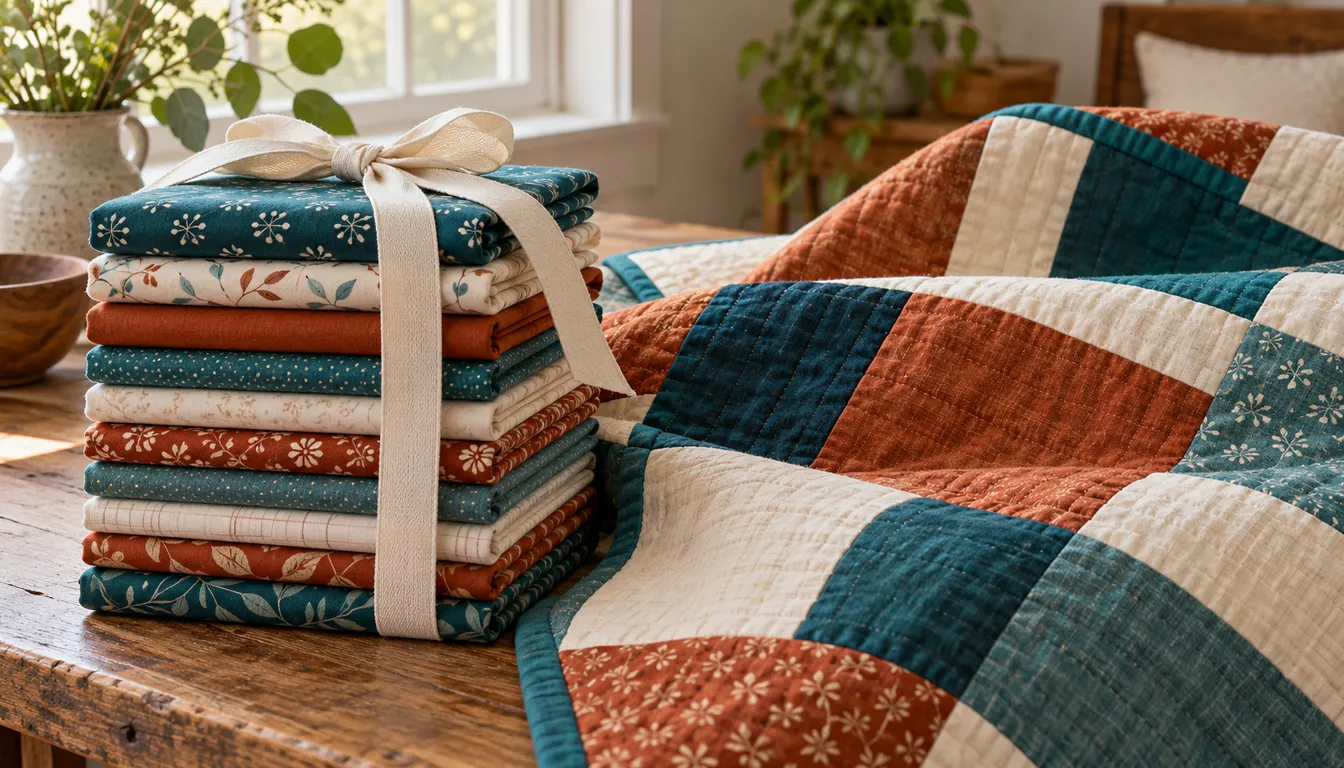
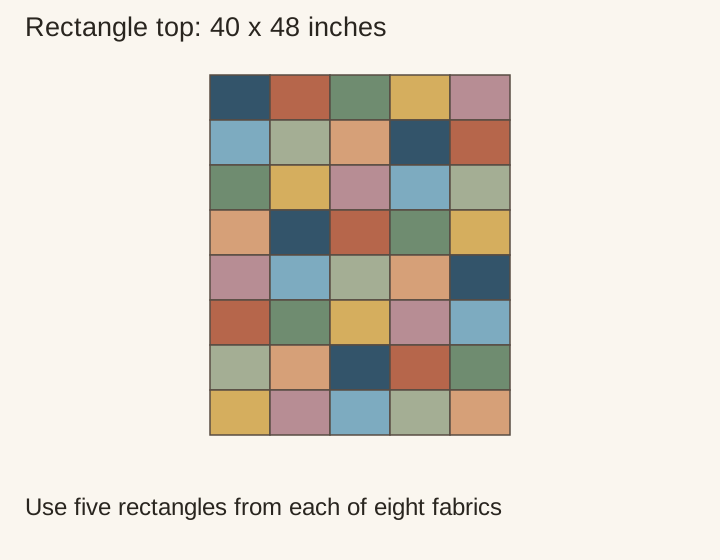
Choose a fat-quarter quilt pattern by checking its largest cut against the fabric in your bundle. Then check the number of patches and the contrast between prints. The rectangle quilt below uses eight measured fat quarters for a 40-by-48-inch top. Plan backing and binding separately.
Three supplies for fat quarter quilt patterns
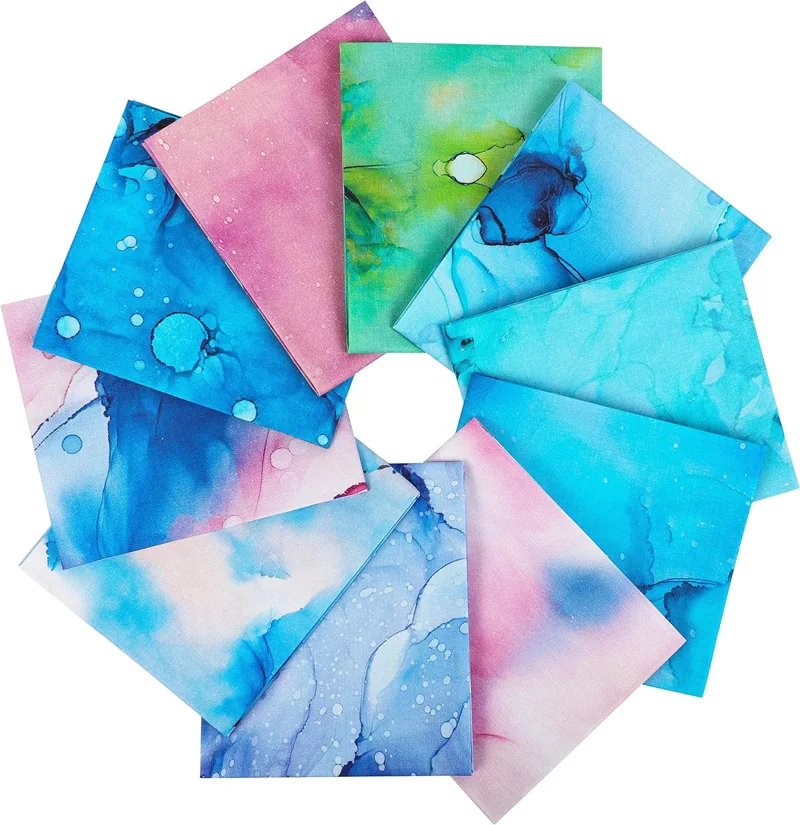
Ten-piece cotton bundle for selecting eight prints.
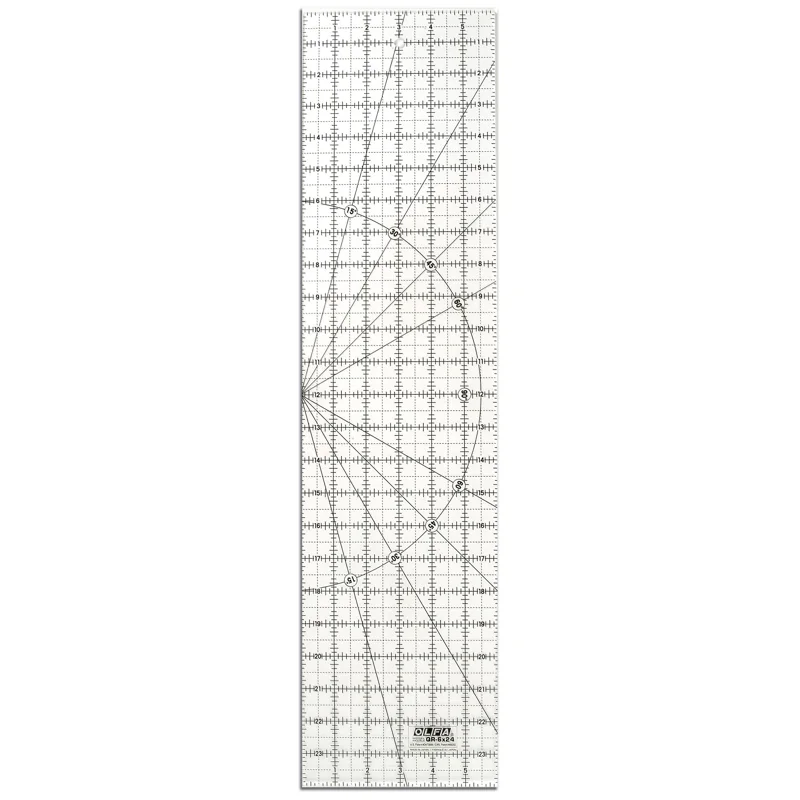
Long acrylic ruler for measured rectangle cuts.
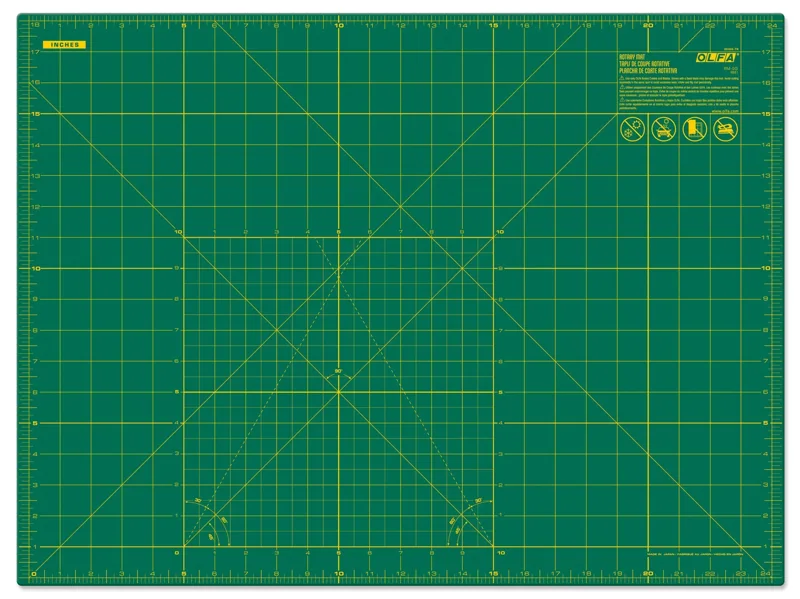
Cutting mat for the fabric pieces.
Match supplies to your project
Start with fabric pieces whose dimensions fit your chart. Add a ruler and mat only if your present setup cannot measure and cut those pieces. For this small rectangle quilt, focus on tools that can measure the cuts and fit the fabric pieces.
Use our quilting guide to plan backing, batting and binding alongside your top fabric. Check each material's dimensions and quantity before buying a bundle so you know which other supplies to add.
Keep in mind: measure each piece before using a cutting chart with little spare width.
The bundle contains ten 18-by-21-inch cotton pieces in different prints. Those dimensions fit the planned cuts only when the actual usable cloth remains large enough. Select the color group you want, inspect the prints and follow their care directions before cutting.
Keep in mind: hold the ruler securely and keep your hand clear of the cutting edge.
The OLFA QR-6x24 is a six-by-24-inch frosted acrylic ruler. Its long edge suits straight strips and larger rectangles. Check the markings against your fabric and keep the whole cut over a suitable cutting mat.
Keep in mind: store flat and keep it away from heat; a rotary mat is not an ironing surface.
The OLFA RM-SG is an 18-by-24-inch double-sided self-healing rotary mat. Mark those four corners on your desk with removable tape to check the fit. Leave room beside the mat for fabric and the closed cutter.
Fat quarter quilts: check what the name means on the label
Read the dimensions rather than relying on the words fat quarter. The bundle above contains 18-by-21-inch pieces. Other packs can use different cuts or smaller squares. A square labeled for patchwork is not automatically a substitute for a rectangular piece in this plan.
Browse the Fat Quarter Shop fat-quarter pattern library for more projects. Check how many fat quarters each pattern needs and whether it calls for background fabric too. A quilt with many prints may still need plain yardage.
Compare cutting yields with quilt patterns using fat quarters. Match the largest cut to the usable size of each piece before choosing a bundle. Then count how many patches you can cut from each fabric.
Cut a rectangle quilt top: 40 by 48 inches
Choose eight fabric pieces, each with at least 17 by 19 1/2 usable inches after preparation. From each, cut six rectangles at 8 1/2 by 6 1/2 inches. Place two across the 17-inch side and three down the 19 1/2-inch side. This is a fixed orientation; check one-way prints before cutting.
Eight fabrics yield 8 x 6 = 48 rectangles. The top needs five columns and eight rows: 5 x 8 = 40 rectangles. You have eight spare rectangles. Each rectangle finishes at 8 by 6 inches with 1/4-inch seams, so the top finishes at 5 x 8 = 40 inches wide and 8 x 6 = 48 inches high.
Requirement
Calculation
Result
Rectangles per fabric
2 across x 3 down
6
Rectangles cut
8 fabrics x 6
48
Rectangles used
5 columns x 8 rows
40
Spare rectangles
48 minus 40
8
Scroll for more →
Use five rectangles from each of eight fabrics and keep the sixth as a spare.
Use five rectangles of each print in the top. Spread repeated prints across different rows instead of placing all five together. The spare rectangle from each print can stay with the project until the top is complete. It gives you a replacement if a piece is damaged or cut wrong.
Before sewing, count five rectangles of every print in the layout and one of each in the spare pile. Label the spare pile and set it aside. This quick count catches an extra rectangle on the table or a missing piece in a row before either causes confusion at the machine.
Choose prints for fat quarter quilt patterns
Lay the eight fabrics side by side and group them as light, middle and dark. Try alternating those groups across the layout. If all the prints are busy, a clear light and dark contrast helps keep the rectangles visible.
Look at a small fabric window equal to the finished 8-by-6-inch patch. A large motif may be cut by the seams. If you move every cut to center a flower, the six-per-piece yield may differ. Count those special cuts on the cloth instead of using the simple chart.
Arrange five rectangles in each of eight rows. Join row one and check for 40 1/2 by 6 1/2 inches. Five cut widths total 42 1/2 inches; four joins use 2 inches. Then make the other rows and check them against the same target.
Join the eight rows. The unfinished top should measure 40 1/2 by 48 1/2 inches. Measure its real size before preparing the other layers. If one row is short, inspect its cuts and seams before forcing it to meet another row.
Use the beginner quilting machine guide if you need help choosing controls for repeated seams and handling the joined top. Before quilting, practice with scraps of the top fabric, batting and backing. Use that sample to check your stitch settings.
Verdict
Choose fat quarter quilt patterns by actual usable piece size and color balance. For this layout, eight pieces produce six rectangles each; five from each print enter the top. Keep the spare cuts until the top is measured and ready for finishing.
FAQ
How many fat quarters does this quilt need?
Use eight pieces for the top, each with a usable area of at least 17 by 19 1/2 inches. That fits six rectangles per fabric. Plan backing, batting and binding separately.
Can a ten-piece bundle make this top?
Yes, if at least eight pieces fit the cutting area. Choose eight prints for the top and save the other two. Calculate backing separately from its required width and length.
Should I wash fat quarters before cutting?
Follow the fabric care directions and the pattern method. Measure after preparation, since shrinkage and fraying can leave too little cloth for a close cutting plan.