
Quilting
A Quilting Life: Build a Routine You Can Keep
The short answer
Set a small task for each sewing session, and keep the fabric, tools and instructions together so you can pick up where you stopped.
Last updated October 2026
What's covered8
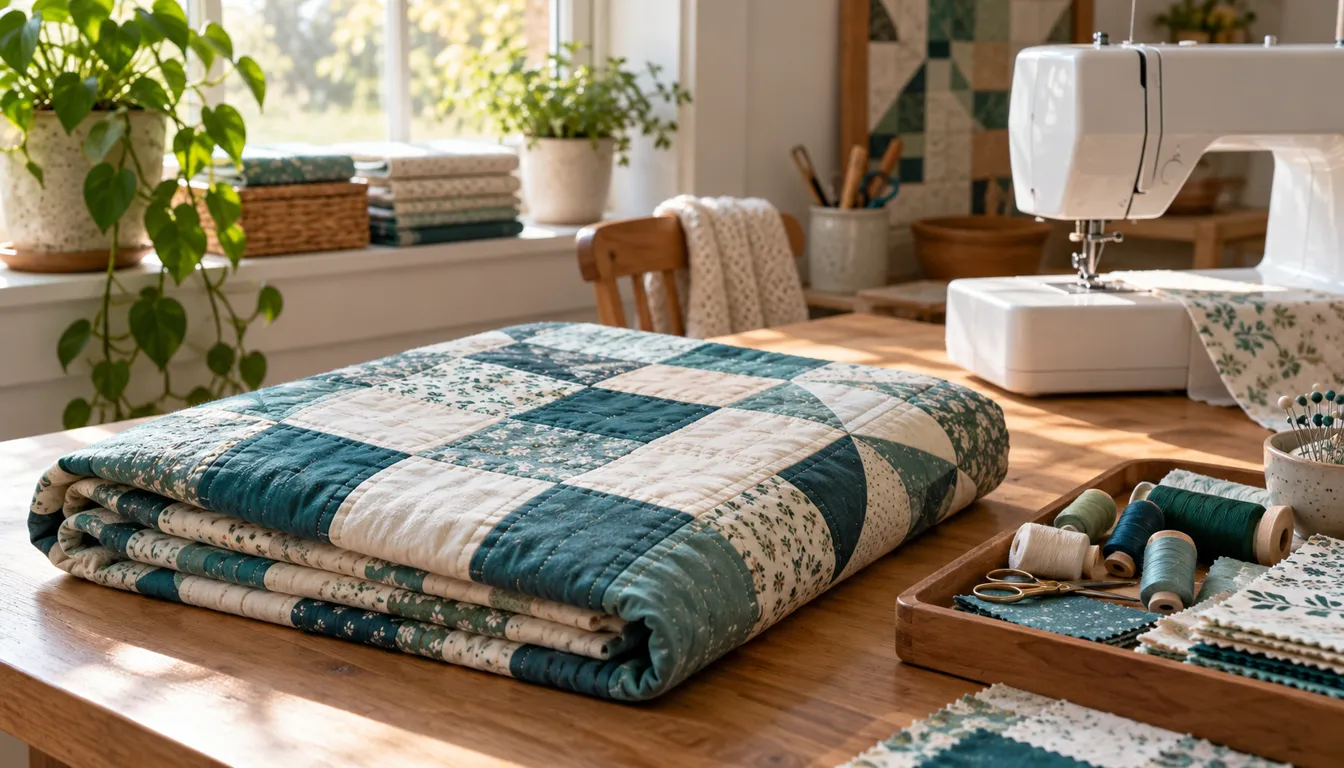
A quilting life grows from small projects you can return to and finish. Keep your current work together and choose a task for each sewing session. A spare corner of a room can work if you can set up, sew and put things away without losing your place.
Start with the quilting guide to plan your materials and sewing stages. Choose a manageable project, then break the work into short sessions with clear stopping points.
Build a quilting life around one active project
Pick a project small enough to lay out, sew and quilt in the space you have now. A square patchwork mat teaches cutting, joining, layering and edge finishing without a bed-size bundle to manage.
Keep the active project in one tray or shallow box. Include its fabric, pattern instructions, sample seam and current cutting list. When the project has a home, clearing the table does not mean losing your place.
Save future project ideas in a folder with a picture, link or fabric swatch for each. Buying every project's materials at once can fill the space you need to finish the first one.
Define what finished means before starting. For a practice mat, it may mean a quilted sandwich with a bound edge. For a gift, it also includes washing according to the materials' directions, inspecting the seams and adding a care note.
Set up three small work zones
Quilting moves between cutting, sewing and pressing. Those jobs can share a table if you put the tools away between stages. What matters is having a stable surface for each task and enough room to handle the piece without dragging it.
Keep cutting tools together so you can check the work surface before opening them. Store the machine's manual, correct bobbins and spare needles near the machine. Place the pressing setup where you can use it without laying hot equipment on fabric piles.
For pressing technique, Missouri Star's own tutorial library includes a lesson on pressing versus ironing. Watch that specific skill lesson before trying to flatten a long row by force.
Leave a clear area for the quilt to rest during sewing. A bigger machine does not fix a table covered with tools. Our beginner quilting machine guide can help if your current machine is missing a needed function, but start by checking its manual and working condition.
Choose a skill ladder with visible steps
Build each new skill on one you have practiced. Begin with plain squares, then rectangles, then a small triangle exercise. Try curves and inset seams once your straight rows measure correctly.
A useful project order is:
- A small square patchwork mat for consistent seams.
- A beginner quilt for row order and layer handling.
- A small project with half-square triangles for trimming and rotation.
- A quilt with a finishing method you want to practice, such as hand quilting or a machine-bound edge.
Repeat a project type when a skill still needs work. A new color plan can make the same construction feel fresh. You do not have to add harder blocks every time you sew.
Choose a baby quilt pattern when you want a smaller gift project, and plan its intended use carefully. A small quilt still needs complete layering, quilting and binding; size alone does not finish those jobs.
Use a short session with a clear task
Set a task that fits the time you expect to have. Sorting one row, cutting one fabric or testing one seam is a complete session goal. Starting with “work on the quilt” makes it harder to know when to stop.
For a 30-minute session, you might set aside 5 minutes for setup, 20 minutes to sew a prepared group and 5 minutes to label and put it away. If setup takes longer, sew fewer pieces so you still have time to pack up.
Keep cutting and sewing in separate sessions when that helps focus. You can prepare the next row while checking piece counts, then return to a clear sewing task later. Avoid cutting a whole new project just because the current one has reached a slower stage.
At the end, write the next action on a card. “Join row four to row five, top edges marked” is enough. Add the machine setup or seam guide position if you changed it for the project.
Keep a sample instead of trusting memory
A small sewn sample records more than a note that says “quarter-inch seam.” It shows the actual fabric, thread and resulting size. Keep it with the cutting plan until the quilt is finished.
For a simple measurement exercise, cut three strips 2 1/2 inches wide. Join them side by side with 1/4-inch seams. Their combined starting width is 7 1/2 inches. Two seams each consume 1/2 inch across the joined pieces, so the sewn sample should measure 6 1/2 inches across.
If it differs, check the cut widths, seam placement and pressing. Correct the cause and sew a fresh sample before cutting the project pieces.
Record the useful result in plain words. Note which seam guide you used and how the fabric behaved. A notebook full of small practical checks is easier to use than pages of settings with no sewn evidence beside them.
Plan the finishing before you start the top
Choose backing, batting and binding while choosing the top fabric. Set those materials aside with the project so they are ready when the top is sewn.
Set aside a session for each finishing stage. Layering needs a clear surface. Quilting needs a supported sandwich. Binding needs its own strip and end-join plan. Treat them as parts of the project rather than leftover chores.
Keep the binding overview handy before choosing the edge. If you want to hand finish, leave time for it. If you choose machine finishing, make a sample before committing the quilt to that stitch path.
When the quilt is complete, inspect both faces and the perimeter. Remove all loose pins, clips and threads. Put the remaining fabric into a labeled scrap group only after the project no longer needs repairs.
Reset the space for the next return
Put tools back in the same places. Sort usable scraps into groups you can sew with, such as squares, strips and larger pieces. A small organized supply is easier to use than a large unsorted bag.
Photograph the finished quilt and keep its final dimensions in your project notebook. Write down one thing that worked and one thing to try differently next time. You can refer to that page when planning another quilt.
Verdict on a quilting life
Keep one active quilt and plan time for its layers and binding before starting another top. Practice each skill on a small sample, and save what you learn with the project. A modest workspace and a reliable routine can make room for years of useful sewing.
FAQ
How do I start a quilting routine in a small space?
Keep one active project in a tray with its cutting list and sample seam. Set up cutting, sewing and pressing in turn. End each session with a written next action so clearing the table does not erase the plan.
What should I make after my first square quilt?
Choose one new skill, such as trimming triangle units or hand quilting a small piece. You can also repeat the same square construction in new colors. A second finished project gives useful practice without adding several new methods at once.
How can I stop collecting unfinished tops?
Choose backing, batting and an edge finish while planning the top. Give each finishing stage its own session. Keep the current quilt active until its layers and binding are complete, then move the remaining scraps into storage.