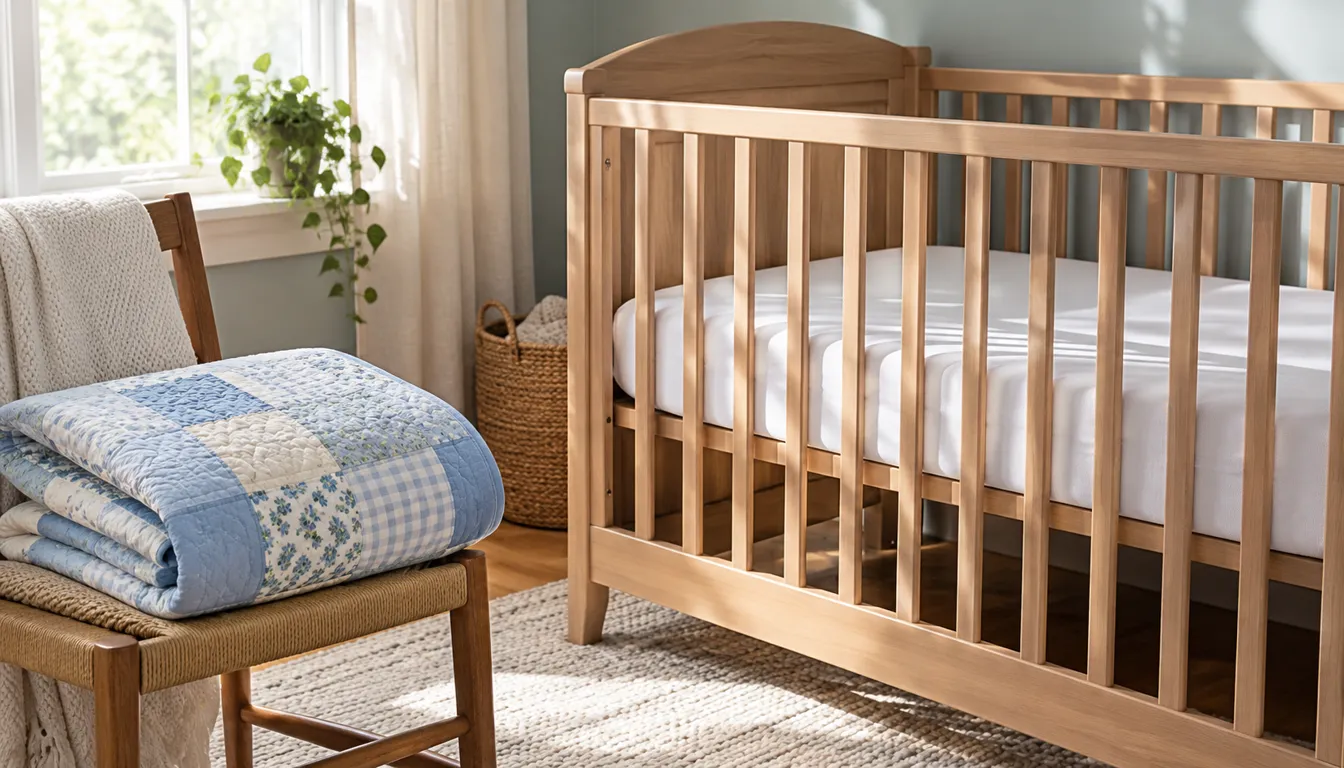
A crib quilt is a small nursery quilt you can make for display, a keepsake or supervised floor use. Choose its dimensions for that purpose. NIH safe-sleep guidance says to keep quilts, blankets and other loose objects out of the baby's sleep area.
For a framed-panel project, measure the picture area you want to preserve and leave seam allowance outside its motifs. Plan the border widths before cutting, then use the quilting guide to calculate backing and binding yardage and choose batting for the finished size.
Crib quilt sizes: use measurements, not the label
The phrase “crib quilt” does not specify one size. Compare the actual measurements in the pattern or product description. Decide where the quilt will be used before choosing a size.
For a material size reference, Hobbs Heirloom 80/20 crib batting measures 45 by 60 inches. That is the batting cut, not a finished quilt size. Leave room around the top for your chosen quilting method.
Do not use the mattress as a reason to add loose bedding to an infant sleep space. If making a nursery display, measure the intended display area instead. For supervised floor use, ask the recipient what dimensions and care method would be practical.
Write down the top size and intended use before cutting. Measure again after quilting and washing; the finished quilt may be smaller than the pieced top. Give the recipient that final measurement with the care directions.
Our baby quilt guide covers gift and care decisions in more detail. Use it when choosing between making a quilt and buying a finished one with its own material and washing information.
Three supplies for a nursery quilt project
These items cover machine stitching, holding the binding and hand quilting. Use supplies you already own when they suit the task.
Coats machine-quilting cotton thread for a cream machine-sewn line.
Dritz binding clips for holding the edge flat during finishing.
Clover quilting-between needles for a maker who wants to try hand quilting.
Choose the construction method before buying. Hand-quilting needles do not replace machine needles. A machine-bound project may not need a separate hand-quilting needle pack at all.
Coats cotton thread: a cream machine-stitch option
Keep in mind: test the 30-weight thread with a suitable machine needle and settings.
Product details checked October 2026
This Coats spool holds 350 yards of 30-weight cotton thread in Cream. That gives you a specific color and thread weight to test on a sample before you buy more.
Quilting density changes thread use. A few long lines and a dense all-over design have different demands. Make a sample through the actual layers and keep the product details so you can match the thread if more is needed.
Keep in mind: clips are removed as you sew and are not part of the finished quilt.
Product details checked October 2026
This Dritz pack contains 30 metal binding clips. They suit the holding stage of a bound edge. Work in sections and check that the fold covers the attachment seam before sewing.
Choose hand-finished binding or a machine finish before cutting the strip. Both methods need a fit check around the layered edge. A clip can keep a fold still, but it cannot make a strip that is too narrow reach farther.
Keep in mind: these are hand needles; select compatible machine needles separately.
Product details checked October 2026
This Clover Black Gold pack contains quilting-between needles in sizes 9, 10 and 12, with two of each. A mixed-size pack lets you compare handling on scraps, but thread fit and the quilt layers still determine which needle feels usable.
For the technique, see hand quilting. A hand-quilted project needs secure stitches through all three layers and spacing that meets the batting instructions. Start with a sample before choosing this route for a gift deadline.
Calculate borders for a 32-by-44-inch framed panel
For a nursery display example, begin with a rectangular center that finishes at 24 by 36 inches. Its cut or unfinished size is 24 1/2 by 36 1/2 inches when the outside seams will be 1/4 inch.
Add a border that finishes at 4 inches on all sides. The planned finished top becomes 24 + 4 + 4 = 32 inches wide and 36 + 4 + 4 = 44 inches long, before quilting and washing.
Cut the two side borders 4 1/2 by 36 1/2 inches. After they are attached, the top is 32 1/2 inches wide. Cut the upper and lower borders 4 1/2 by 32 1/2 inches. Measure the actual center before cutting; a commercial panel may need trimming to reach the planned rectangle.
Measure the intended display area before committing to this 32-by-44-inch layout. For another construction approach, compare the Eleanor Burns Quilt in a Day guide and choose a complete pattern that suits your skills.
Choose a center print with room at the edges
Check where the design's important motifs sit. The attachment seams take fabric at the perimeter, so leave the intended seam allowance outside the picture you want to preserve.
Lay a paper window over a panel or large print to preview the visible center. Check the corners too; a border can hide more of a motif there than expected. If the print cannot fit the chosen rectangle, adjust the design before cutting and redo the border math.
Use borders cut to the measured center rather than sewing on a long strip and trimming blindly. Match the midpoint and ends without stretching either piece. A border that is too long can create a waving edge that binding will not repair.
Plan the layers and finishing route
Measure the completed top before sizing backing and batting. Follow the requirements of the quilting method or service you choose. Keep enough margin for that route, and check the specific batting's maximum quilting distance.
Test the complete sandwich with the selected thread. A plain backing will show changes in stitching more clearly than a busy print, so choose the reverse with the final stitch appearance in mind.
Compare beginner quilting machines if you need a machine for the project. Rest the quilt on the table during long lines, then trim and bind it after quilting. Inspect both faces and every edge before giving it away.
Verdict on a crib quilt
A crib quilt should be planned by its actual dimensions and intended use. A simple framed panel can make a manageable keepsake or nursery display. Choose compatible supplies, finish the layers fully and keep loose quilts outside an infant's sleep space.
FAQ
Does the term crib quilt mean it belongs in a crib?
The name describes a product category, not a safe-sleep instruction. NIH guidance keeps loose quilts outside an infant's sleep space. Choose an appropriate supervised use, keepsake or display plan and give that information to the recipient.
Is there one standard crib quilt size?
Use the actual dimensions in the pattern or product details. The framed example here plans a 32-by-44-inch top for a chosen display project. Check the recipient's intended use instead of treating a product label as a measurement.
Can I use any printed panel for the framed example?
Measure its usable picture area first. The example needs a center measuring 24 1/2 by 36 1/2 inches before joining. Leave seam allowance outside important motifs, and recalculate the borders if your center needs different dimensions.