
Quilting
Scrap Quilts: Color, Contrast and a Clear Layout
The short answer
Give mixed scraps one rule to follow: repeat a patch size, keep light and dark fabrics distinct, or use a common background.
Last updated October 2026
What's covered8
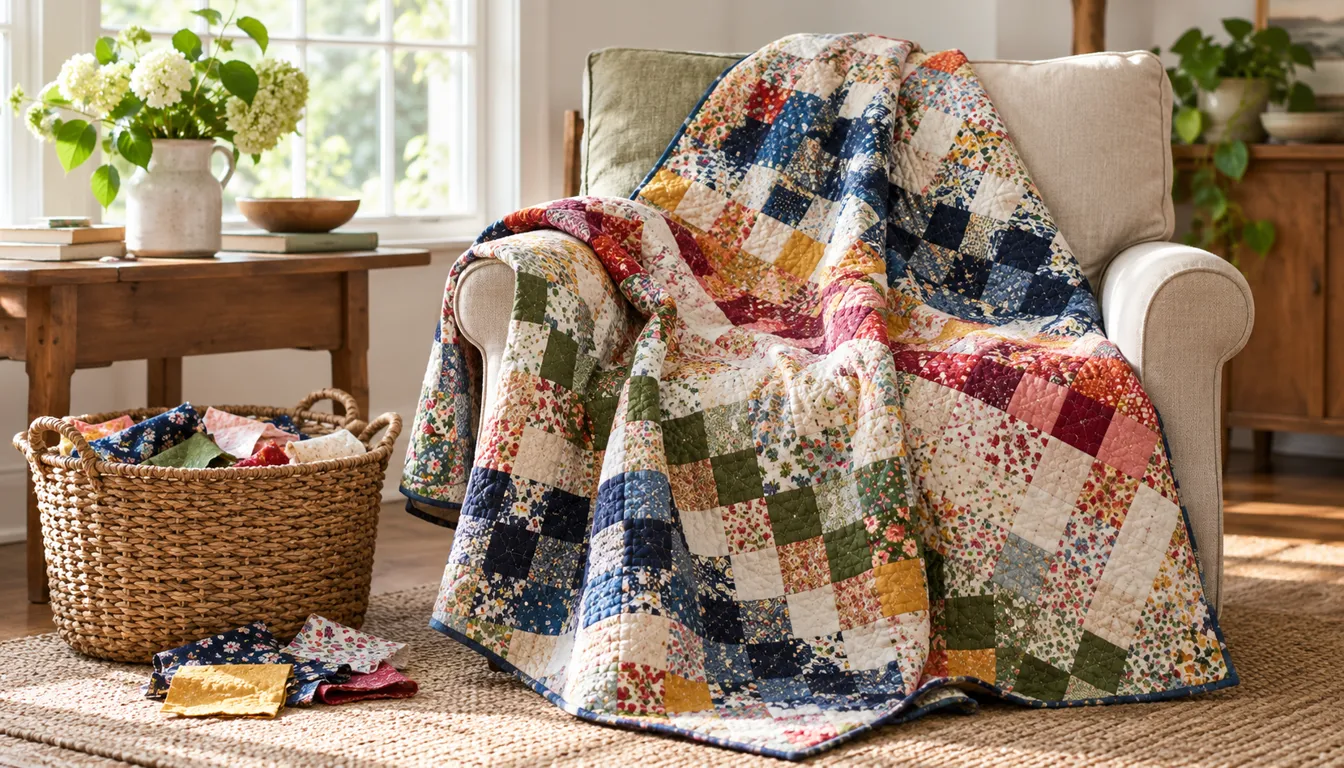
Scrap quilts can bring unrelated prints together when you repeat the same patch size or keep a clear light-dark pattern. Choose that rule first, then sort the pieces that fit it. A quilt can look varied without making every block different.
Lay out a few light and dark scraps together to test their contrast before cutting a full batch. Use quilts using scraps to count usable pieces and prepare a cutting plan. For fabric quantities, batting choices and binding calculations, see the quilting guide.
Scrap quilts need one repeated idea
A repeated idea gives the eye something to follow. It might be a dark square in every block center, a light background or a common strip width. Choose one before sorting by individual print.
Lay out a few sample groups and step back. If every fabric asks for equal attention, introduce a quiet fabric or a stronger light-dark split. You can keep many colors while simplifying the pattern they form.
Browse the Robert Kaufman free-project library for layouts that suit your scraps. Read the complete pattern before cutting fabric for it. Check its seam allowances and assembly steps along with the piece sizes.
Start with the fabric you have. A design based on large squares will not use a bag filled with narrow strips efficiently. Save those strips for a pattern with long, narrow patches.
Scrappy quilts: sort by lightness before color
Lightness describes how light or dark a fabric looks. Two different colors can have similar lightness levels and blend together when placed side by side. A light-dark plan makes the patchwork structure clearer.
Make light, medium and dark piles. View the fabrics from a distance and compare them against each other. A phone photo in grayscale can help you notice pieces that sit between the groups.
Do not force every medium fabric into a strict checkerboard. Save the uncertain pieces for another layout or use them in a part of the quilt that does not depend on sharp contrast. Leaving out a few scraps can make the finished design easier to read.
Try the plan with several prints, not just solids. A fabric with a dark base and large white flowers may read differently depending on where it is cut. Judge the actual patch, especially when the pieces are small.
Sew a 48-square light-dark checkerboard
Arrange eight squares across and six rows down. Each square finishes at 5 inches, so cut every square 5 1/2 inches for 1/4-inch seams. The top will finish at 40 by 30 inches before quilting and washing.
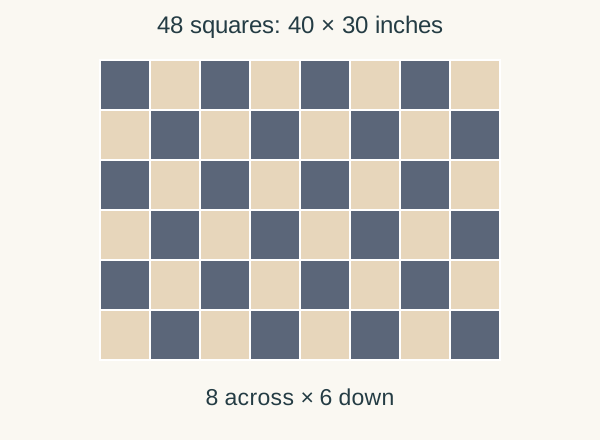
Use 24 light squares and 24 dark squares. Alternate light and dark across each row, then reverse the order in the next row. You can use many prints within each lightness group while the checkerboard remains visible.
The count is 8 × 6 = 48 squares. The width is 8 × 5 = 40 inches and the height is 6 × 5 = 30 inches. The sewn unbound top should measure about 40 1/2 by 30 1/2 inches, including the outer seam allowances.
Make a four-square sample before cutting the full set. Two lights and two darks show whether the contrast is clear. If the squares blend together, sort the fabrics again before cutting more patches.
Use print scale without losing the shapes
A large print can become a different fabric when cut small. A patch may show only a petal or a dark background area. Place a paper window the size of the finished patch over it to preview what will remain visible.
Mix print scales deliberately. Small prints often read as texture, while large motifs create focal spots. Spread those focal patches around the quilt rather than grouping all of them in one corner by accident.
Directional prints need a separate check. Decide whether they will all face one way or turn freely. Either choice can work, but mark the intended top edge before the pieces leave the layout surface.
If you want to preserve a whole motif, compare large-piece patchwork layouts. A bigger patch can show more of the fabric without requiring a more difficult block.
Choose a background that earns its place
A common background can connect fabrics from unrelated projects. Test it beside the lightest and darkest scraps, not just the easiest middle colors. The background should reinforce the design rule you chose.
A white or cream fabric is not automatically the right choice. It may disappear beside very pale scraps. A colored background can work if it remains distinct from the pieces it touches.
Check that you have enough of the background before cutting. Scraps may be flexible, but a repeated background often needs a consistent supply. Calculate its piece count separately so it does not run out near the last row.
For the 48-square example, replacing every light scrap with one background would require 24 background squares. At a measured 40-inch usable fabric width, seven 5 1/2-inch squares fit across a strip. Four strips supply 28 squares, using 22 inches of fabric length before extra allowance.
Place the fabric before sewing it
Lay out the whole design if the space permits. Otherwise, work in labeled sections and keep a clear photo of each one. Shuffle patches until the repeated rule reads from across the room.
Check for accidental groups of one strong color. Three bright red patches touching each other may pull attention away from the rest of the quilt. Move one and compare the layout again.
Keep a few spare patches until the rows are assembled. A fabric that looked useful in a pile may feel wrong in the full grid. Replacing one square is easier before the top is joined.
Join the rows with the seam allowance used in your cutting math. Scrappy fabrics do not excuse changing dimensions. If weights or fabric textures vary greatly, save those pieces for a project designed for mixed materials instead of forcing them into this grid.
Finish without competing with every print
Choose quilting that supports the top's structure and meets the batting maker's spacing guidance. A simple repeated line can let the fabric mix remain the main feature. Test thread on a sample with both light and dark patches.
Use a binding color that looks intentional beside the outermost squares. Hold a folded strip around several parts of the edge before cutting. A quiet binding can give a busy quilt a clear boundary.
Compare sewing machines for quilting if you need help with fabric handling, or beginner quilting machines for a first setup. Match the equipment to the work rather than the number of fabrics in the top.
Verdict on scrap quilts
Scrap quilts look cohesive when one rule repeats across the mix of prints. Sort light and dark fabrics, keep the cut size consistent and check the whole layout before sewing. Use the scraps that fit the design and save the rest for another quilt.
FAQ
Do scrap quilts need a matching fabric collection?
No. Equal-size patches, a common background or a light-dark pattern can connect unrelated prints. Compare the cut patches together before sewing. Leave out fabrics that blur the pattern rather than forcing every scrap into the same top.
How do I keep scrappy quilts from looking muddled?
Choose one visual rule and test it in a small layout. Light-dark contrast is useful for a checkerboard. Move medium-tone pieces elsewhere if they blur that structure, and spread strong colors across the full quilt before sewing.
Can I use large prints in small scrap squares?
Preview the finished patch with a paper window. A small cut may show only part of the motif and read differently from the whole fabric. Save a print for larger patches if preserving its picture is the main goal.