
Quilting
Lone Star Quilt Construction: Diamonds, Alignment and Finishing
The short answer
A traditional Lone Star builds eight pointed sections from diamonds. Accurate seams and gentle handling matter more than speed. Practise two joined diamonds before cutting a full star.
Last updated October 2026
What's covered7
A Lone Star places a large eight-point star at the center of a quilt. In the traditional pieced version, each point contains smaller diamonds. Their color order creates rings that seem to spread outward. It is a rewarding next step after square blocks, but angled seams make it less forgiving than a first patchwork grid.
Start with a two-diamond alignment exercise before cutting a full star. For a complete quilt, choose a commercial pattern with its own cutting list and background instructions. Check which construction method it uses so you can practise the seams that project needs.
Traditional diamonds or a simpler star?
Before buying fabric, look at the actual pieces in the pattern. A traditional diamond Lone Star, a star built from large triangles, and an appliquéd star do not have the same assembly steps. A simpler design can give a similar large-star effect without teaching strip-cut diamonds or inset seams.
| Construction | What you will practise | Check before starting |
|---|---|---|
| Individual diamonds | Marking seam lines and matching angled ends | Template scale and seam allowances |
| Strip-pieced diamonds | Consistent strip seams, angle cuts and row alignment | Strip order and ruler angle |
| Large triangle star | Trimming triangle units and joining rows | The pattern's stated finished unit sizes |
Scroll for more →
Do not mix the cutting figures from these different methods. If the pattern shows an inset background square, check whether it uses a Y-seam. If it divides the background into triangles, follow that separate assembly order.
For a simpler large-star project, Amy Smart's Lone Star tutorial on Diary of a Quilter uses triangle units. Follow its cutting list and assembly order together. For straight-seam alternatives, compare our simpler quilt projects.
Why diamond edges need gentle handling
A diagonal cut crosses the fabric grain. That edge can stretch more readily than an edge cut along the weave. On a diamond, several seams may pull in different directions. Small distortions can add up when the eight points meet.
BERNINA's diamond-block lesson explains bias edges and recommends gentle handling, pressing rather than dragging the iron, and pinning longer seams as needed. Keep pieces flat while you work. Support them on the table instead of letting their weight hang from the machine.
If your pattern calls for starch, prepare the fabric before cutting and follow the product's directions. Once an edge has stretched, spraying it and pressing hard is not a reliable way to restore the exact shape. Compare it with the template or required measurement first.
An original two-diamond practice exercise
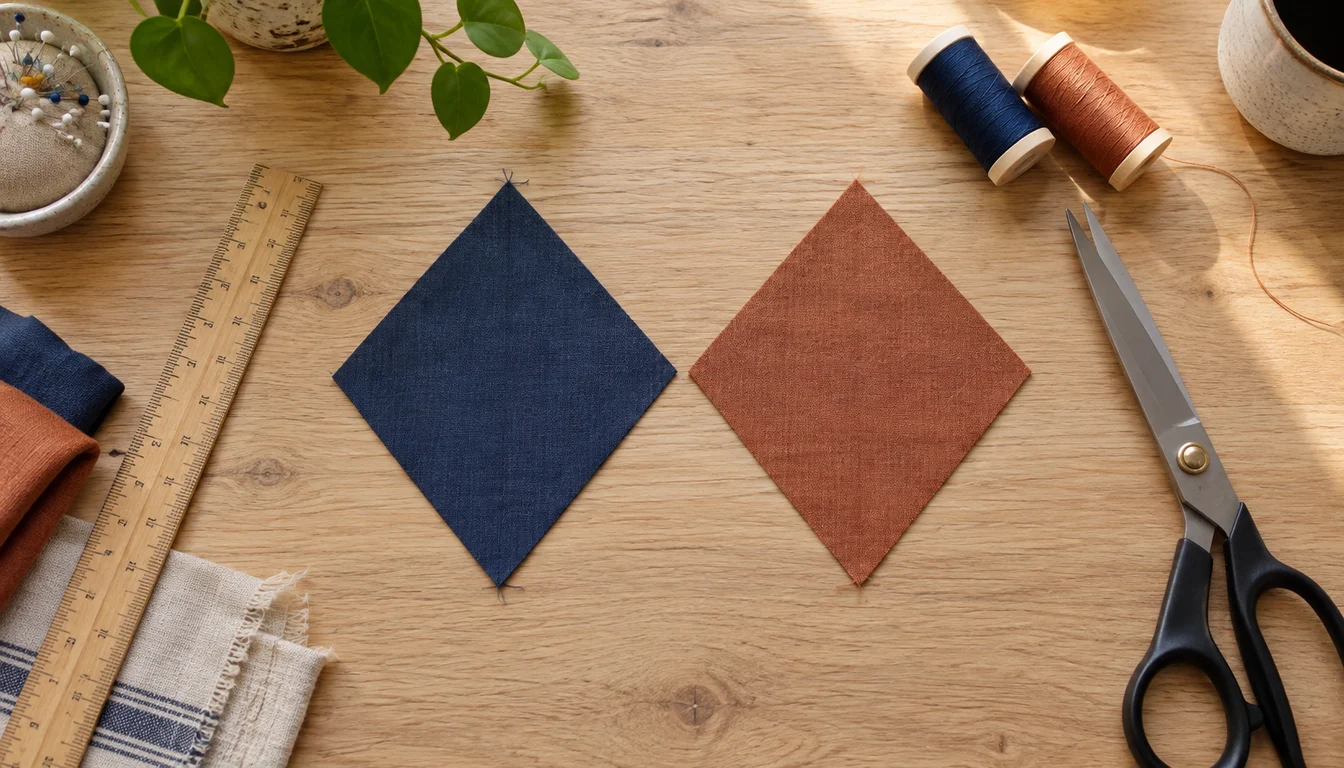
Use two colors of scrap cotton. This exercise checks alignment; it is not a full Lone Star cutting plan.
- Draw a diamond on paper with four equal 2-inch sides and a 45-degree angle at each pointed end. The other two corners are 135 degrees. These lines represent the stitching boundary.
- Add a parallel ¼-inch allowance outside each side. Extend the lines until they meet at the cut corners. Cut this paper template accurately.
- Use the template to cut two fabric diamonds. Mark the stitching-line intersections on the wrong side with a removable mark tested on a scrap.
- Place the diamonds right sides together along the edge you want to join. Match the marked seam intersections. The sharp cut tips will extend beyond each other; that offset is expected.
- Sew along the marked line. For this two-piece exercise, sew the whole edge. Press the seam and check that the joined pieces lie flat without pulling.
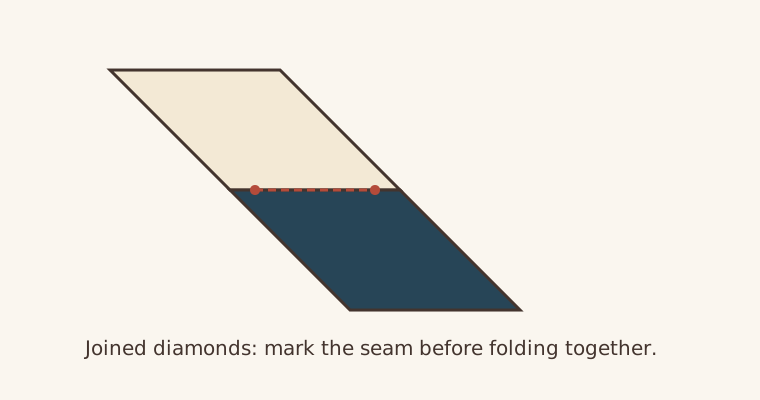
Make another pair if the first one twists or has a visible step at the meeting point. Change one thing at a time: the template, the cut, or the seam position. Use our needles for piecing guide to match the needle to the woven cotton and thread. A machine suited to patchwork should let you hold a steady seam width at a speed you can control.
How strip piecing changes the work
Strip piecing joins long fabric strips before you cut them into angled sections. The method reduces the number of individual diamonds you handle, but errors in a strip set repeat through every section cut from it.
Keep a written color order beside the machine. Check the width of the first sewn strip set against the pattern before cutting all the angled pieces. Place the ruler's required angle line on the reference edge the designer specifies. An angled cut made from a crooked strip set cannot fix that set.
Lay out one complete star point before sewing its rows together. Check that each color moves in the intended direction. Photograph the point, then label its rows. Sew one point and compare its shape with the required size before repeating it seven more times.
Joining star points and adding the background
Eight 45-degree tips make a full 360-degree turn at the center. Seam allowances and fabric thickness still affect how that center lies. Keep the pattern's joining order in front of you and check each pair as it is added.
If the center forms a raised cone, inspect the stitching and the diamond shapes before trying to flatten it with an iron. A gap or a wavy center needs the same slow check. Do not trim away a star point simply to hide an alignment error that will affect the next seam.
Inset background pieces need marked stopping points. A Y-seam joins three seams at one intersection; stitching into the allowance can trap the next piece. Follow the selected pattern's start, stop and backstitch instructions. The full-edge seam in the practice exercise above is not an instruction for an inset junction.
Finish without distorting the star
Measure through the center in both directions once the background is attached. Check the top on a flat surface. If you are adding borders, use measured lengths rather than stretching the top to meet a strip.
Decide on quilting before building a very large top. Check the machine's work space, the support available around it and the quilting method you can manage. A longarm service may have specific backing and batting margins; ask before cutting them.
The WeAllSew finishing lesson explains the roles of basting, quilting through all three layers and binding the raw perimeter. Use the care and stitch-spacing directions for your own batting. A small practice sandwich helps you set the stitch length and check the back for folds.
A practical order for learning
Start with a square-grid quilt, then practise half-square triangle trimming, then make the two-diamond sample. Move to a complete star when the angled seams stay flat and meet where you expect. A smaller project saves fabric while you learn; it does not remove the need to check each seam.