
Quilting
Free Quilt Block Patterns: Three 8-Inch Blocks to Sew
The short answer
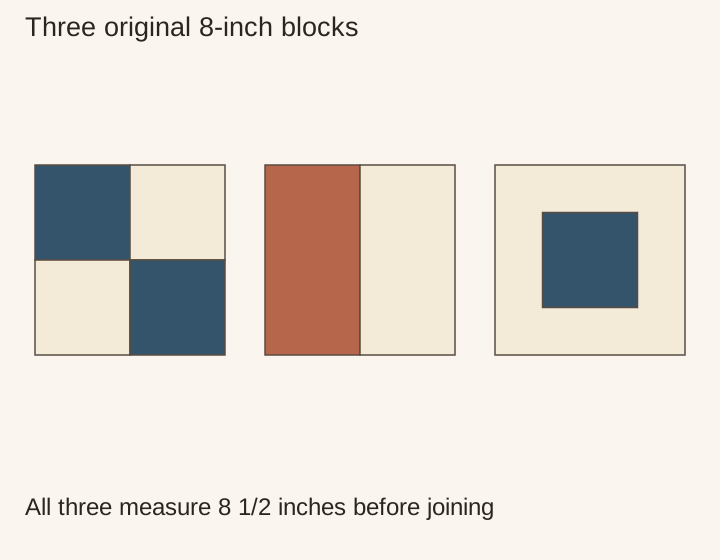
Make one of each block and check for 8 1/2 inches square before joining. Their matching sizes let you combine all three in a sampler.
Last updated October 2026
What's covered8
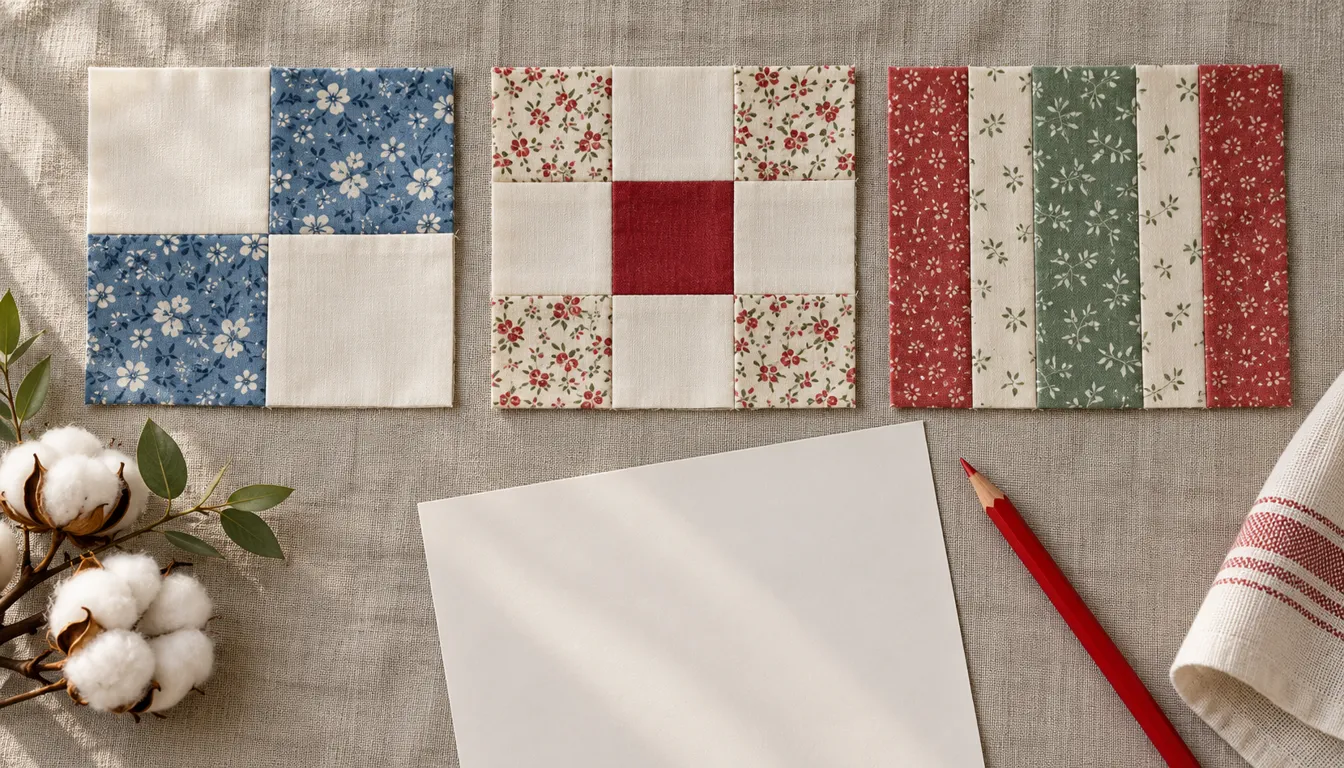
Sew a four-patch, twin-bar block or framed square with the free quilt block patterns below. Each finishes at 8 inches, so you can mix all three in a sampler. The cutting charts and size checks show how to make their edges match before joining.
Keep the finished size separate from the unfinished size. These blocks finish at 8 inches and should measure 8 1/2 inches on the table. All seams are 1/4 inch. Make one sample of each block, measure it and label it before building a quilt. Equal outer sizes let different internal layouts join in straight rows.
Choose free quilt block patterns with clear instructions
A useful block page shows a clear diagram, a cut list and the order of joins. A block photo is helpful for choosing a look, but it does not supply all the sewing measurements. Read the construction method before committing your fabric.
Use our quilting guide to choose fabric, batting and backing for your sampler. Browse the Generations block library or Quilter's Cache block patterns for more named designs and lessons. Follow the dimensions and sewing steps in the lesson you choose.
Choose a complete quilt project from free quilt patterns, or arrange these blocks in a sampler. Decide how many blocks to sew and whether to add sashing or borders before calculating fabric needs.
Block one: an 8-inch four-patch
Cut two blue and two cream squares at 4 1/2 inches. Arrange blue-cream in the top row and cream-blue in the bottom row. Join the two squares in each row, then join the rows at the center seam.
Each sewn row should measure 8 1/2 by 4 1/2 inches. The completed block should measure 8 1/2 inches square. Its four visible patches each finish at 4 inches, giving 2 x 4 = 8 inches in each direction.
This block gives you one central seam intersection to match. Make another if the seams miss each other enough to bother you. Keep the first block to compare with later attempts; trimming it smaller would leave it too small for this sampler.
Block two: an 8-inch twin-bar block
Cut two rectangles at 4 1/2 by 8 1/2 inches, one rust and one cream. Join their 8 1/2-inch sides with a 1/4-inch seam. The joined width is 4.5 + 4.5 - 0.5 = 8.5 inches. The height stays 8 1/2 inches.
The block finishes at 8 inches square. Each bar finishes at 4 by 8 inches. Turn alternate blocks a quarter turn for a simple directional design, or keep every bar vertical for a quiet stripe.
This is the block with the fewest pieces in the set. Use it between busier blocks when you want larger pieces of a print to remain visible. For the sampler below, keep its bars vertical so the row map stays easy to check.
Block three: an 8-inch framed square
Cut one 4 1/2-inch blue center square. Cut two cream side strips at 2 1/2 by 4 1/2 inches and two cream top-and-bottom strips at 2 1/2 by 8 1/2 inches. Join the short side strips first.
After those joins, the center section measures 8 1/2 by 4 1/2 inches. Attach the two longer strips to its top and bottom. The final block measures 8 1/2 inches square. Its finished structure is 2-inch frame, 4-inch center, 2-inch frame across either direction.
Compare three free quilt block patterns
| Block | Pieces | Cut list | Main check |
|---|---|---|---|
| Four-patch | 4 | Four 4 1/2-inch squares | Center seams meet |
| Twin bars | 2 | Two 4 1/2-by-8 1/2-inch rectangles | Outside is square |
| Framed square | 5 | Center, two short strips, two long strips | Short strips attach first |
Scroll for more →
All three blocks share the same finished size. Use the chart to check piece counts, then measure and cut by the written dimensions. Keep each block's pieces in a separate group so the strips and squares stay with the right plan.
If you want a larger block, calculate every piece from a new finished design. Scaling the printed diagram does not automatically give accurate seam allowances. The allowance stays 1/4 inch even when the visible shapes grow.
Join three blocks into a sampler strip
Make one of each block and arrange them four-patch, bars, framed square. Join their side edges to make a strip that finishes at 24 by 8 inches. The sewn strip should measure 24 1/2 by 8 1/2 inches, including the 1/4-inch allowance around its outside edges.
The unfinished length check is 3 x 8.5 - 2 x 0.5 = 24.5 inches. If the blocks differ in height, identify the one that missed its target. Do not force it to match by stretching. Check its internal cuts and joins, then remake the part that caused the error.
Measure the strip along both long edges. If their lengths differ, lay it flat and check whether a join has pulled out of line. Compare the blocks with their size checks before adding more rows.
For a six-block small top, make two of each and join two rows of three. The finished design becomes 24 by 16 inches. Rotate the order in the second row if you want each block type to sit in a different column.
Choose the next block by the next skill
After the four-patch, try a nine-patch to add more matched seams. Then try rail fence after the bars to practice rotated layouts. Move from the framed square to a block with several rounds of frames, following a complete cut chart for each round.
Practice bars, four-patch and nine-patch in order with our beginner quilt blocks. The quilt blocks guide shows how to calculate a top's size from its blocks and sashing. Compare beginner quilting machines if you need equipment for consistent seams.
Verdict
Choose free quilt block patterns with a full cut list and a stated unfinished size. Sew the three samples at 8 1/2 inches, then join a small sampler strip. A few accurate blocks teach more than a large folder of pictures without measurements.
FAQ
Are these free block patterns compatible with each other?
Yes. All three finish at 8 inches and should measure 8 1/2 inches before joining. Use the same 1/4-inch allowance throughout.
Does a block pattern tell me quilt yardage?
Only if it also gives a whole-quilt plan. Count the blocks, any sashing and borders, then plan backing, batting and binding separately.
Can I enlarge a printed block diagram?
Use the written sizes for these blocks. For a new size, recalculate the visible pieces and add the seam allowances rather than treating the picture as a template.