
Quilting
Machine Quilting for Beginners: Your First Straight Lines
The short answer
Finish and label a straight-line sampler before quilting your first top. Save its settings and check the batting's spacing instructions for each project.
Last updated October 2026
What's covered8
- Machine quilting for beginners: choose a small sampler
- Read the batting spacing before marking lines
- Arrange and baste the layers
- Set up the machine from its manual
- Sew the center line, then work outward
- Troubleshoot one variable at a time
- Move to a first quilt in small steps
- Verdict on machine quilting for beginners: make the sample your reference
Start machine quilting with a small sandwich and a few straight lines. Layer top fabric, batting and backing, prepare the machine according to its manual and check the stitch on both sides. Practice that routine before putting a finished quilt top under the needle.
Use the quilting guide to place quilting in the full project order. Piecing makes the top. Quilting joins the layers. Binding finishes the outer edge after the stitching is complete.
Machine quilting for beginners: choose a small sampler
For the sampler below, cut a top that measures 16 inches square. Cut an 18-inch square each of batting and backing to give a 1-inch practice margin on every side: 16 + 1 + 1 equals 18. Check those margins after arranging the layers so the top stays covered throughout the exercise.
Use the fabric and batting you intend to put in your quilt. Different batting may feel different under the foot. Keep the batting label and fabric care details so that the finished sample can also become a washing test.
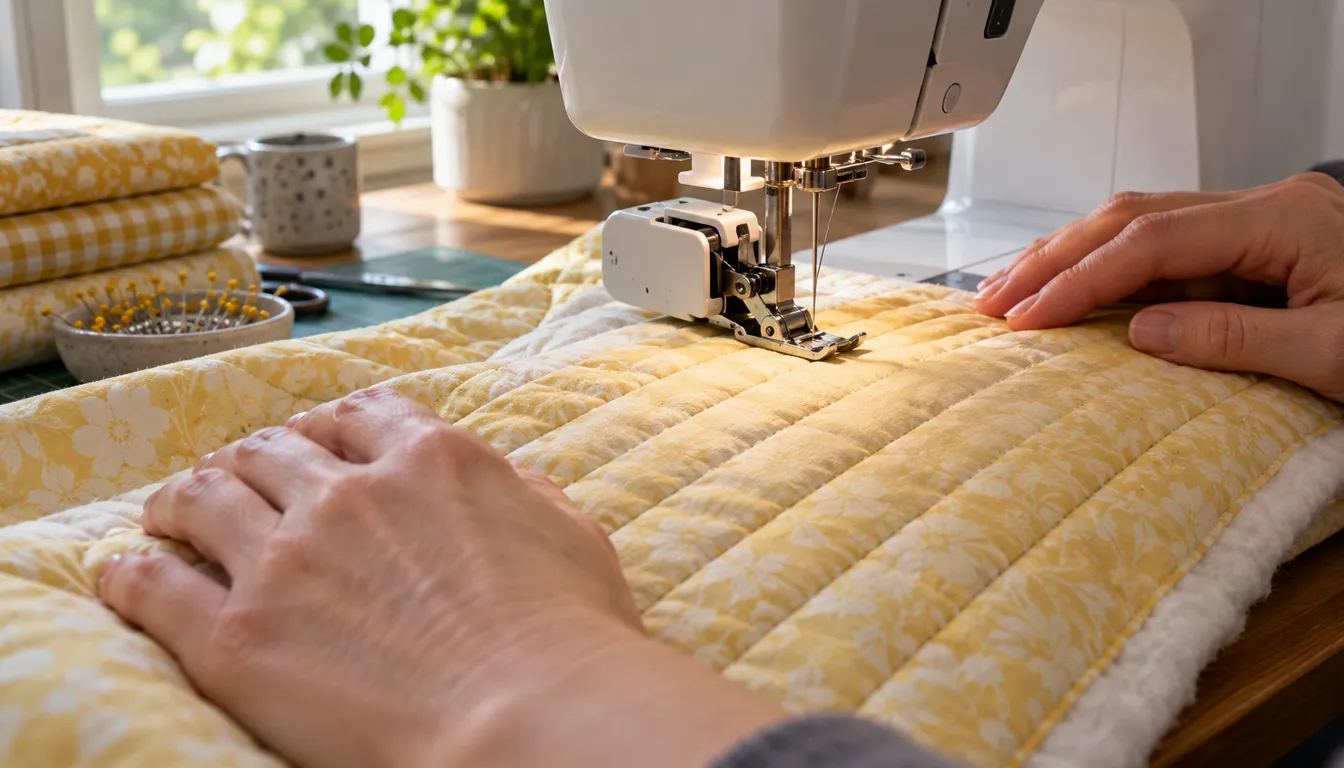
Missouri Star's machine quilting lesson shows how to prepare the sandwich, use a walking foot and arrange the quilt on the table. Follow the lesson alongside your machine manual, which gives the foot and settings for your model.
Read the batting spacing before marking lines
The batting's maximum stitch spacing sets a limit for the design. Hobbs Heirloom 80/20 has its own published spacing requirement. Another batting can have a different limit, so keep the product name attached to the number.
For this sampler, choose parallel lines 2 inches apart, provided that fits the exact batting instructions. On a 16-inch top, place lines at 2, 4, 6, 8, 10, 12 and 14 inches from one edge. That is seven lines, each crossing the 16-inch panel.
Seven lines times 16 inches is 112 inches of stitching. Starts and ends will use extra thread. The outer line is 2 inches from the top's edge. This arithmetic describes the sampler, while the batting label determines whether that layout is suitable.
Arrange and baste the layers
Lay the backing with its right side facing down, then batting, then the top facing up. Smooth away folds gently, keeping the edges straight and the layers relaxed. Use the basting method recommended by the tutorial and any product instructions for the materials you choose.
Check that the margins remain around the top after smoothing. Turn the sandwich over to look for folds. If the backing is caught in a tuck now, stitching over it will keep the tuck in place.
Prepare the entire small sample before going to the machine. Keep loose pins and tools outside the sewing path. If you use a marking product, test its removal on matching scraps first and follow its instructions before pressing or washing.
Set up the machine from its manual
Fit the matching walking or even-feed foot using the manual's directions. Select the straight-stitch setup recommended for the task. Check the needle type and size against the machine manual and the thread and fabric guidance. Our quilting needles guide explains how to make those choices.
Thread the machine carefully and use the correct bobbin. Aurifil's 50wt guide tells you which needle to try with that thread. Read the guidance for the thread you use, then check it against your machine manual.
Try a few stitches on another scrap sandwich first. Look for a line that lies as planned on both surfaces. If something is wrong, return to threading and the manual's starting settings before changing several controls together.
Sew the center line, then work outward
Rest the sample on the table. Start with the center line in your plan, using the tutorial's method for starting and securing the stitches. Guide the sandwich steadily without trying to drag it faster through the machine.
Stop and check the underside after the first line. Look for a fold, loose loops or an area where the fabric has shifted. A problem in one line is much easier to address than that problem repeated across the whole sample.
Continue with lines on either side of the center, keeping the sample supported on the table as you move it. Move basting materials out of the sewing path according to the chosen method. Take a break when your hands start to grip harder instead of moving the layers.
Troubleshoot one variable at a time
If the backing folds, check whether the basting held the layers flat and whether any fabric caught on the table. If the stitch has loops, check threading, bobbin placement and the manual's tension guidance. If thread frays or stitches skip, inspect the needle and its fit with the thread before adjusting a control.
Write down each adjustment and the result on the next line of stitching. Keeping that record beside the sample helps you return to a successful setup. Our thread tension explanation covers how tension works; the machine's manual explains its adjustments.
When the sample works but the larger project feels difficult, rearrange the table so the quilt rests beside and behind the machine. Check for fabric hanging off an edge or caught against another object. Move the bulk into position before sewing rather than trying to pull harder.
Move to a first quilt in small steps
Choose a modest top with a plain quilting plan. Use the materials and settings that worked on the sample, and keep the sample nearby for comparison. Before sewing, move the quilt into position for each line with the machine stopped so you can see where the bulk will go.
For a more visual lesson, use our guide to Missouri quilt tutorials. For a different movement skill, continue to free-motion quilting after the straight-line sampler feels manageable.
If you are choosing equipment, sew a small quilt sandwich first, then compare beginner quilting machines. The sample shows which features matter for the quilts you want to make.
Verdict on machine quilting for beginners: make the sample your reference
Finish the straight-line sample, label its materials and keep the settings with it. Inspect both sides and wash it according to the materials' care directions. Use that result to plan the first quilt's stitching, with the batting's spacing limit and your table space checked before you start.
FAQ
Should a beginner learn walking-foot or free-motion quilting first?
Straight lines with a walking foot make a useful first exercise because you can focus on layer handling and the stitch. Free-motion work adds control of direction and movement. Learn both if you want, but use a separate sample and the correct setup for each.
How far apart should I quilt the lines?
Use the maximum spacing on the exact batting label as a limit, then choose a design within it. That number varies by product. A widely spaced design still needs to secure the whole quilt, including the open spaces between motifs and near borders.
Why does my small sample work better than the full quilt?
The full quilt adds weight and bulk. Check that it rests on the table rather than pulling from an edge. Move the excess fabric before sewing the next line. If the same stitch defect appears on the small sample, inspect setup and threading too.