
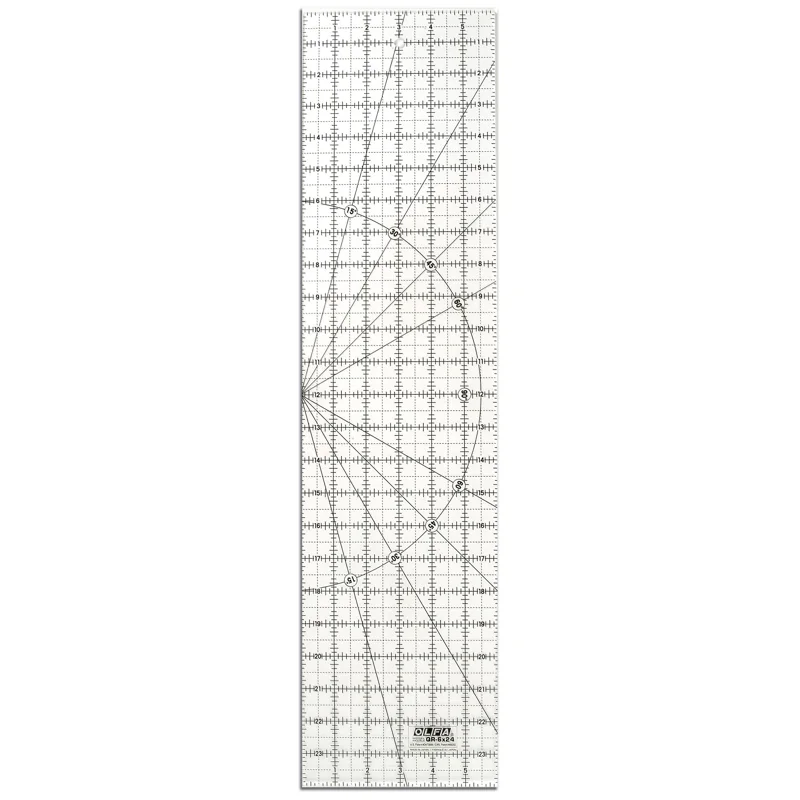
OLFA QR-6x24 six-by-24-inch frosted acrylic ruler
Our verdict:
Repeat holiday cuts
Best for cutting long strips with a rotary cutter.
View at OLFAKeep in mind: hold the ruler securely and keep your hand clear of the cutting edge.
Quilting
The short answer
Use familiar square piecing with seasonal colors. Keep the top small enough to leave time for quilting and binding.
OLFA QR-6x24 six-by-24-inch frosted acrylic rulerView at OLFARead our analysis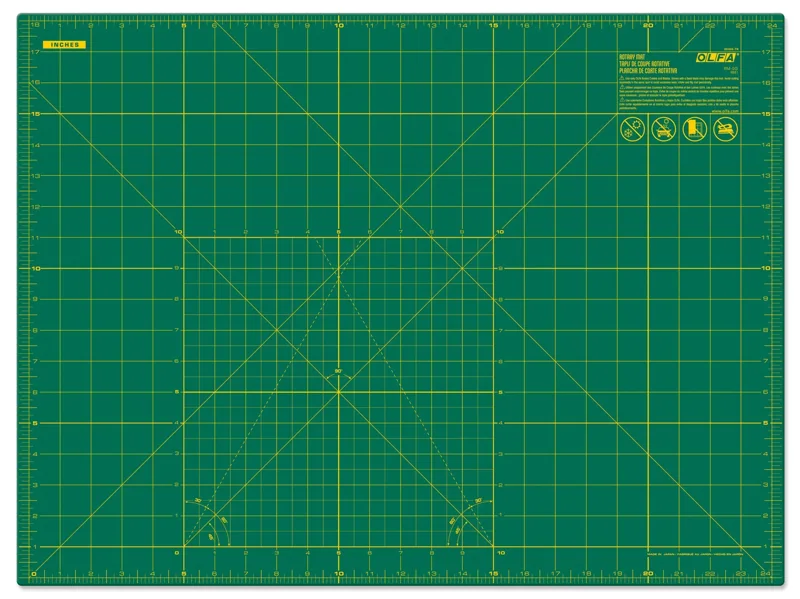 OLFA RM-SG 18-by-24-inch cutting matView at OLFARead our analysis
 Dritz blue-and-purple marking penView at DritzRead our analysis
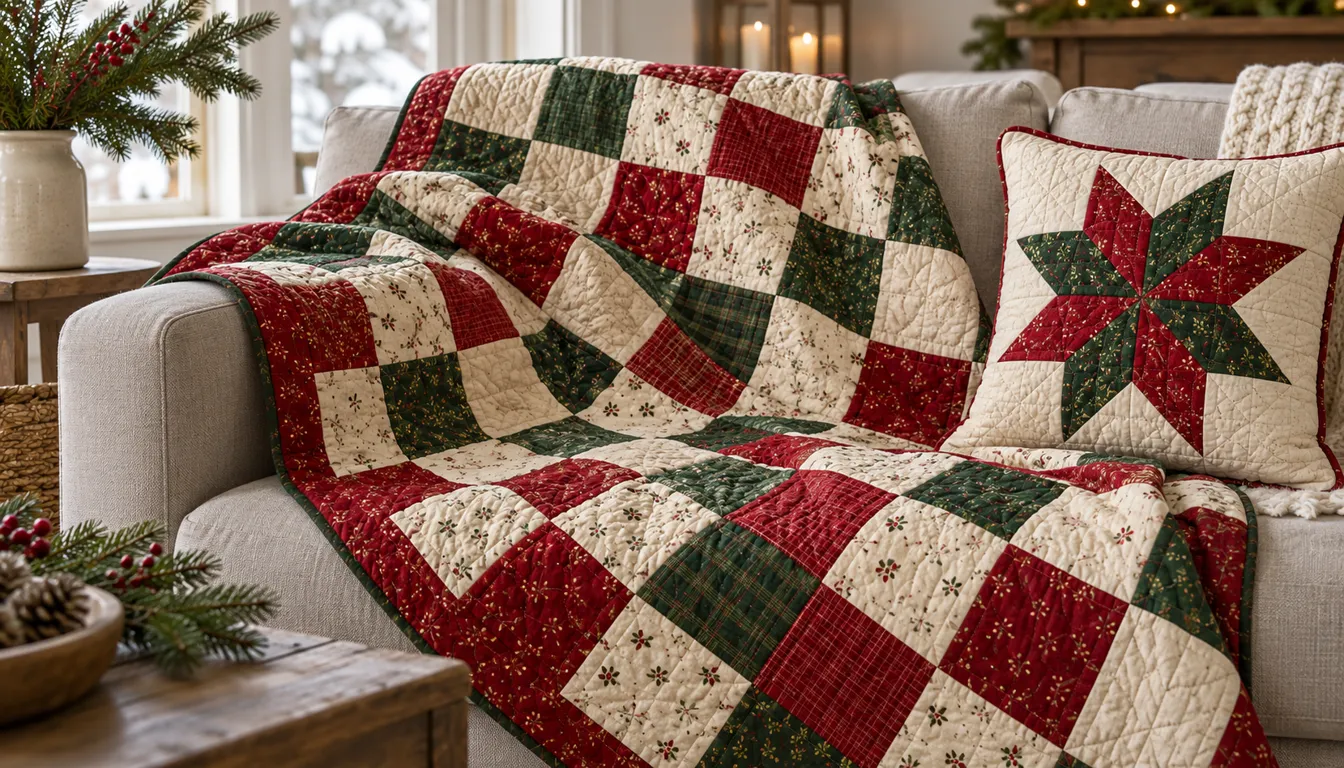
Red, green and cream fabrics give a simple checkerboard a Christmas look. Choose a size that fits where you will use it, and leave time for quilting and binding. The small quilt below finishes at 30 by 42 inches, with cream squares between the red and green prints.
Choose the project size and fabrics first. The tools below suit straight cutting and temporary line planning. Use the ruler and mat for equal squares, then test the pen on a scrap before marking stitch lines. Check your present supplies before buying a second cutting setup.
The quilting guide helps you plan the layers. A holiday top still needs backing, batting and binding. Set aside time for those stages before choosing a larger pattern because its cover looks festive.
OLFA QR-6x24 six-by-24-inch frosted acrylic ruler
Our verdict:
Repeat holiday cuts
Best for cutting long strips with a rotary cutter.
View at OLFAKeep in mind: hold the ruler securely and keep your hand clear of the cutting edge.
The OLFA QR-6x24 is a six-by-24-inch frosted acrylic ruler. Its long edge suits straight strips and larger rectangles. Check the markings against your fabric and keep the whole cut over a suitable cutting mat.
OLFA RM-SG 18-by-24-inch cutting mat
Our verdict:
Small project cutting area
Best for rotary cutting on a medium-size work surface.
View at OLFAKeep in mind: store flat and keep it away from heat; a rotary mat is not an ironing surface.
The OLFA RM-SG is an 18-by-24-inch double-sided self-healing rotary mat. Mark those four corners on your desk with removable tape to check the fit. Leave room beside the mat for fabric and the closed cutter.
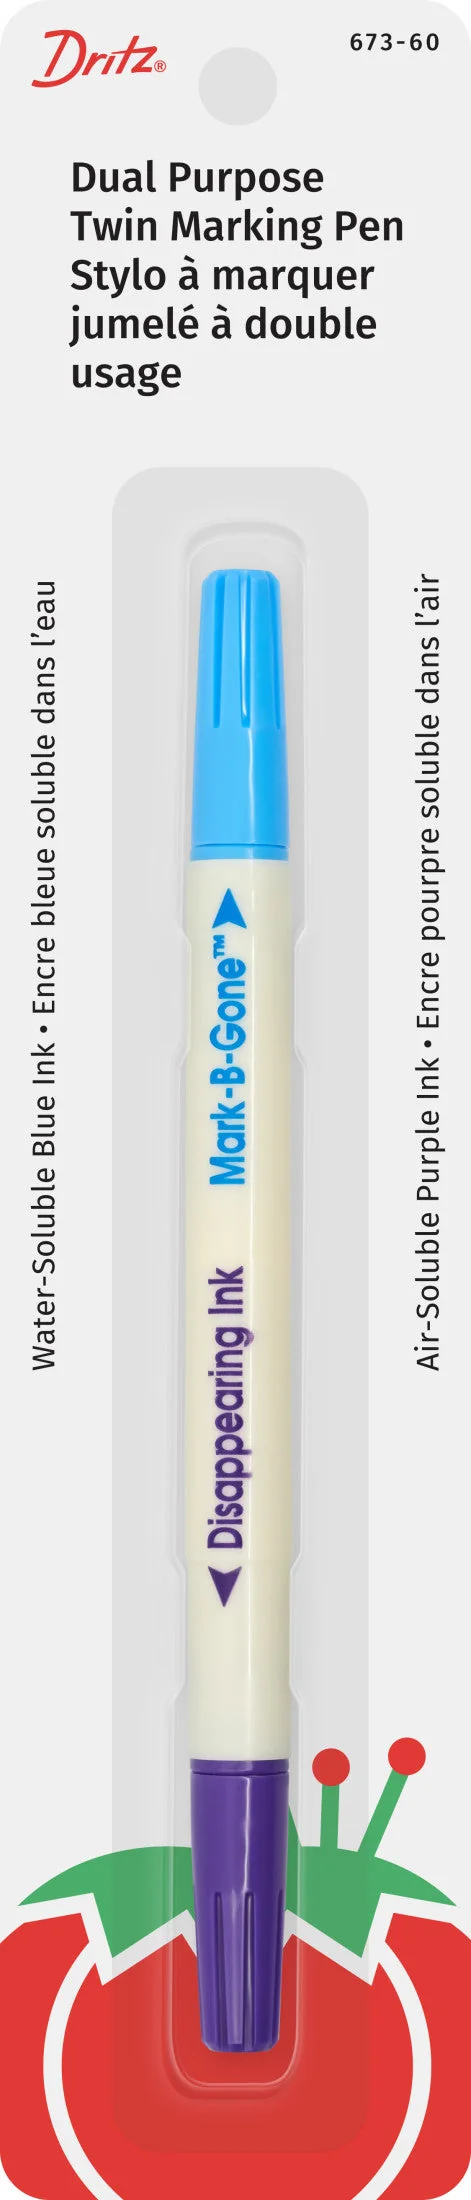
Dritz blue-and-purple marking pen
Our verdict:
Temporary stitch guides
Best for testing a visible guide on a cream fabric scrap before quilting.
View at DritzKeep in mind: read the removal directions for the chosen ink end and test the complete removal step.
The two ends provide blue water-removal ink and purple disappearing ink. Use a scrap of the actual cloth for a trial. A guide should remain visible for the time you need it and leave the fabric as intended after the instructed removal method.
A small table quilt has less cloth to hold than a large throw. A wall quilt needs a suitable hanging plan. A bed quilt has more rows and a larger finishing task. Measure the intended space rather than relying on a general size label.
Browse the Quilting Daily holiday collection for seasonal designs. Read the materials and sewing steps for a pattern you like. Tree and star blocks can be pieced in several ways, so check how the pieces fit together before choosing.
For a first holiday finish, use familiar squares in seasonal colors. For a next project with points, compare the star quilt guide. Keep the quilt construction small while learning a new block.
Use five columns and seven rows of 6-inch finished squares. Cut each at 6 1/2 inches and sew with 1/4-inch seams. You need 5 x 7 = 35 squares for a top that finishes at 5 x 6 = 30 inches wide and 7 x 6 = 42 inches high.
Start a checkerboard with a colored square at upper left and cream beside it. There are 18 colored positions and 17 cream positions. Fill the colored positions with nine red and nine green squares. The red and green do not need their own checkerboard; spread them across the colored spaces.
| Fabric group | Cut size | Count |
|---|---|---|
| Red prints or plain red | 6 1/2-inch square | 9 |
| Green prints or plain green | 6 1/2-inch square | 9 |
| Cream background | 6 1/2-inch square | 17 |
Scroll for more →
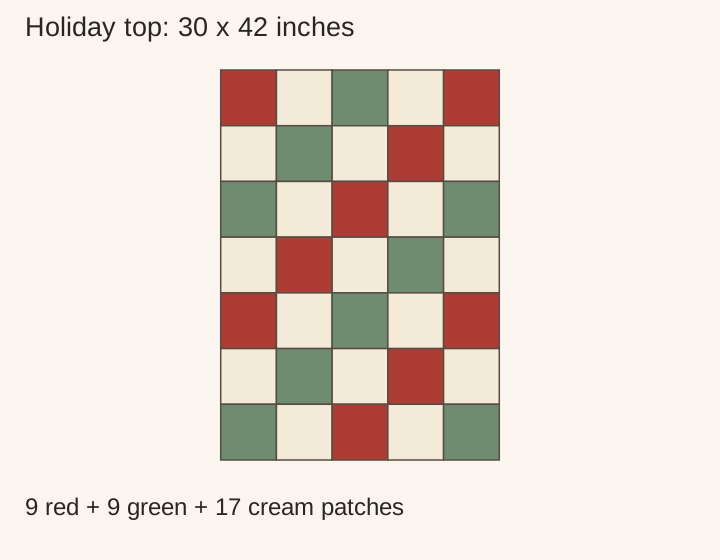
At a measured usable width of 40 inches, six cut squares fit across a strip, using 39 inches. Two strips each of red and green yield 12 squares per color. Three cream strips yield 18. That uses 13 inches of fabric length for each color and 19 1/2 inches for cream, before preparation and squaring extras.
These yields assume the cuts can run in the planned direction. A one-way print or a motif centered in each patch can use more cloth. Lay out paper windows first if keeping the whole picture matters.
Lay out all 35 squares. Put red and green only in the colored checkerboard positions. Turn picture prints upright and take a photo. Label each row at the same end before moving any pieces.
Join five squares into the first row. Its unfinished width is 5 x 6.5 - 4 x 0.5 = 30.5 inches. The row height is 6 1/2 inches. Check that row before making the other six. Join the seven rows for an unfinished top of 30 1/2 by 42 1/2 inches.
If you want a border, calculate it after measuring the actual top. Do not use the border as a way to hide rows with different lengths. Correct those rows first, then cut measured border lengths for the top you have.
Keep the row labels in place until the top is joined. Check the color positions after each seam so a reversed row is easy to spot and fix.
Measure the top before sizing the backing and batting. Use the cotton quilt batting guide to compare cotton options, then read the quilting and care directions for the batting you buy. Check those directions before marking the distance between stitch lines.
Keep the fabric and batting care instructions with the finished quilt so you can find them next year. Follow those directions when cleaning and storing it. For a gift, write the quilt's care instructions on a card to send with it.
For machine shopping, compare beginner quilting machines. If a seasonal deadline is close, choose simple quilt patterns with blocks you already know. A smaller finished quilt is more useful than a much larger top still waiting for its layers.
Pair familiar square piecing with Christmas fabrics for a small holiday quilt. Count the red, green and cream squares before cutting, check the first row and leave time for quilting and binding. Try star blocks on a later project, after making a sample to check the points.
Try a checkerboard of red, green and cream squares. You sew only straight seams, and this 35-patch layout leaves each fabric visible in a 6-inch square.
Yes, but check the visible patch size. Centering a picture may reduce the number of patches you can cut from the same cloth.
Measure the table area first and choose the row and column count you need. Recalculate all patch counts and finishing materials for the new size.