
Sewing Projects
Sewing Swap Gifts: Small Projects and a Weekly Project Journal
The short answer
Choose one useful gift that fits your partner's preferences and your available sewing time. Record its next step each week, then check the contents, care information and address before mailing.
Last updated October 2026
What's covered6
A good sewing-swap gift is something the recipient can use. Size, fabric care and a working closure matter more than adding one more matching item to the parcel. Start with a short partner checklist, then choose a project with steps you already understand or have time to practise.
Pouches, pincushions, thread catchers and small quilted pieces offer different ways to match a gift to a sewing partner. Choose by the item's intended use, the materials you have and the construction step that will take the most practice.
Ask before choosing the project
Write down the recipient's preferred colors, colors to avoid and the size they need. Check whether they want a useful sewing item, home accessory or quilted display piece. Ask about washing and material preferences rather than making assumptions from a photograph.
For a group swap, read its current rules. Check the deadline, allowed project types, value limits if any, and whether fabric extras are expected. Write these requirements beside your project list before buying materials.
| Question | Why it changes the project |
|---|---|
| What will it hold or cover? | Determines the real finished size |
| Which colors or prints are welcome? | Helps the gift fit the recipient's taste |
| Does it need to be washable? | Changes fabric, trim and care choices |
| What closures can the recipient use? | Helps you choose between an open pouch, zipper or envelope back |
| When must it arrive? | Sets the latest sensible finish and mailing dates |
Scroll for more →
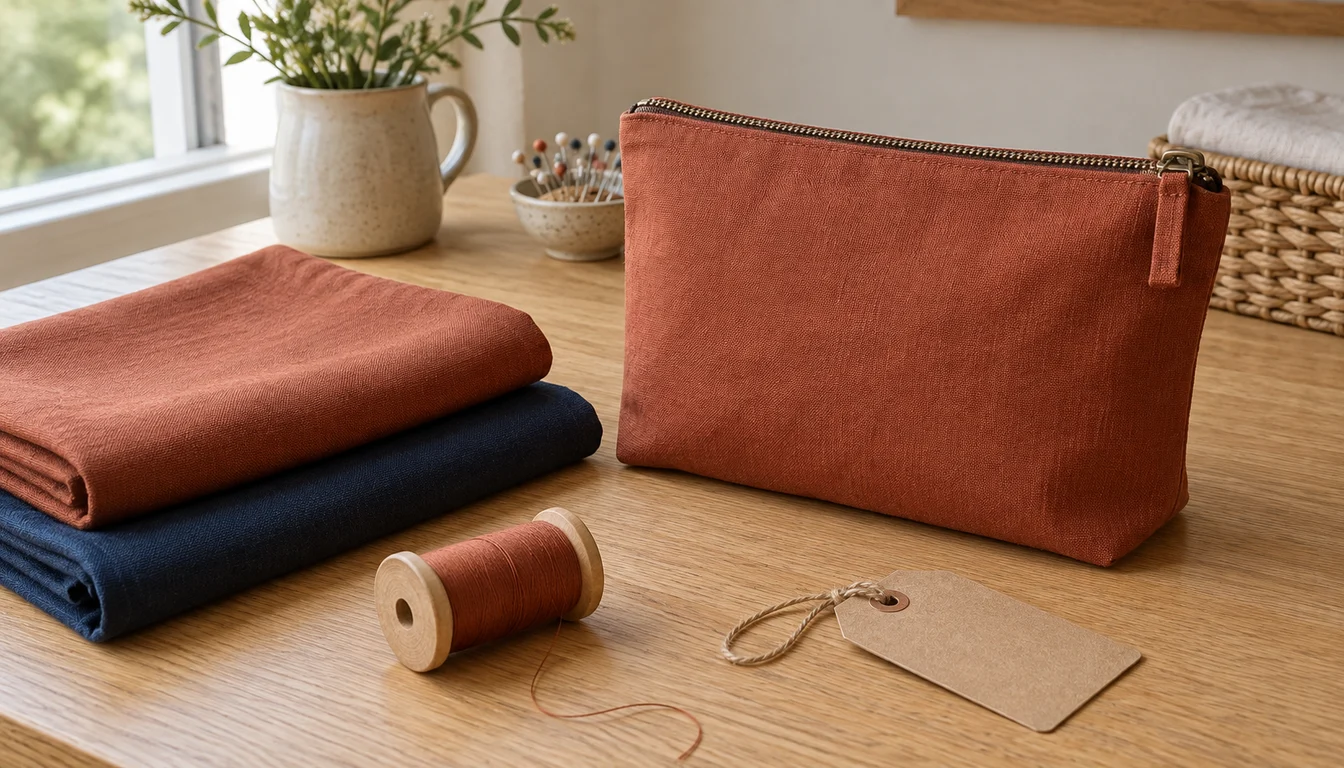
The So Sew Easy sewing-swap announcement pairs a handmade item, such as a zipper pouch or pin cushion, with a small sewing gift, such as fabric or notions. A partner checklist helps you choose both parts of that kind of parcel.
Match the gift to the work involved
Choose the item by its hardest step. A tiny zipped bag is small, but the zipper can be harder than the long straight seams of a larger cover. A thick thread catcher may need more careful feeding than a thin cotton pillow.
| Gift | Useful planning check | Skill to practise first |
|---|---|---|
| Zipper pouch | Measure the object it should hold and the opening it needs | Installing the chosen zipper |
| Pincushion | Confirm that a pin-storage gift is wanted | Closing the stuffing opening neatly |
| Thread catcher | Decide whether it stands, hangs or needs a holder | Its support and attachment method |
| Pillow cover | Ask for the insert dimensions and fullness | Accurate rows and the back closure |
| Mini quilt | Agree on display size and how it will be hung | Layering, quilting and binding |
| Fabric bundle | Confirm fiber type and usable piece sizes | Clear labeling and neat packing |
Scroll for more →
For a complete zipper project, BERNINA hosts the designer's Zipped Up Selvage Pouch instructions. Follow the original instructions there rather than combining half-remembered steps from several different bags.
Our gift-sized pillow project has a whole-square front and envelope back. For a small quilted piece, start with the modular patchwork choices and decide its finished size before cutting.
Keep the parcel manageable
Choose a main item before adding extras. A pouch, pincushion and thread catcher can make an appealing set, but each has its own construction and final checks. If the deadline is close, a well-finished single item is a sensible choice.
List the materials already on hand. Include closures, lining, thread and any support material as separate entries. Our supplies checklist helps you check the basic tools before starting. If you are buying a machine for these projects, compare machines for small sewing projects against the fabrics and layers you plan to sew.
Schedule backward from the arrival date. Leave time for a practice closure, the final care step and packing. Mailing dates depend on the carrier, destination and service you actually use; a sewing plan cannot promise delivery.
Keep a weekly project journal
A weekly sewing journal keeps the project's measurements, progress and next action together. Use it to track patchwork rows, a swap parcel or a donation project. Give each entry a date so you can follow the work across several sessions.
A sewing journal can be one notebook page per week. It does not need scrapbook products or a public diary. Photograph the work itself, keep a fabric swatch if useful, and note the next step while it is fresh in your mind.
| Record | Example entry you can adapt |
|---|---|
| Project and intended use | Cotton pouch for a sewing exchange |
| Fabric and care information | Fiber content and care label from the actual fabric |
| Finished-size goal | Measurements of the items the pouch must hold |
| Work completed | Front cut; lining still to cut |
| A problem to resolve | Practice the zipper on spare fabric |
| Next short session | Cut lining and mark the zipper ends |
| Finish and delivery plan | Confirm address after final construction check |
Scroll for more →
For a two-week spread, separate what you completed in the first week from what changed in the second. For a single-week entry, keep the same fields and write less. A dated photograph and a clear next action are more useful than a page full of tasks with no order.
For donation sewing, record the receiving organization's requirements and confirm that it accepts the item before cutting. Keep its requested measurements and care details beside the project notes. Leave private addresses and other people's photographs out of a journal you share.
Check the gift before packing
Open and close a zipper several times. Look for loose threads, missed seams and raw edges where the construction should enclose them. Measure the finished item against the partner's request. For a pillow cover, confirm that the opening will let the insert go in and come out.
If the project has pins, needles or other sharp contents, remove or secure them according to the carrier's rules before packing. Do not hide a needle in a pincushion as a surprise. Include care information based on the materials you used; avoid claiming a fabric is heatproof, allergy-safe or suitable for a particular use without evidence.
Wrap the main item so it stays clean. Keep the address details separate from the project notes you might share publicly. Add a short label naming what the item is and how to care for it, then keep your mailing receipt.
When to simplify
If a closure keeps failing, return to a scrap sample instead of rushing through the gift. If the fabric creates too many thick layers, choose a lighter construction. A plain cover with accurate seams can be a useful present. Matching accessories can wait until the main item is complete and you still have time.