
Sewing Projects
Crayon Apron: Fit, Divided Pockets and Washable Construction
The short answer
Measure the crayons and the wearer before cutting. Make one pocket sample, choose a reachable waist-apron size, then divide a wider pocket panel using the sample's spacing.
Last updated October 2026
What's covered7
A crayon apron keeps drawing materials in separate fabric pockets. The pocket width has to allow for a crayon's thickness, not just its width when it lies flat. Start with a scrap test and then use its spacing across the pocket panel.
A waist apron starts with a rectangular body, a pocket panel and a fastening sized to the wearer. Fit the body on paper first, then choose a pocket depth that leaves the crayons easy to grasp. The cutting example below can be adjusted after those checks.
Choose the wearer and the fit first
Make a paper rectangle in the finished width and height you are considering. Hold it at the intended waist position. Check that it does not wrap farther around the body than wanted, and that the pocket tops will be easy to reach.
Choose a fastening that suits the actual wearer and intended activity. If making this for a child, have the responsible adult decide the fit, fastening and supervised use. This project has no age recommendation or safety certification. Do not add long cords, loose decorative parts or a neck loop just to make a smaller version look like an adult apron.
The numerical example below is a small rectangle, not a universal child size. Change it after the paper fitting. If a wearable apron is unsuitable, the same divided-pocket panel can be used on a flat storage piece instead, without waist ties.
Materials and the example cutting list
Use a washable woven cotton whose care instructions suit the intended use. Avoid layers so heavy that your machine struggles to feed them. BERNINA's all-purpose apron tutorial notes that folded fabric can make a thick seam. Test the folded layers on a scrap before hemming the apron body.
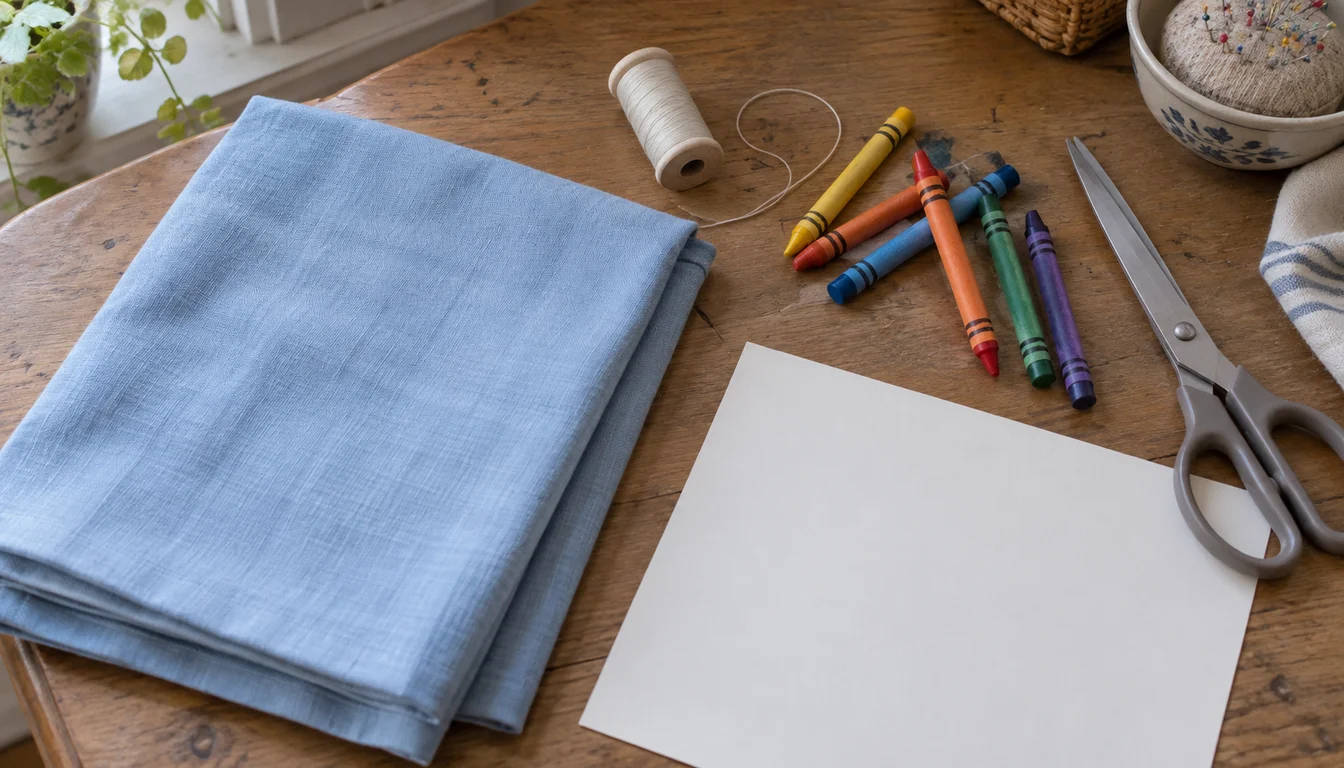
You will need the crayons, fabric, thread, ruler, fabric scissors, a removable marker, pins and an iron. Choose a needle with our needle size by fabric guide. The woven-cotton machine comparison can help if you are deciding which machine controls matter for these straight seams.
| Piece | Example cut size | Result after the stated folds |
|---|---|---|
| Apron body | 15 by 12 inches | 13 by 10 inches after ½-inch double-turn hems on all sides |
| Pocket panel | 12 by 5 inches | 11 inches wide by 3½ inches deep after its hems and folds |
| Waist ties | Sized after fitting | Use the construction below; length is set by the wearer |
Scroll for more →
For a different body size, add 2 inches to the desired finished width and height. That accounts for turning ½ inch twice at each edge. Do not use the pillow project's ¼-inch allowance for these double-turn hems.
For the pocket panel, turn each side and the bottom under ¼ inch twice. Turn the top under ½ inch twice. These folds reduce the cut width by 1 inch and depth by 1½ inches. Mark the fold lines on paper first if it is hard to picture the result.
Measure one crayon pocket
Fold a scrap to the planned pocket depth and finish its top edge. Pin it onto another scrap that stands in for the apron. Make a vertical stitch line near one side. Put the actual crayon beside that line, then pin a possible second line with enough fabric to form a pocket around it.
Remove the crayon before sewing. Stitch the second line and check that the crayon slides in and out without force. Check the depth as well: enough of the crayon should remain visible to grasp it. Make the test wider or shallower if needed.
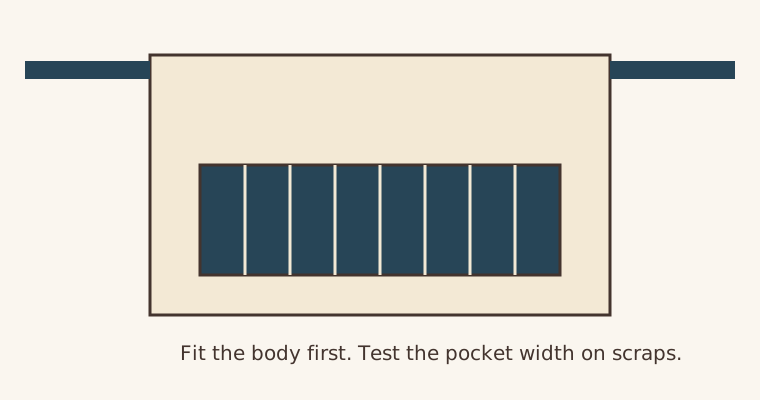
The distance between those stitch lines is your division spacing. If it is 1¼ inches, eight divisions need 10 inches between the outer division lines. An 11-inch finished-width panel leaves ½ inch at either side of that span. That is an arithmetic example; use the spacing your own sample needs.
Hem the body and pocket panel
Prepare the fabric according to its care directions. Cut the body and pocket panel, then press the folds from the cutting table above. Stitch the body hems close to their inner folds. Work slowly at the corners where several layers overlap.
Stitch the pocket's top hem before attaching the panel. Keep its side and bottom folds pressed, but do not sew the top edge to the apron. Place the pocket on the body and check its position against the paper fitting. Leave room below the waistband and above the lower hem.
Mark the pocket divisions using the sample spacing. Test the marking tool on spare fabric, including how the mark is removed. Permanent lines are not a good substitute for a tool whose removal instructions you can follow.
Attach and divide the pockets
Pin the panel flat. Sew close to the folded side and bottom edges, keeping the top opening free. Secure the start and finish. Remove pins as you approach them rather than stitching over them.
Sew each marked division from the lower edge to the opening. Reinforce the stitching at the opening with a short reverse-stitch sequence suitable for your machine. Keep the panel smooth so one pocket does not steal width from the next.
Check every pocket with its actual crayon. If a division is too tight, unpick that line and mark a better position before sewing it again. Do this before fitting any ties. A full set of crayons makes the panel behave differently from an empty one, so check that the body remains comfortable and reachable.
Make and attach waist ties only after fitting
Decide the finished tie width and required length with the wearer. For a four-fold tie, cut the strip four times the desired finished width. Add ½ inch at each end you will turn in. Do not choose tie length from an age label.
Press the strip lengthwise in half, open it, then fold each long raw edge toward the center crease. Turn in the ends and fold the strip closed. Stitch close to the long open edge. Check that the machine can feed the folded thickness without pulling.
Place each tie flat on the wrong side near an upper side corner, leaving enough overlap for a stitched attachment. Sew a secure box of stitches over that overlap, avoiding the pocket. Check the attachment and the fit before use. The tied ends should be no longer than the actual fastening requires.
Care and the final check
Remove crayons before laundering and use the fabric's care instructions. Do not promise that a particular wax stain will wash out. Check seams, pocket openings and the fastening after washing, and repair damaged stitching before using the apron again.
Before starting another cotton project, use the project supplies checklist. A heart pillow cover gives you more straight-seam practice with no wearable fit to solve. If the apron is a gift, the sewing swap guide helps you agree on its size and intended use first.