
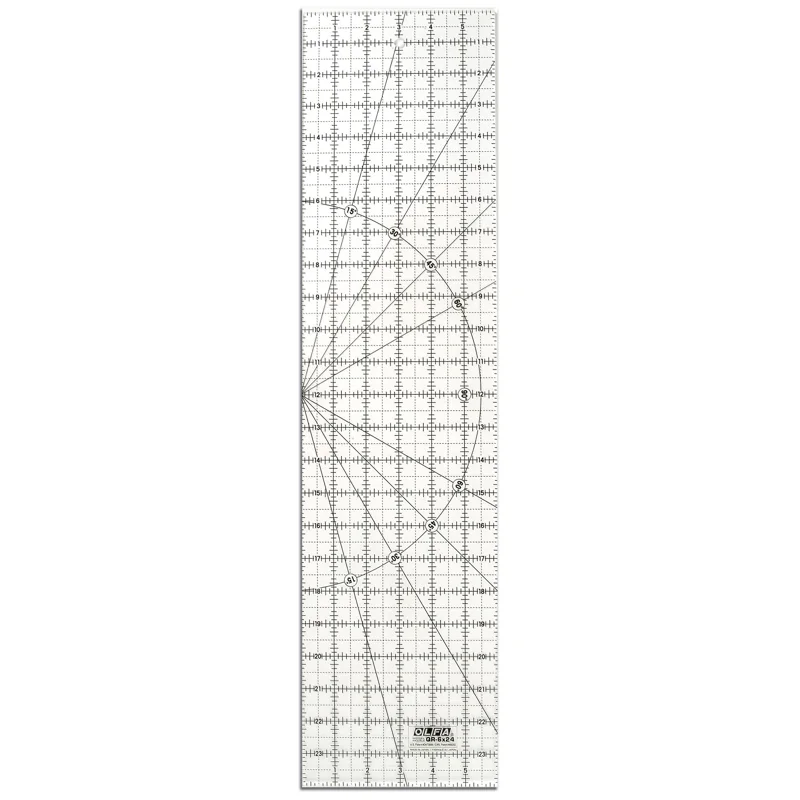
OLFA QR-6x24 six-by-24-inch frosted acrylic ruler
Our verdict:
Repeat strip widths
Best for cutting long strips with a rotary cutter.
View at OLFAKeep in mind: hold the ruler securely and keep your hand clear of the cutting edge.
Quilting
The short answer
Join three 2 1/2-inch strips, check for a 6 1/2-inch set, then crosscut square blocks and rotate neighbors.
OLFA QR-6x24 six-by-24-inch frosted acrylic rulerView at OLFARead our analysis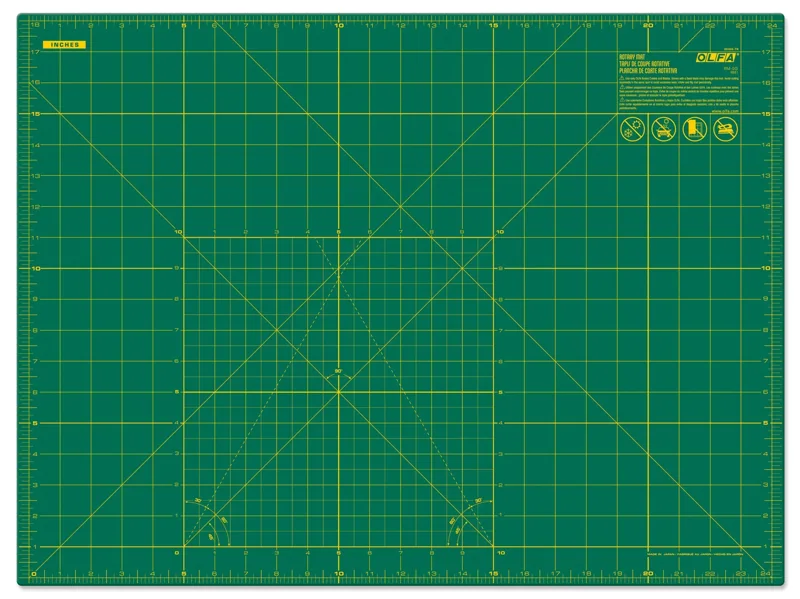 OLFA RM-SG 18-by-24-inch cutting matView at OLFARead our analysis
 OLFA RTY-2C/STQR quilting and sewing kitView at OLFARead our analysis
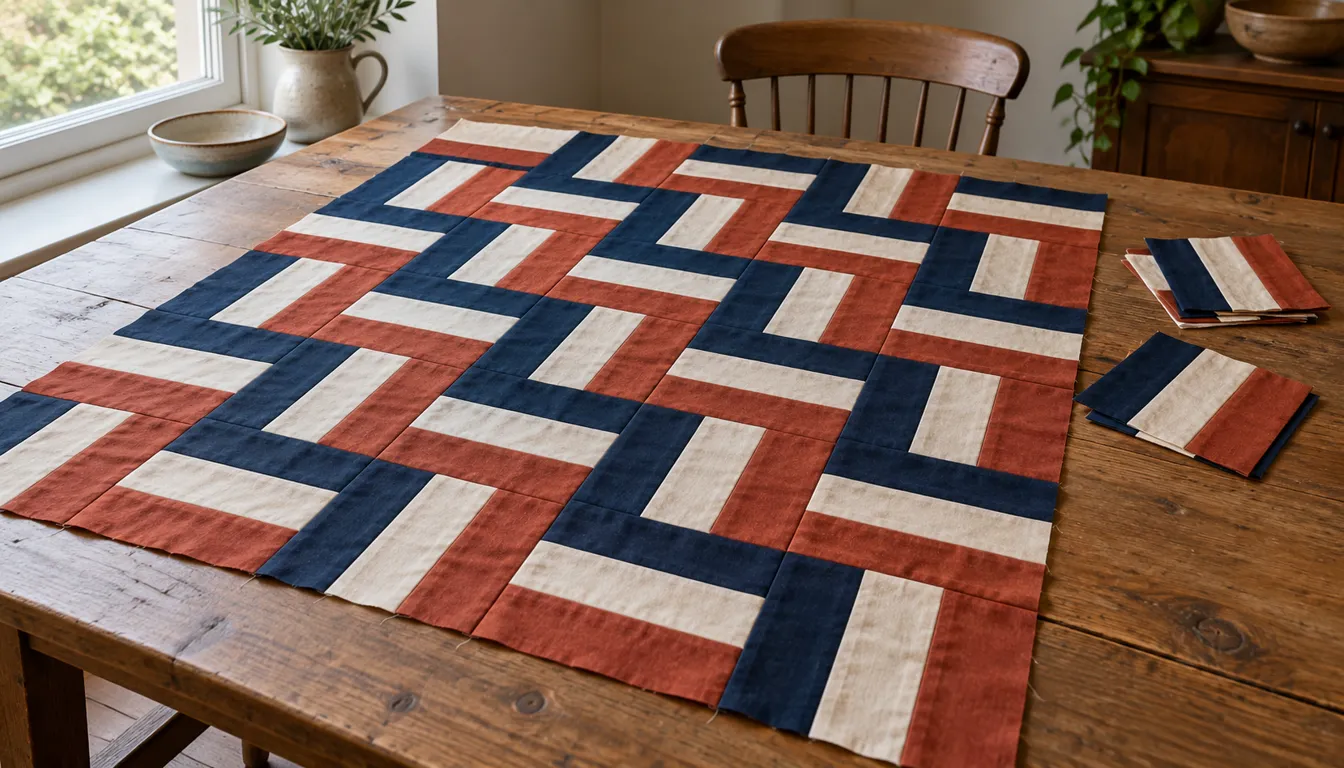
A rail fence quilt is made from square blocks of parallel strips. Turn neighboring blocks a quarter turn so the stripes alternate between horizontal and vertical. This three-rail pattern uses 2 1/2-inch strips for 6-inch finished blocks, with 36 blocks making a 36-inch square top.
Even strip widths keep rail fence blocks square. Choose a ruler and mat that fit the strips you will cut. The separate ruler and mat below suit someone adding to a cutting setup. The set is another option if you need a cutter, ruler and mat together.
Our quilting guide explains how the top fits with batting and backing. Count fabric for the rails first, then plan backing, batting and binding separately. Measure the sewn top before cutting those finishing materials.
OLFA QR-6x24 six-by-24-inch frosted acrylic ruler
Our verdict:
Repeat strip widths
Best for cutting long strips with a rotary cutter.
View at OLFAKeep in mind: hold the ruler securely and keep your hand clear of the cutting edge.
The OLFA QR-6x24 is a six-by-24-inch frosted acrylic ruler. Its long edge suits straight strips and larger rectangles. Check the markings against your fabric and keep the whole cut over a suitable cutting mat.
OLFA RM-SG 18-by-24-inch cutting mat
Our verdict:
Strip cutting surface
Best for rotary cutting on a medium-size work surface.
View at OLFAKeep in mind: store flat and keep it away from heat; a rotary mat is not an ironing surface.
The OLFA RM-SG is an 18-by-24-inch double-sided self-healing rotary mat. Mark those four corners on your desk with removable tape to check the fit. Leave room beside the mat for fabric and the closed cutter.
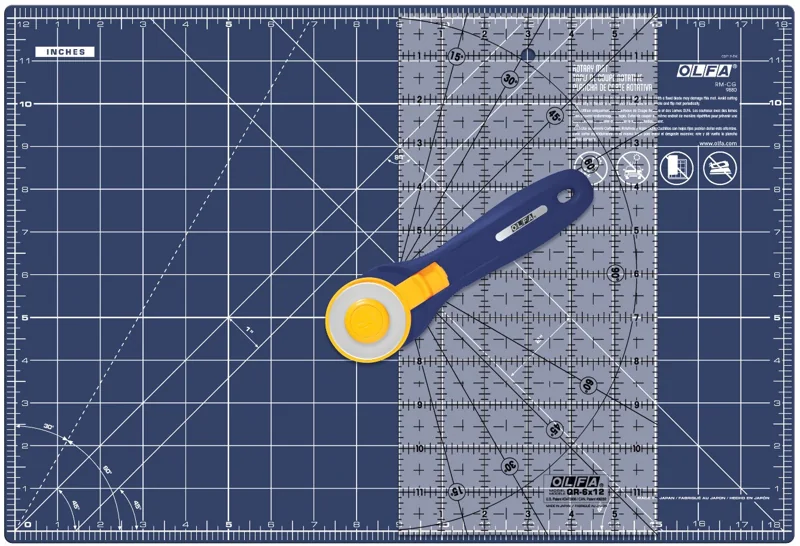
OLFA RTY-2C/STQR quilting and sewing kit
Our verdict:
New strip-piecing setup
Best for starting rotary cutting with a coordinated cutter, mat and ruler.
View at OLFAKeep in mind: check the included mat and ruler dimensions against your work space before buying.
The OLFA quilting and sewing kit groups a rotary cutter, cutting mat and acrylic ruler. It is useful when the whole cutting station is missing. Check each item's current dimensions against your desk and pattern before ordering.
Three rails are the three strips inside each block. Neighboring blocks rotate a quarter turn so horizontal and vertical stripe groups alternate. The dark rail's position creates the path your eye follows through the quilt. Keep the color order fixed for a clear first version.
The Diary of a Quilter rail-fence tutorial shows strip-pieced construction. For the 36-inch top below, follow the three-rail cutting chart and six-by-six block layout together. Keep that chart with your fabric so you can check sizes and counts as you work.
Arrange the rails in navy, cream and rust order. If you use different colors, lay them beside each other first and check that all three are easy to tell apart. Prints that look too similar can hide the alternating stripes even when every block is sewn correctly.
All seams are 1/4 inch. Three 2 1/2-inch strips start with a total width of 7 1/2 inches. Two long joins each use 1/2 inch across the pair, leaving 6 1/2 inches. That is the unfinished strip-set width.
Cut across the joined set at 6 1/2-inch intervals to make square blocks. Each block measures 6 1/2 inches before joining and finishes at 6 inches with 1/4-inch seams. Make a short sample set and check its width before cutting every strip.
| Color | Strip width | Number of strips | Required usable length per strip |
|---|---|---|---|
| Navy | 2 1/2 inches | 6 | At least 39 inches after squaring |
| Cream | 2 1/2 inches | 6 | At least 39 inches after squaring |
| Rust | 2 1/2 inches | 6 | At least 39 inches after squaring |
Scroll for more →
Six blocks per set need 6 x 6 1/2 = 39 inches of usable length. Six sets give 36 blocks. Each color uses 6 x 2 1/2 = 15 inches of fabric length for the strip cuts, or 15 / 36 = about 0.42 yard before extra for squaring and preparation.
If your sets are shorter than 39 usable inches, use five blocks from each set and make more sets. Do not squeeze a sixth undersized block from the end. Recount both strip sets and fabric before continuing.
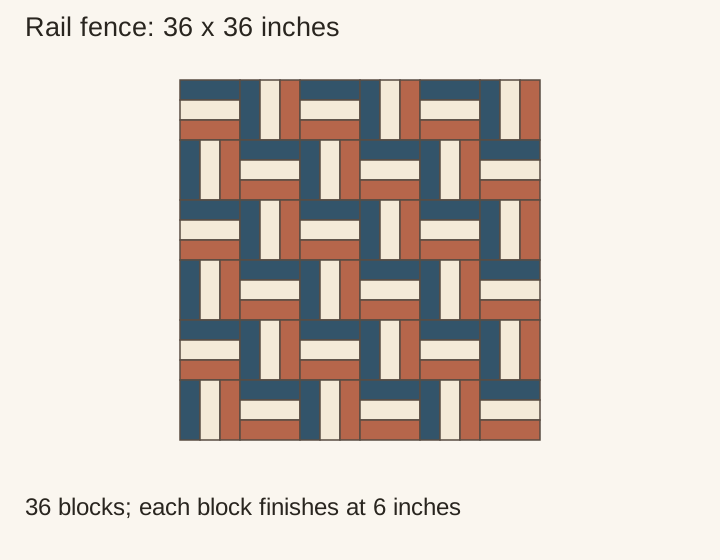
Join navy to cream along the long edge. Add rust on the other side of cream. Check the width at both ends and the center. The set should stay 6 1/2 inches wide before crosscutting. A bowed or narrow set needs correction first.
Keep the strips supported while sewing and pressing. Use the pressing method for your fabric and follow a maker lesson if it is new. Check the square end of the set, then cut the 6 1/2-inch blocks. Keep the color order consistent in every stack.
Lay out six blocks per row. The first row starts horizontal, then vertical. The second starts vertical, then horizontal. Repeat those row starts three times each. Photograph the layout before lifting blocks to sew.
Each row's unfinished length is 6 x 6.5 - 5 x 0.5 = 36.5 inches. Its height is 6 1/2 inches. Join the six rows and check for an unfinished top of 36 1/2 inches square. The finished design size is 6 x 6 = 36 inches each way.
A wrong rotation is easier to fix while the blocks are loose. Look at every row from a distance and check the strip direction. If you want a less regular version, the scrap quilts guide helps you plan varied cloth. Keep the same measured block size when mixing prints.
For another straight-seam project, compare simple quilt patterns. For equipment, use beginner quilting machines after deciding whether you want to piece only or quilt the full layers too.
For this rail fence quilt pattern, make one three-strip set and measure its 6 1/2-inch width. Count its usable length before crosscutting. Once those checks pass, the block rotations provide the design while the cutting and sewing stay the same.
Yes, if their measured size and usable length meet this plan. You need 39 usable inches per set to cut six 6 1/2-inch blocks.
Check strip widths, both long seam allowances and the crosscut size. The joined set must measure 6 1/2 inches wide before the 6 1/2-inch crosscuts.
Yes, but that is a different block-width calculation. Recalculate the joined strip width and use that same size for each crosscut.