
Quilting
Machine Binding a Quilt: Back to Front
The short answer
A back-first attachment lets you watch the front fold during the final pass. Check the bobbin stitch line on the backing as you sew.
Last updated October 2026
What's covered8
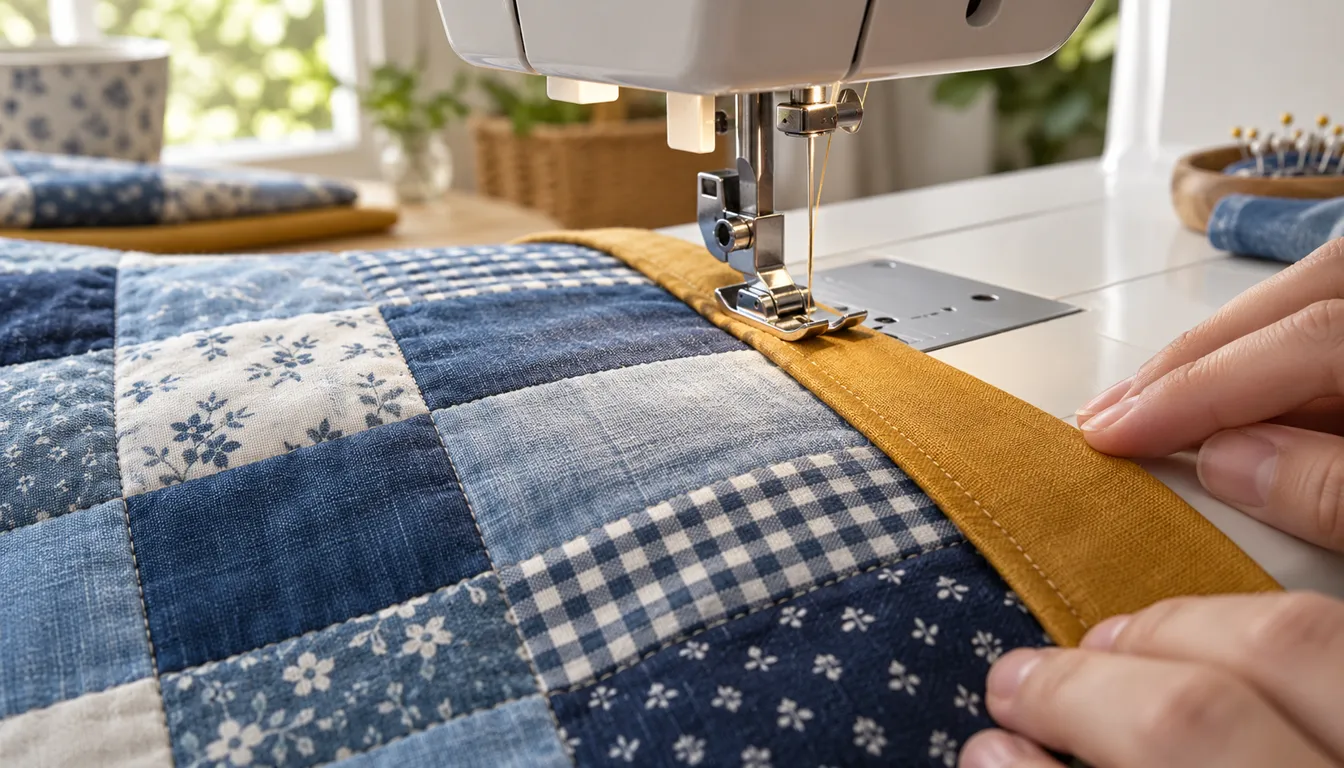
Machine binding a quilt means sewing both attachment passes with the machine. A useful beginner route is to attach the strip to the back, wrap it to the front and stitch close to the visible folded edge. You can watch that fold as you sew, then check the reverse for the second stitch line.
Plan the appearance on both sides before starting. This method leaves visible stitching, so a sample tells you more than a thread color held beside the quilt. The quilting guide covers the stages before binding; machine quilting for beginners explains joining the layers themselves.
Machine binding a quilt: choose the stitch path first
String & Story's machine binding tutorial describes a back-first attachment and a front finish as one option. That order lets the last seam run along a fold you can see. It also means the bobbin thread creates a line on the quilt back.
Decide how visible you want the final stitch line to be on the backing. It blends into a busy print more easily than a plain fabric. Test the thread color and seam placement together on your sample.
Avoid planning a finish that depends on an unseen fold landing perfectly under the needle. For this lesson, the final seam follows the front fold directly. Checking the back remains part of the process, but you do not need to guess whether the fold has been caught.
Use hand-finished binding if you want a quieter finish on the front. Pick that route before attaching the strip; its first side and final stitching steps differ.
Make a sample with the same layers
Cut a small sandwich from the quilt's actual top fabric, batting and backing. Quilt it, then square its edges. A single layer of cotton cannot show the amount of fabric needed to turn over batting.
For this practice piece, use a 2 1/2-inch strip folded lengthwise, wrong sides together. Attach the raw edges to the back with a 1/4-inch seam. Turn the fold onto the front and check how far it extends past the first seam.
Those measurements are a starting combination for this sample. If the fold cannot cover the first seam comfortably, stop and adjust the strip width or attachment seam before cutting all the binding. Our binding calculation page handles the length and fabric requirement.
Try the planned top and bobbin thread colors on this piece. Sew a short length, then look at both faces in good light. Save the sample once the seam placement looks right.
Set up the machine for a layered edge
Use the presser foot and settings your machine manual recommends for feeding layered quilt edges. A walking foot or integrated feed system may help, but the foot must be compatible with the machine. Keep the quilt supported even when using one.
Place enough of the quilt on the table to keep it from pulling down. Arrange the loose binding so it feeds freely. If it catches under the quilt or wraps around the machine, pause and move it before continuing.
Test the stitch on the layered sample. Inspect the top and back for loose loops or puckers. Recheck threading and the manual's setup before changing controls. There is no tension-dial number that fits every machine, fabric and thread combination.
If you are comparing equipment, use the beginner quilting machine guide to match controls to your work. For this task, steady feeding and space to hold the quilt matter more than a large decorative stitch menu.
Attach the strip to the back
Place the quilt back up. Align both binding raw edges with the trimmed quilt edge. Start on a straight side, leave an unsewn tail for the end join, and sew with the allowance that worked on your sample.
Guide the edges together without pulling the strip tight. The quilt should lie flat behind the foot. If its edge starts curling inward, stop and check whether the binding is being stretched as it feeds.
At a square corner, stop one seam allowance from the edge. With the 1/4-inch seam used in our sample, that stopping point is 1/4 inch away. Fold the binding away from the next side, then back along it to create the corner turn.
Continue around the quilt and leave a gap for joining the tails. Follow the diagonal joining method from your chosen binding lesson. Open and test the join before trimming its excess fabric, then complete the attachment seam.
Fold onto the front and check every corner
Turn the binding to the front. It should pass beyond the first attachment seam so the final topstitch can catch it. Clip a short section and compare its width with the next one.
Fold the corners into neat miters before sewing. Hold the first side in place, then fold the next side over it. Check that the diagonal closes and the point contains no exposed batting. Rework the fold if one side looks much wider than the other.
Clips are useful for previewing the edge, but remove them before they reach the needle. Do not sew blindly toward a clipped corner. Slow down early enough to keep the fold in place with the method that felt controlled on your sample.
Fold only as much as you can keep consistent. Some quilters like to clip the whole perimeter; others work a section at a time. The useful test is whether the front fold stays beyond the first seam without being stretched.
Topstitch near the folded edge
Sew on the front close to the binding's inner fold. Keep a small, even distance from that fold rather than steering by the quilt's outer edge. Pause with the quilt supported whenever you need to rearrange its weight.
At a corner, bring the needle to the point where the two inner edges meet. With the needle down, raise the foot and turn as your machine permits. Lower the foot and continue along the next side, keeping the folded miter closed.
After the first side, inspect the back. The second seam should run evenly beside the binding area. It may be visible on the backing, depending on your wrap width. The sample should already have shown the appearance you intended.
If the front fold has escaped the seam, unpick that short section and refold it. A second wandering line over the missed area often makes the edge harder to read. Correct the fold and resew the intended path.
Fix a wavy or uneven edge at its cause
A wavy binding can come from stretched fabric, inconsistent folding or a seam that feeds the layers unevenly. Compare a flat section with the problem section before choosing a fix. More pressure from your hands can stretch the edge further.
A narrow spot often means the fold was not pulled far enough over the first seam. A bulky corner may hide a strip join. Open only the affected area and check those details before changing the machine setup for the whole quilt.
Finish with a full inspection on both sides. Remove clips and loose threads, and check each miter with your fingers. The binding must hold the edge even where the thread blends so well that the seam is hard to see.
Verdict on machine binding a quilt
Machine binding a quilt works well when you plan both visible stitch lines. Attach to the back, fold to the front and follow the visible inner edge. A small layered sample resolves the strip width, thread choice and seam placement before the quilt reaches the machine.
FAQ
Does machine binding leave stitching on the backing?
Yes. The final pass places bobbin stitching on the reverse as it secures the front fold. Its position depends on the wrap and seam placement. Make a layered sample with the planned thread colors to choose that appearance first.
What if the fold escapes the machine binding seam?
Stop and inspect the missed section. Unpick that short length, refold it beyond the attachment seam and sew the intended path again. Check the sample fit if several sections are missed instead of adding another wandering stitch line.
Can I use the same width for hand and machine binding?
It may work, but test each method separately. The folded edge must reach the last seam's position, and machine finishing can need a different overlap. Keep the successful strip width and first seam measurement with the project sample.