
Machine Problems
How to Repair a Sewing Machine at Home: Tune-Up and Part Swaps
The short answer
You can repair a sewing machine at home when the fault is a worn or dirty part you can reach: needle, bobbin case, needle plate, presser foot, bobbins, or lint in the hook area. Timing, motor and electronics repairs need a technician.
Last updated September 2026
What's covered6
To repair a sewing machine at home, you do not need a workshop. Most home repairs are a thorough tune-up plus swapping a worn part you can reach from the outside. This guide covers the tools, a step-by-step tune-up, the parts you can safely replace yourself, and where home repair should stop.
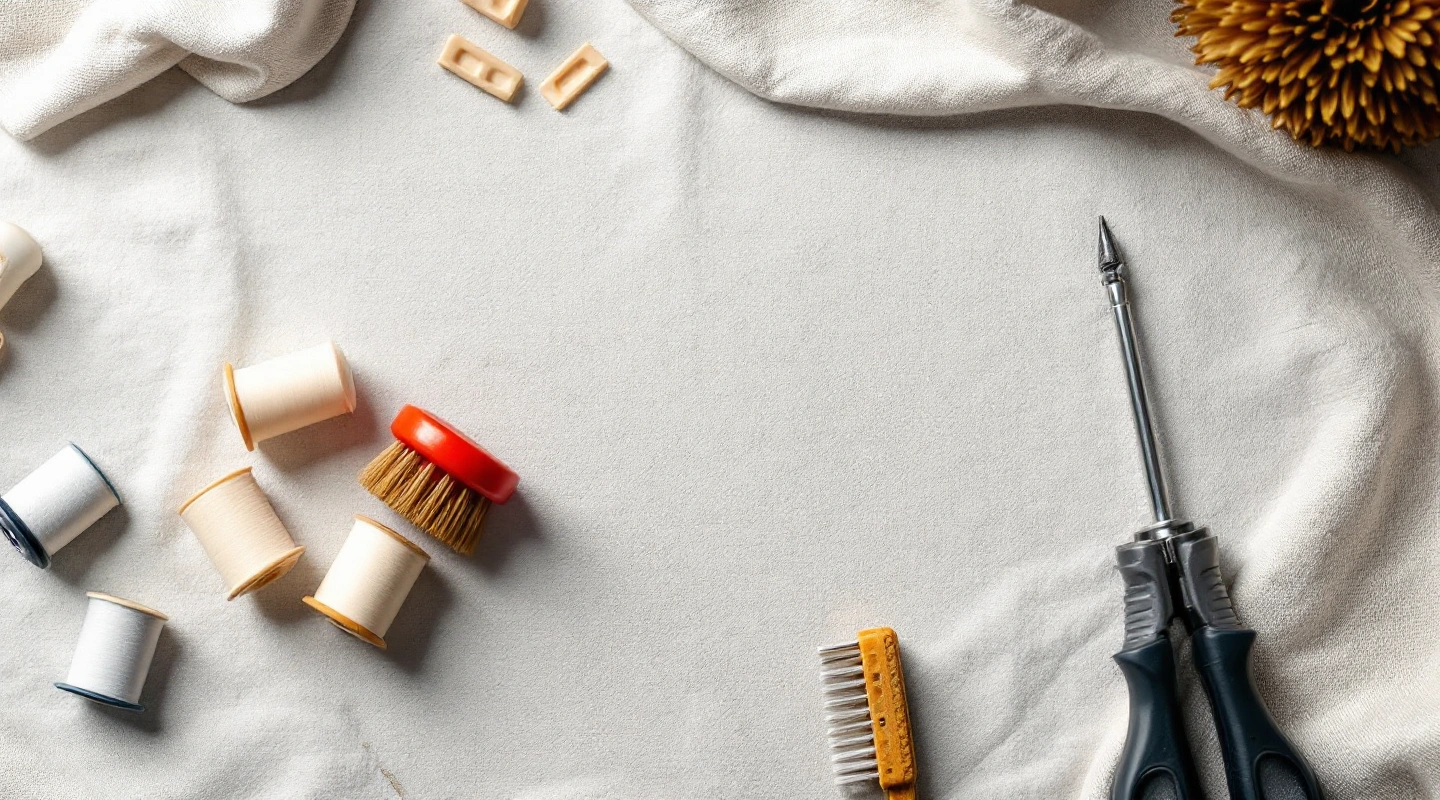
Tools to repair a sewing machine at home
| Tool | Used for |
|---|---|
| Small screwdrivers (flat and cross-head) | Needle plate, needle clamp, presser foot screws |
| Lint brush or small soft paintbrush | Feed dogs, hook area, bobbin case |
| Tweezers | Thread scraps wrapped around the hook |
| Sewing machine oil (only if your manual calls for it) | Moving metal parts at marked points |
| New needles in the right types | Ruling out the needle on every repair |
| Soft lint-free cloth | Wiping oil and dust from the bed and thread path |
| Scrap fabric | Test sewing after every step |
Scroll for more →
Skip canned air. It can push lint deeper into the machine. Also skip household oils, which can turn gummy over time. Use only oil sold for sewing machines.
Step-by-step tune-up to repair a sewing machine
Unplug the machine first. Keep a small dish nearby for screws.
- Remove the needle, presser foot and needle plate. Most needle plates lift off after removing one or two screws. Some snap off with a button.
- Take out the bobbin and bobbin case. On front-loading machines the case pulls out. On drop-in machines, lift out the bobbin and, if the manual allows, the plastic bobbin holder.
- Brush out the lint. Clean between the feed dog teeth, under the feed dogs, and around the hook. Use tweezers for thread scraps. Turn the handwheel slowly toward you to reach hidden spots.
- Check the hook and bobbin case for burrs. Run a fingertip gently over the edges. A rough spot can snag thread every stitch. A damaged bobbin case is easiest to replace. A burr on the hook itself is a job for a technician.
- Oil if your manual says to. Place one drop at each marked point. Many modern machines need no oil, and adding it can cause harm. Your manual decides.
- Wipe the thread path. Run a clean, dry cloth or a piece of unwaxed floss through the tension area with the presser foot raised, to lift lint from between the discs.
- Reassemble and put in a new needle. Push the needle all the way up, flat side to the back on most home machines.
- Re-thread and test. Sew on scrap with contrasting top and bobbin colors, and check both sides.
Parts you can replace yourself
| Part | Signs it needs replacing | Tip |
|---|---|---|
| Needle | Skips, snags, dull punching sound | Replace at the start of every project |
| Bobbins | Wobble, cracks, bent rims | Use only the class your manual lists |
| Bobbin case | Snags, cracks, bent tension spring | Buy the case made for your model |
| Needle plate | Nick around the needle hole that snags thread | Some plates swap with one or two screws |
| Presser foot | Cracked sole, loose clip | Snap-on feet swap in seconds |
| Spool cap and spool pin felt | Thread catching at the spool | Low cost and easy to swap |
| Light bulb (older machines) | Bulb out | Check the manual for the correct bulb type |
Scroll for more →
Buy parts listed for your exact brand and model number. The model number is usually on a label on the back or bottom of the machine.
Repair jobs to leave to a technician
Some repairs look simple in online videos but need special tools, gauges, or training:
- Hook timing. Needed when skipped stitches continue with a new needle and correct threading, often after a hard jam.
- Motor, belt and wiring. Any burning smell, sparks, or a motor that hums without turning.
- Circuit boards and error codes on computerized machines.
- Internal gears and cams on older machines with a locked handwheel.
- Feed dog height and timing.
Our guide to machine repair for sewing machines explains what a service includes and how to choose a shop.
Reviving a machine that sat unused
A machine that sat in a closet for years often needs only a patient clean. Old oil can thicken and make the handwheel stiff. Follow the tune-up steps above, oil only the points your manual shows, and then run the machine slowly without thread for a minute or two so the fresh oil spreads. If the handwheel stays stiff or you hear grinding, stop and take it to a technician rather than forcing it.
After the repair
- Test on the fabric you plan to use, not only on cotton.
- Keep a note of the date, what you cleaned or replaced, and the needle type.
- Clean the bobbin area after every few bobbins from now on.
If the problem is still there, match your symptom in our sewing machine troubleshooting guide or follow the quick checks in how to fix a sewing machine. The iFixit sewing machine repair pages also collect model-specific guides written by owners.
FAQ
What tools do I need to repair a sewing machine?
A set of small flat and cross-head screwdrivers, a lint brush, tweezers, sewing machine oil if your manual calls for it, new needles, and a soft cloth. The screwdriver that came with the machine usually fits the needle plate screws.
Can I replace a bobbin case myself?
On most machines with a removable bobbin case, yes. Buy the case listed for your exact model, since cases that look alike can differ in size and fit.
Why does my machine run badly after sitting for years?
Old oil can dry and turn sticky, and lint and dust build up. A careful clean and fresh oil at the points your manual shows often brings an older mechanical machine back. If the handwheel still feels stiff, have it serviced.